Introduction

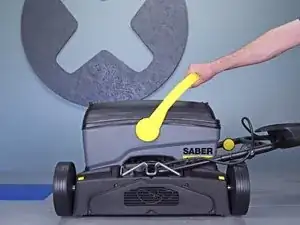
This guide shows how to remove and replace the pump for the Karcher Rotary Floor Cleaner 17833080 2017.

If the floor cleaner fails to spray water when activated, check the water distributors behind the roller brushes for clogs first.

  1. cvdMERNHLdUGDK3b
    cvdMERNHLdUGDK3b
    StNjh5BI2IvnEQgF
    • Before you begin, make sure to power off and unplug the device.

    • Lift the tank by the handle and remove it from the device.

  2. jBy4DhMReckHQHZh
    jBy4DhMReckHQHZh
    Hnij1DGCDlHW4sWX
    2LQL2UnDUNjrlHnq
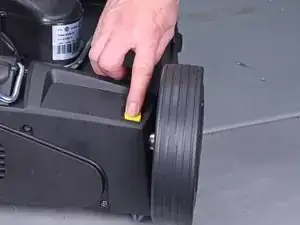
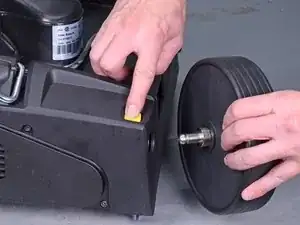
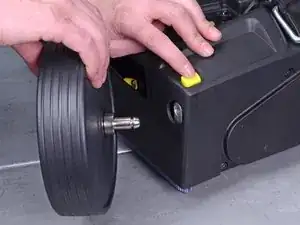
    • Press the yellow button near each wheel base to release the wheels.

    • Remove both wheels from their sockets.

  3. IYb1ZxJGGNdsuakj
    • Use a T20 driver to remove the three screws securing the pump cover.

  4. NZ5EyFkomPZKLavV
    NZ5EyFkomPZKLavV
    OdPYSm3UEYqN5aHp
    fivHaIJQuYuAlWa5
    • Remove the pump cover.

  5. jfALXE1OHBjpEmZ4
    jfALXE1OHBjpEmZ4
    hYyKpdidUakcgLkk
    • Squeeze the middle plug by the edges and pull it out of its socket.

    • During reassembly, make sure that all plugs are firmly seated in their sockets.

  6. BdiFwtOMYFRpQAcb
    BdiFwtOMYFRpQAcb
    5tTt4T6SRtp1A3Ee
    QUJL2TwEIxffCuiT
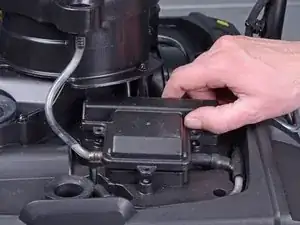
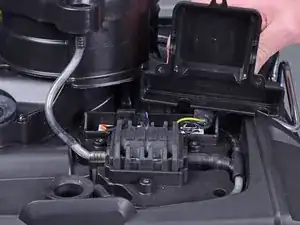
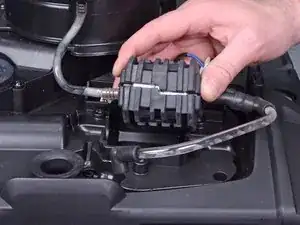
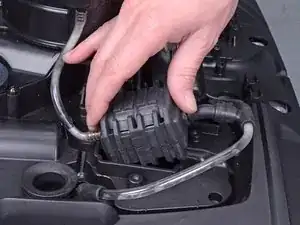
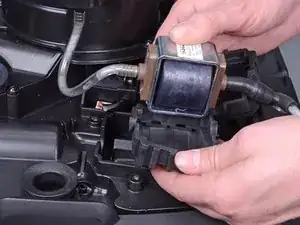
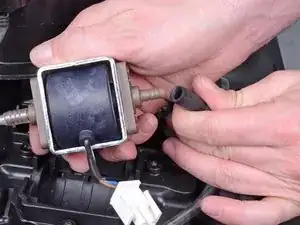
    • Lift the pump assembly out of its recess.

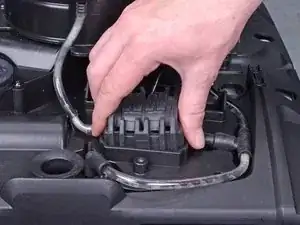
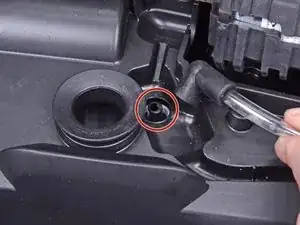
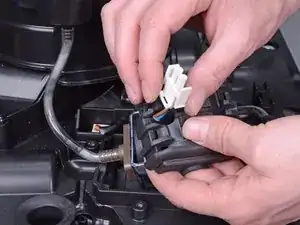
    • Reassembly tip: make sure that the output hose end is fully secured to the housing socket.
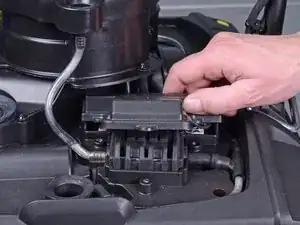
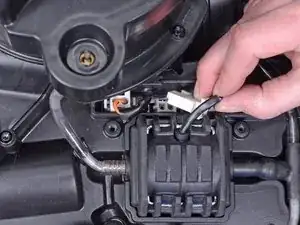
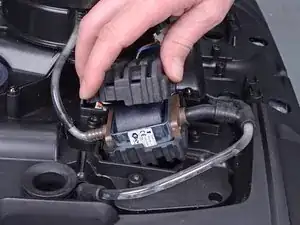
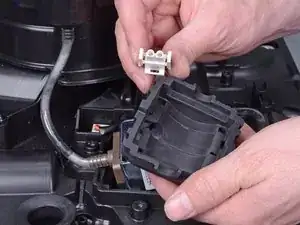
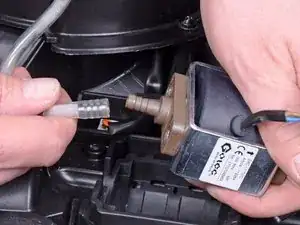
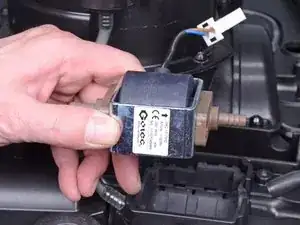
  7. oRStTimKdBHsGHVb
    oRStTimKdBHsGHVb
    wRIb2OGBJ2skkVKV
    xUGQborax2U4XVHB
    • Peel the two rubber bearings away from the pump.

  8. 3mbtquaHAjZGMDEs
    3mbtquaHAjZGMDEs
    WlHSd32qJBtxKJlf
    • Feed the pump plug through the rubber bushing's cutout.

  9. LZClFOYmKoq51npJ
    LZClFOYmKoq51npJ
    yWy5IRcADgKIkdL6
    • Pull the black check valve off the pump's output port.

  10. VqfOXTN14oG5Ui1T
    VqfOXTN14oG5Ui1T
    YZ2COFTIg6APnQTH
    • Pull the clear hose off the pump's input port.

  11. ZAp1KYA2bwPeJDrp
    ZAp1KYA2bwPeJDrp
    ZhOVvOQGEIP6B35I
    • Remove the pump.

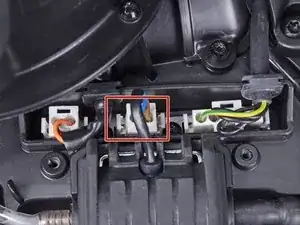
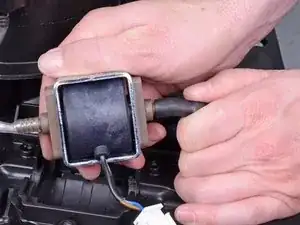
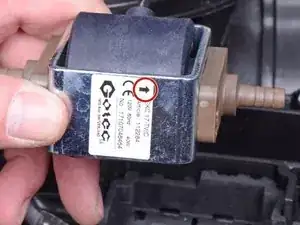
    • Reassembly tip: be careful not to mix the pump's input and output. The arrow points towards the pump output, which should connect to the black check valve.

Conclusion

To reassemble your device, follow these instructions in reverse order.

Arthur Shi

Member since: 03/01/18

248651 Reputation

0 comments