Introduction

Follow this guide to remove the handle for the Karcher Rotary Floor Cleaner 17833080 2017 in preparation for further disassembly.

This guide can also be used to remove and replace the parts listed in the parts section.

  1. cvdMERNHLdUGDK3b
    cvdMERNHLdUGDK3b
    StNjh5BI2IvnEQgF
    • Before you begin, make sure to power off and unplug the device.

    • Lift the tank by the handle and remove it from the device.

  2. jBy4DhMReckHQHZh
    jBy4DhMReckHQHZh
    Hnij1DGCDlHW4sWX
    2LQL2UnDUNjrlHnq
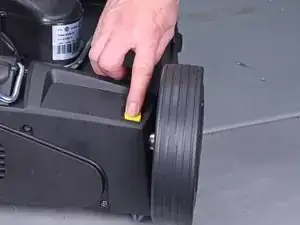
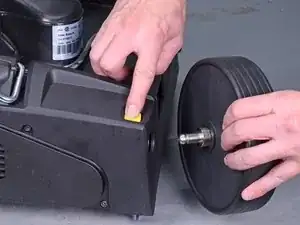
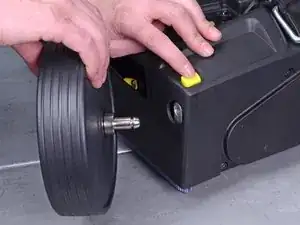
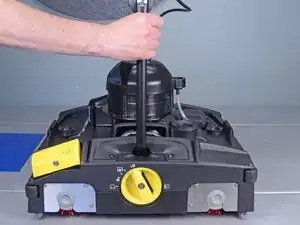
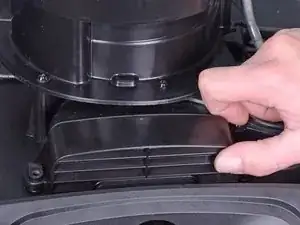
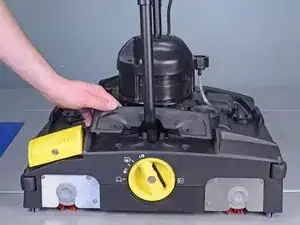
    • Press the yellow button near each wheel base to release the wheels.

    • Remove both wheels from their sockets.

  3. IYb1ZxJGGNdsuakj
    • Use a T20 driver to remove the three screws securing the pump cover.

  4. NZ5EyFkomPZKLavV
    NZ5EyFkomPZKLavV
    OdPYSm3UEYqN5aHp
    fivHaIJQuYuAlWa5
    • Remove the pump cover.

  5. FEioVCLT2VDWHkBK
    FEioVCLT2VDWHkBK
    uvUye2YRAQBi3gBI
    • Squeeze the right plug by the edges and pull it out of its socket.

    • During reassembly, make sure that all plugs are firmly seated in their sockets.

  6. mVyA1tRUKYy4E5XU
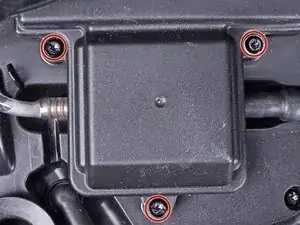
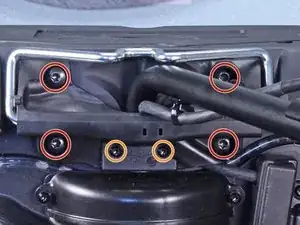
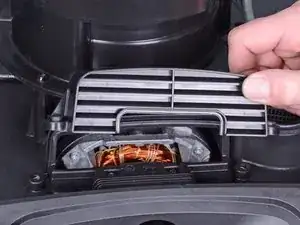
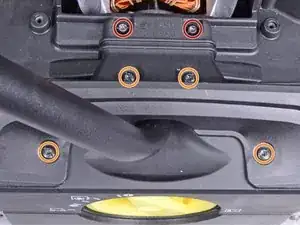
    • Remove the following screws securing the left retaining bracket:

    • Four T40 screws

    • Two T20 screws

  7. mSCZdgbKDs6ixCvl
    mSCZdgbKDs6ixCvl
    FM1TCL2ZcwH4obKl
    L4hPFHgLcGWl2y2W
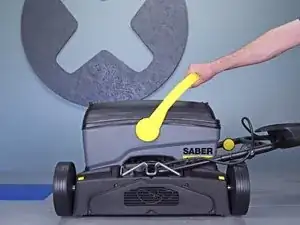
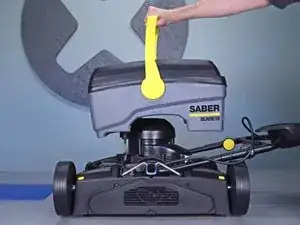
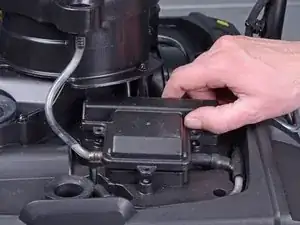
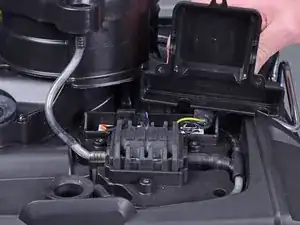
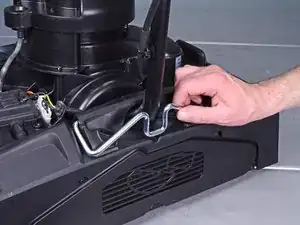
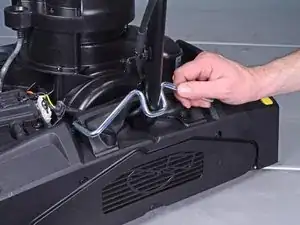
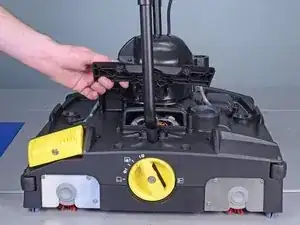
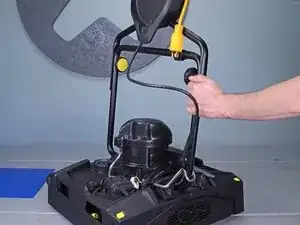
    • Raise the handle to the upright position.

    • This will engage the carriage rollers and lift the device.

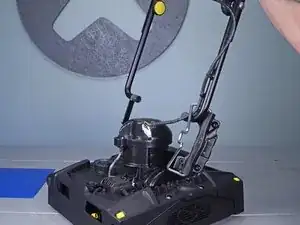
    • Engage the retaining bracket to lock the handle in place.

  8. TDKFfTYHSig4M6ro
    • Use a T20 driver to remove the two screws securing the right splash guard.

  9. fD1lJDWaHQvlWqpn
    fD1lJDWaHQvlWqpn
    VMBUtxyp1gI6gGup
    • Remove the right splash guard.

  10. ONkjTLw4Ee2kJYij
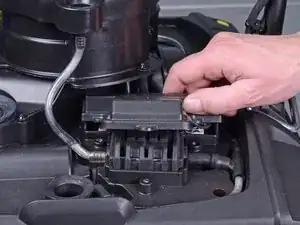
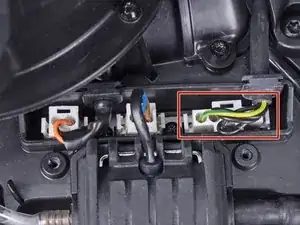
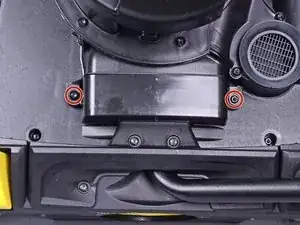
    • Use a T20 driver to remove the following screws securing the right retaining bracket:

    • Two 85 mm-long screws

    • Four 45 mm-long screws

  11. PUPlOCjAdwoyl223
    PUPlOCjAdwoyl223
    PWMYINggCCObSMSK
    • Remove the right retaining bracket.

  12. sUHqq1lGjnKF1ReT
    sUHqq1lGjnKF1ReT
    SOT4fPLV1DQyOJhp
    4XqClGBNMMuDiGdA
    • Lift the handle assembly away from the device and remove it.

  13. BVhV1ZmeYFX12hMt
    • Reassembly tip: Be careful not to lose the two gray bushings on the ends of the handle assembly.

Conclusion

To reassemble your device, follow these instructions in reverse order.

Arthur Shi

Member since: 03/01/18

248651 Reputation

0 comments