Introduction

Use this guide to rebuild a worn pump on a Karcher Pressure Washers 11073080 2017.

This guide may include more disassembly than is needed. Check which parts are included in your rebuild kit and only remove the parts that you can replace.

  1. gpJYSVUOTPQ4hcld
    gpJYSVUOTPQ4hcld
    OByOQZrqyYFlvGvm
    • Before you begin, be sure that the engine is powered off and is cool to the touch.

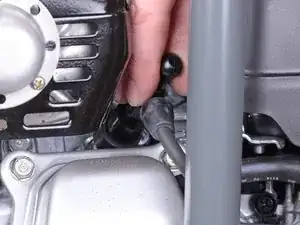
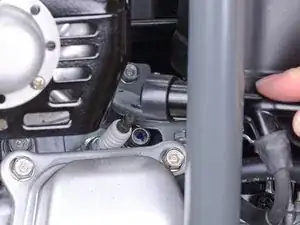
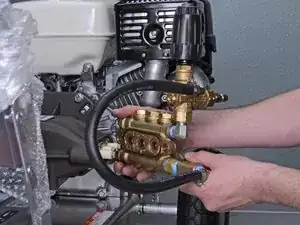
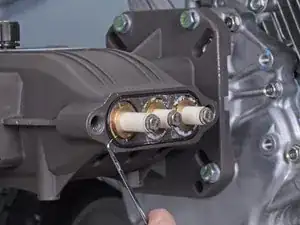
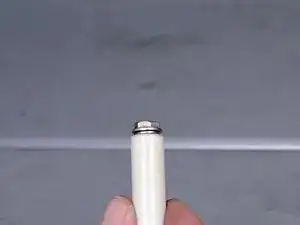
    • Grab the plastic housing at the end of the spark plug wire.

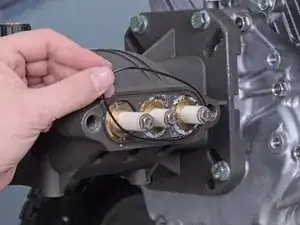
    • Pull firmly to disconnect the wire from the spark plug.

  2. vUVrDnqxgYpMm4aH
    • Use a 24 mm socket to remove one of the manifold cap bolts on the pump manifold.

    • These bolts are easy to strip—be careful during removal.

    • Some of these bolts may be seized and could require a breaker bar to assist in removal.

    • During reassembly, tighten the manifold cap bolts to 90 Nm (65 ft-lbs).

  3. SZhE6DqBCjLqGuXu
    SZhE6DqBCjLqGuXu
    aaYXTXEYIgFnLhSM
    • Use a pair of needle-nose pliers to pull the check valves straight out of the pump manifold.

    • During reassembly, this can be replaced if your rebuild kit includes a new one.

    What rebuild kit?

    JEFFREY -

  4. MQv4WkTdwSMCUInC
    MQv4WkTdwSMCUInC
    iMvUKjiFQV3RaMAZ
    NmALoaQmVuppJA2E
    • Use an angled pick or tweezers to pull out and remove the O-ring inside the pump manifold.

    • During reassembly, this can be replaced if your rebuild kit includes a new one.

  5. GMqYuoQreQjkmk1y
    GMqYuoQreQjkmk1y
    5MNJ4SHcMM6OQndL
    lhJmiVWcHGQEU1j2
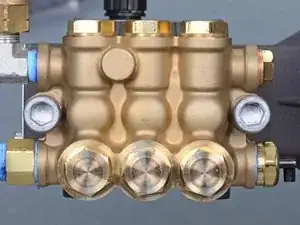
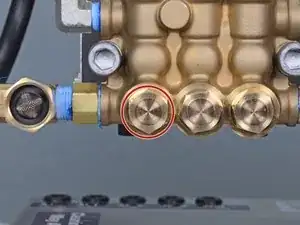
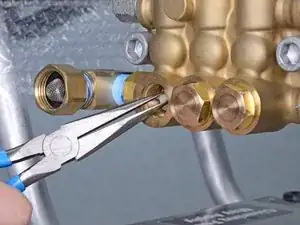
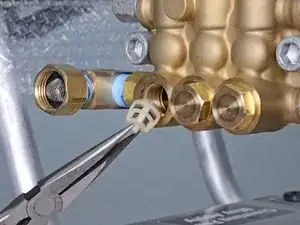
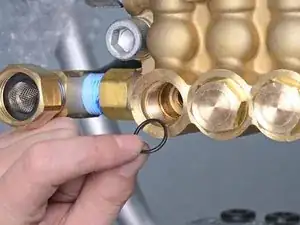
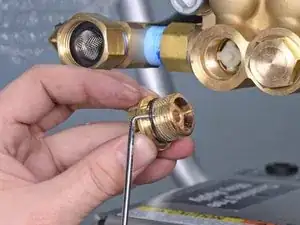
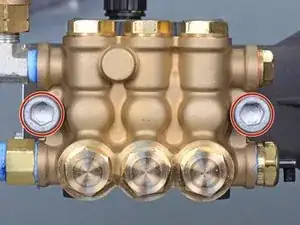
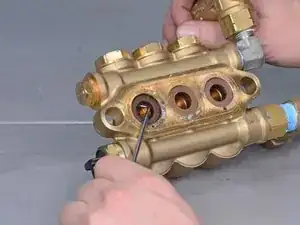
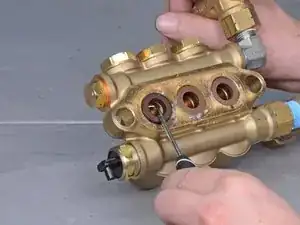
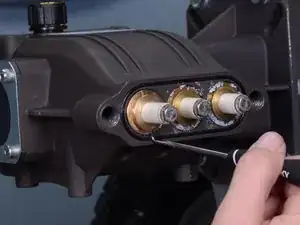
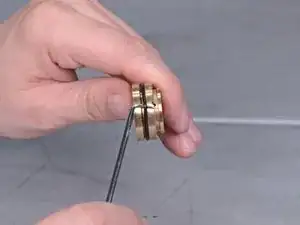
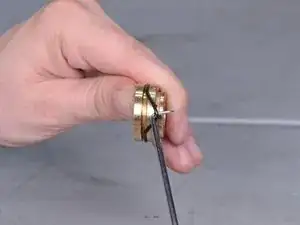
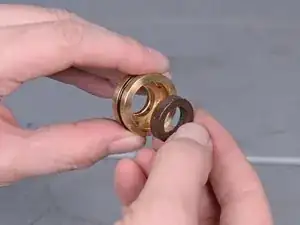
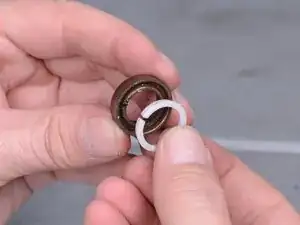
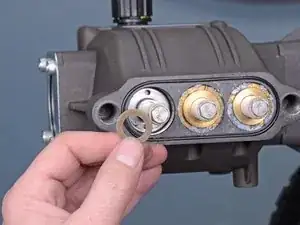
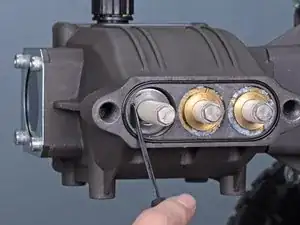
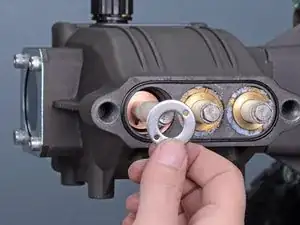
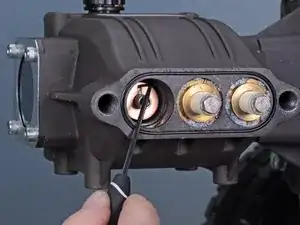
    • Use a pick or tweezers to slide the O-ring off of the manifold cap bolt.

    • During reassembly, this can be replaced if your rebuild kit includes a new one.

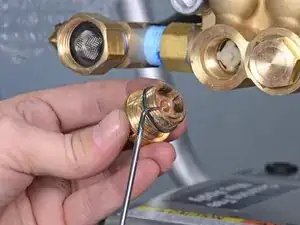
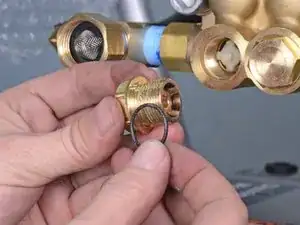
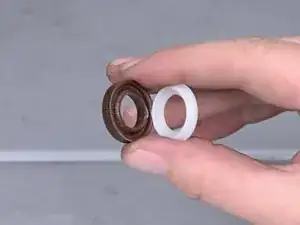
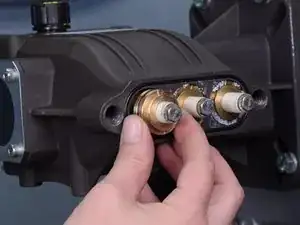
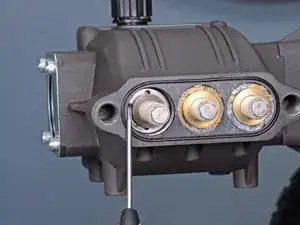
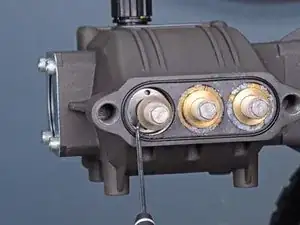
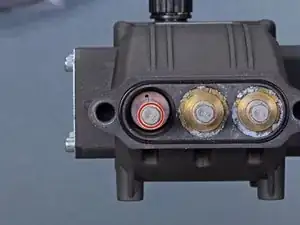
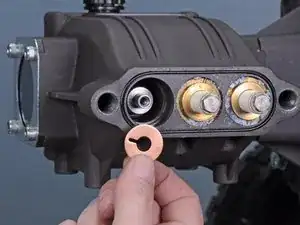
    • Repeat the last four steps for each of the manifold cap bolts to replace the rest of the check valves and O-rings.

    • Reassemble the manifold cap bolts before continuing to the next step.

  6. HEaKmlDhNNTQjsbF
    • Use a 12 mm hex key to remove the two manifold stud bolts.

    • During reassembly, tighten the manifold stud bolts to 90 Nm (65 ft-lbs).

    • During reassembly, these can be replaced if your rebuild kit includes new ones.

    • During reassembly, replace the lock washers on the stud bolts with new lock washers.

  7. kRAZESSlovK5NirU
    • Remove the pump manifold.

  8. 2dM4tgXOOAhvdQrB
    2dM4tgXOOAhvdQrB
    JrLQn2St5q3gWoXY
    • Use a pick or tweezers to pry out and remove the high pressure seal.

    • During reassembly, this can be replaced if your rebuild kit includes a new one.

  9. YlgVBIaRyE5gKi66
    YlgVBIaRyE5gKi66
    tTtNh3FTUAMDfTh5
    1Pwe4BlumIMW1XBs
    • Use a pick to pry out and remove the inner high pressure seal.

    • During reassembly, this can be replaced if your rebuild kit includes a new one.

  10. uPFjHR6MhFAmXErE
    • The inner high pressure seals come in two pieces. You may need to separate the pieces if your rebuild kit doesn't come with both.

    • Repeat the last three steps for the other two cylinders to replace the remaining seals.

    I cant replace the high pressure seals if i cant order them. They aren’t available on the parts diagram.

    BENJAMIN -

  11. Q2vOAmZwBEgaGKop
    Q2vOAmZwBEgaGKop
    cYTRVwTkpxenHxRd
    • Use a pick or tweezers to lift the manifold O-ring out of its groove in the crankcase.

    • During reassembly, this can be replaced if your rebuild kit includes a new one.

    • During reassembly, reapply grease to the manifold O-ring groove.

  12. ZMsAoHxBqPmlLTCM
    ZMsAoHxBqPmlLTCM
    nevR4LOsSwWrjyqh
    kXTIiKWVmPJHoPK6
    • Use a pick or flathead screwdriver to gently pry the pressure ring out of the crankcase.

    • If you use a pick, there are two small holes on either side of the pressure ring that a pick can fit into to aid with prying.

    • Be very careful not to mar the crankcase. It may be necessary to put a cloth or other padding between your tool and the crankcase while prying.

  13. ThademYMRULmIvlo
    ThademYMRULmIvlo
    3phIo1jFT2TCtIO2
    • Use a pick or tweezers to slide the O-ring off of the pressure ring.

    • During reassembly, the O-ring can be replaced if your rebuild kit includes a new one.

  14. rQfUWwlHTJxgeCbQ
    rQfUWwlHTJxgeCbQ
    YjQvAEA3WCZDmrRf
    gfMDwcEklIsQIYha
    • Use a pick to pry out and remove the low pressure seal from inside the pressure ring.

    • During reassembly, this can be replaced if your rebuild kit includes a new one.

  15. yfADqyIfvGLxkAMJ
    • The low pressure seals come in two pieces. You may need to separate the pieces if your rebuild kit doesn't come with both.

  16. W5kAoDsTZC1KgfIb
    W5kAoDsTZC1KgfIb
    1odSi252DAaELr61
    1otc3HeWNRl5Eidh
    • Use a pick or tweezers to pry out and remove the smaller washer sitting around the piston.

  17. QjFlFoyfjGoTkydL
    QjFlFoyfjGoTkydL
    icb1xr1jfVtU5JjU
    • Use an angled pick or tweezers to pull out the larger washer sitting around the piston.

    • There are two small holes in this washer that can aid in removal.

  18. YrSRoUCXCrxFJkJw
    • Use a 10 mm socket to remove the plunger bolt.

    • During reassembly, the plunger and bolt can be replaced if your rebuild kit includes new ones.

    • During reassembly, tighten the manifold stud bolts to 13 Nm (9 ft-lbs).

  19. 2JB3EnwQUtA25hTP
    2JB3EnwQUtA25hTP
    qoEfdrLERPCTOpYX
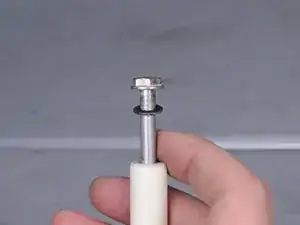
    • Your rebuild kit may not include the plunger bolt. If not, pull the bolt and the washer out of the plunger and transfer them to the new plunger.

  20. eID4NWhFkXZ5gv25
    eID4NWhFkXZ5gv25
    BmcgELlNFSYbPFUf
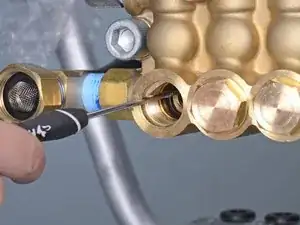
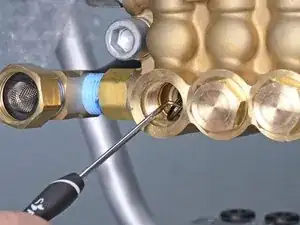
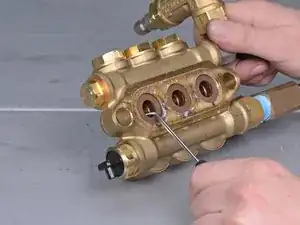
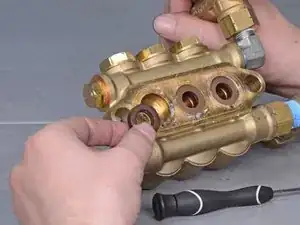
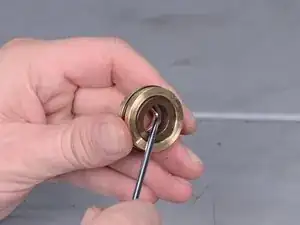
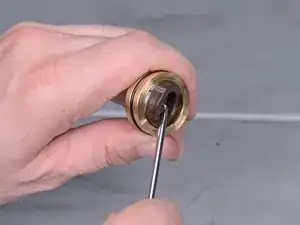
    • Use an angled pick or tweezers to remove the inner-most washer.

    • During reassembly, this can be replaced if your rebuild kit includes a new one.

    • During reassembly, apply grease to the plungers.

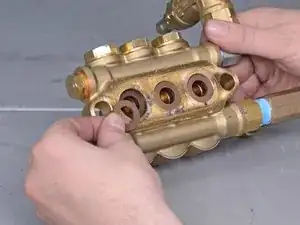
    • Repeat the previous nine steps for the other two cylinders to replace the remaining seals, washers, and plungers.

Conclusion

To reassemble your device, follow these instructions in reverse order.

Adam O'Camb

Member since: 11/04/15

195421 Reputation

2 comments

Half the parts are not available for ordering as of June 2023. I ordered kit 8.758-083.0 and it had everything to stop a water leak for our unit.

THOMAS -

I've ordered the same kit for a leak in the manifold, I'll see if this works when I can start replacing the seals.

TYRELL -