Introduction

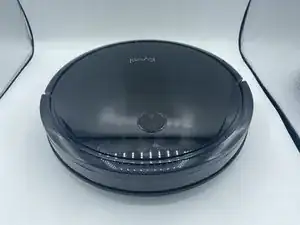
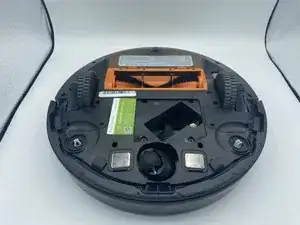
If your KYVOL CYBOVAC E20 is having issues picking up trash off the floor or is moving but not vacuuming the floor, use this guide to replace the main motor.
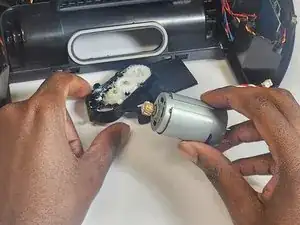
The main motor is responsible for rotating the main brush of the KYVOL CYBOVAC E20, so a broken main motor will result in the device not operating as it should, leaving dust and small trash on the ground.
Before using this guide, make sure to take out the main brush of the device and see if it was out of place or needed replacement prior to using this guide.
This guide requires the removal of the battery and disconnecting ports from the motherboard, so it is advised to power off the device prior to following the instructions of this guide.

  1. CLjM46XX5J41rSBo
    CLjM46XX5J41rSBo
    OMtj6gTRS61bgde1
    • Start by laying the device on a flat surface with the logo facing up.

    • Flip the device over.

  2. qfMquyeMZbIPtexl
    qfMquyeMZbIPtexl
    RlKo2cgsuvmWpWsd
    • Remove two 1 mm screws using a Phillips #00 screwdriver.

  3. CObBS5vwhIXDgbgS
    CObBS5vwhIXDgbgS
    fsBM1ACJmWm4VVFa
    • Remove the cover.

  4. VTwsJtnE1RtMeKLa
    VTwsJtnE1RtMeKLa
    UVCM1Enly3mjfNVG
    • Lift the battery.

    • Press down on the top of the white connector.

    • Remove the battery from the vacuum.

  5. gwHZ1IJcQUwrqOj5
    • Remove both sweepers by pinching near the base of the brushes and pulling up.

  6. obnhUGAerALJQ2af
    • Remove four 10 mm screws using a Phillips #00 screwdriver.

  7. UfqGSt2SGRKF2Joi
    UfqGSt2SGRKF2Joi
    SNnkXyRkXH4AkcxI
    161c23MQBlOfTCEr
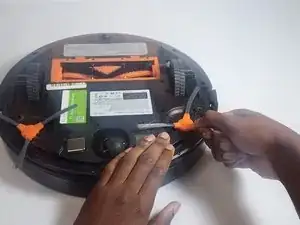
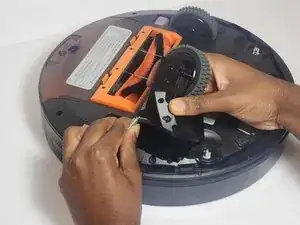
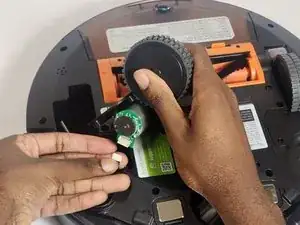
    • Lift the wheel to detach the tensioning spring. This step requires you to first press down on the wheel, then detach.

    • Disconnect the wheel motor from the power supply.

    • Repeat the process for the other wheel.

  8. 1yKuwtHTijQ1hsdq
    1yKuwtHTijQ1hsdq
    cOdFmqTWnnYBdfNr
    NhfyV1mCtABGpyGV
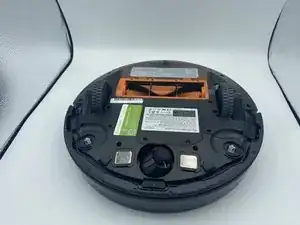
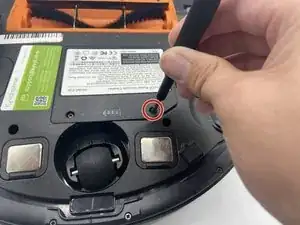
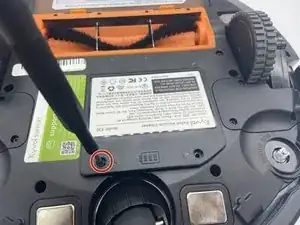
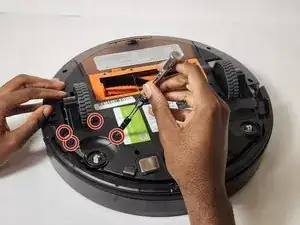
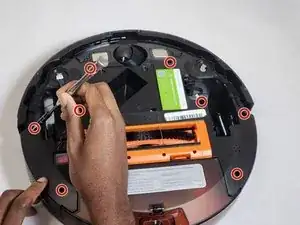
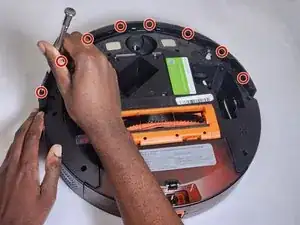
    • Remove the nine 15 mm screws using a Phillips #2 screwdriver.

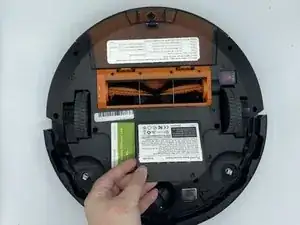
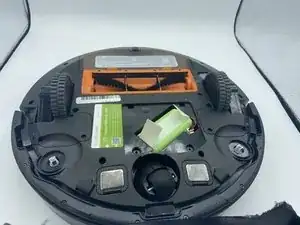
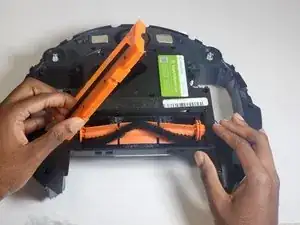
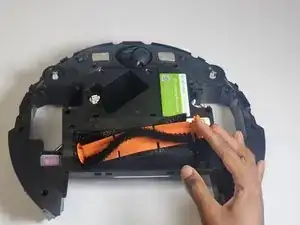
    • Remove the upper casing of the vacuum.

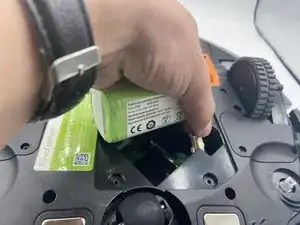
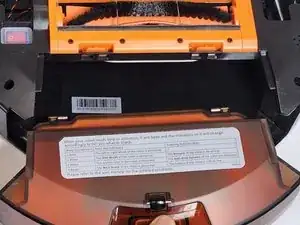
    • Remove the dust chamber.

  9. VvMGGXslnRwXGWuy
    VvMGGXslnRwXGWuy
    Bue5RRfxPTEICPja
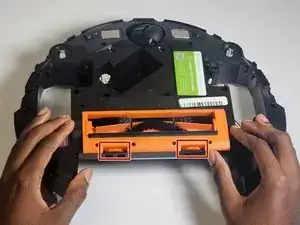
    • Remove the eight 10 mm screws using a Phillips #00 screwdriver.

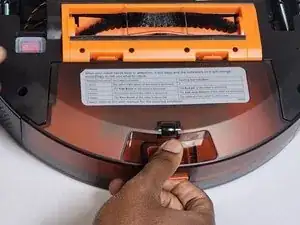
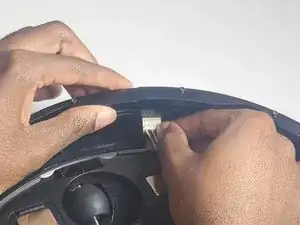
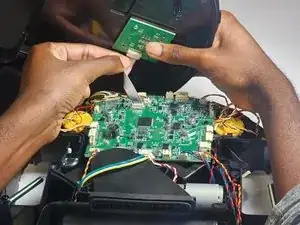
    • Disconnect the plug.

    • Remove the front bumper.

  10. c5RxUlTniaPrRUUM
    c5RxUlTniaPrRUUM
    jfZOqUfIM3FwCF2H
    Uk3v3itKRFHTgk4U
    • Apply pressure to each tab to remove the cover.

    • Remove the main brush.

    Missing a step, you need to remove the two screws under the main brush to split the two halves of the robo vacuum.

    Anas Altawil -

  11. yqDoWqKj3elYpBuC
    yqDoWqKj3elYpBuC
    UTZgVmdUXSEfK5WR
    • Flip the vacuum so it is upright.

    • Disconnect the outer shell from the motherboard.

  12. 4yTGqMjKiDrGrSPW
    4yTGqMjKiDrGrSPW
    CycekWiFHXGJD5nR
    KEMRXSErVVyXvYOY
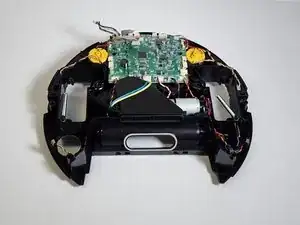
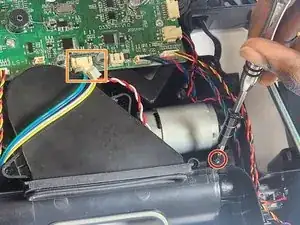
    • Remove the single 10 mm screw using a Phillips #0 screwdriver.

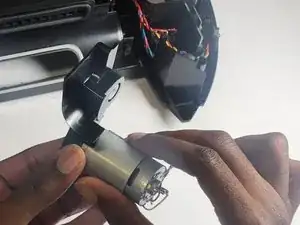
    • Disconnect the motor from the motherboard and remove the main motor assembly.

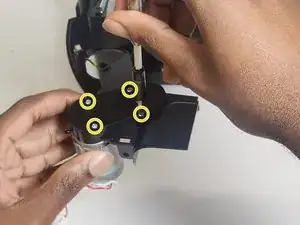
    • Remove the four 6 mm screws using a Phillips #1 screwdriver.

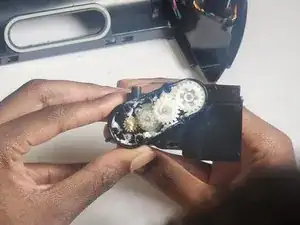
    • Remove the gearbox cover.

  13. LajVqkyAbHlYTJv2
    LajVqkyAbHlYTJv2
    ZiTCnOxLQlRJi1SA
    UHZSMP1nFGl1jxFX
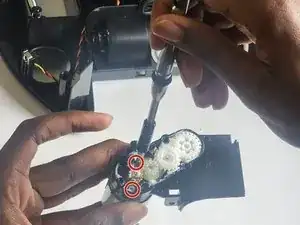
    • Remove the two 6 mm screws using a Phillips #1 screwdriver to separate main motor from the housing.

Conclusion

To reassemble your device, follow these instructions in reverse order.

Randall Morgan

Member since: 13/07/23

352 Reputation

0 comments