
Introduction
Like many push mowers, the K-Gro Power Pro has reliability issues with the motor cable and tends to become brittle over time. This guide is a step-by-step plan, on how to replace the motor cable for this mower so that you can continue to operate your mower without having to buy a brand new one.
Parts
-
-
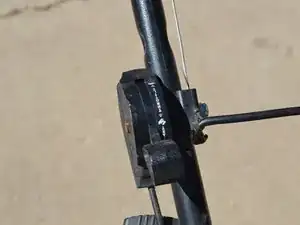
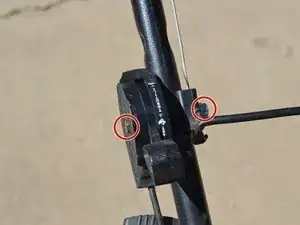
The throttle assembly is attached to the push bar with a 7/16" bolt and nut.
-
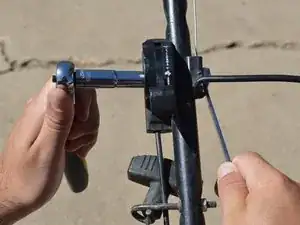
Using a 3/8" drive rachet wrench with a 7/16" socket and a 7/16" combination wrench, remove the nut.
-
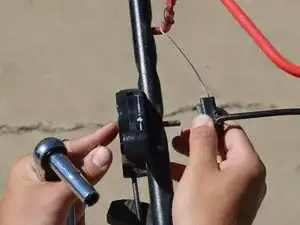
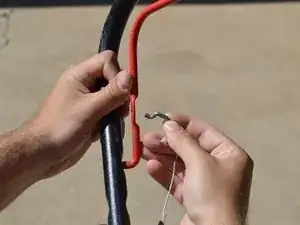
Pull the plastic cable connection away from the framework.
-
-
-
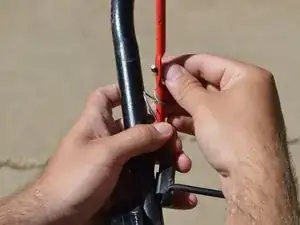
Pull the cable towards the handle to allow the wire to become loose. This will give you enough room to remove the hook.
-
-
-
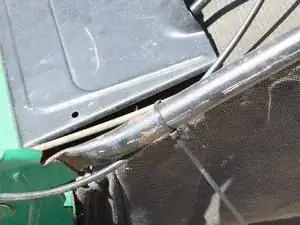
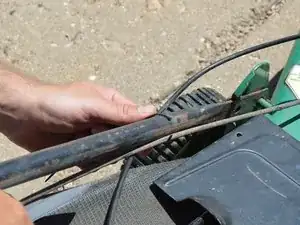
Following the cable down to the engine, you see that a zip tie holds the cable to the main handle.
-
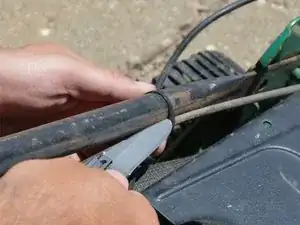
Use a box cutter, sharp pocket knife, or cutting pliers to cut the zip tie.
-
-
-
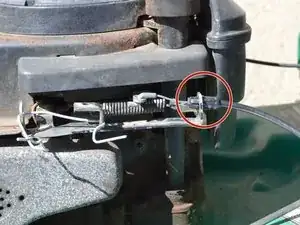
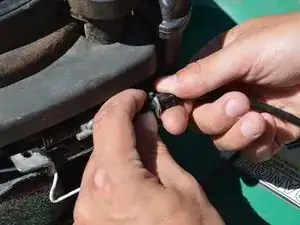
Locate the plastic fitting hooked to the steel housing of the engine.
-
To the left of the fitting, you will see a steel sliding mechanism connected by a spring.
-
Squeeze the mechanism together to allow for slack in the cable wire.
-
-
-
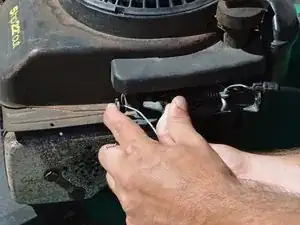
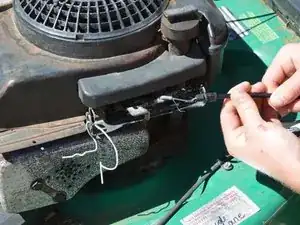
On close inspection of the plastic fitting, you can see that there are two "wings" that can be pinched together.
-
With the sliding mechanism squeezed and the wire slack, pinch the plastic wings together and push the fitting to the right out of the hole in the housing.
-
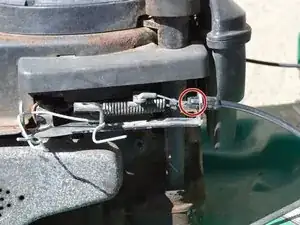
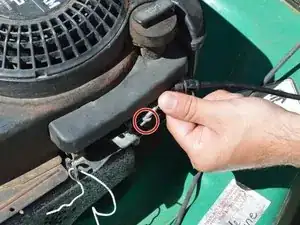
The loose wire can then be slid up through the groove in the steel.
-
-
-
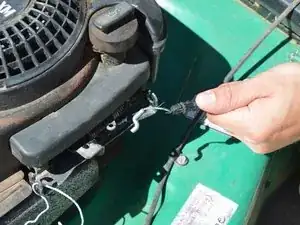
You can see that the only thing still holding the cable on is a hook attached to a spring loaded lever.
-
Remove the hook.
-
To reassemble your device, follow these instructions in reverse order.
What kind of oil does it take
nick.spano88 -