Introduction
-
-
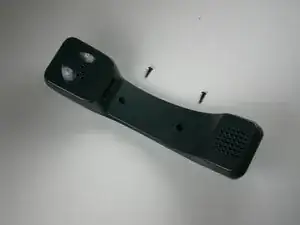
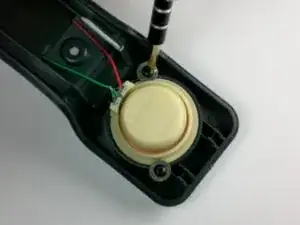
Unscrew the two black screws (8 mm long) located in the middle of the handset using #1 Phillips head.
-
-
-
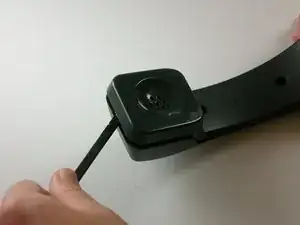
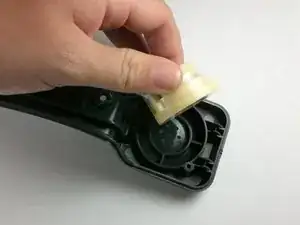
Pry the back cover off the headset using a spudger. It is best to pry at the top of the handset.
-
-
-
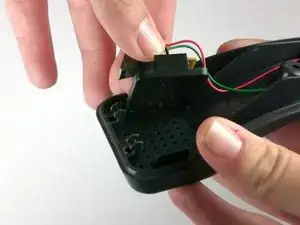
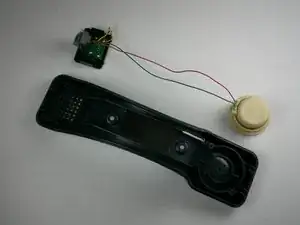
While holding the handset front cover, grasp and twist the handset microphone and jack until they come free from the cover.
-
-
-
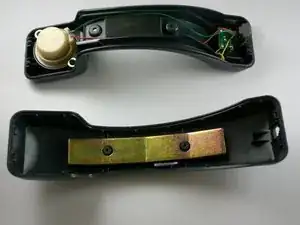
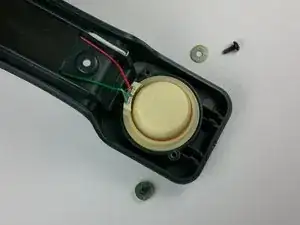
Unscrew the 2 screws (8 mm long) that hold the receiver in place using a #1 Phillips screwdriver.
-
Note: The screws come with washers.
-
-
-
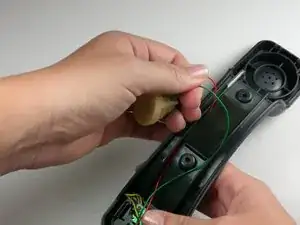
Pull the red and green wires that connect the receiver to the microphone out from under the metal piece and black padding.
-
Note: To insert the wires back underneath the black padding, pull the black padding back with your finger and use plastic opening tool to wedge the wires underneath the black padding.
-


To reassemble your device, follow these instructions in reverse order.