Introduction
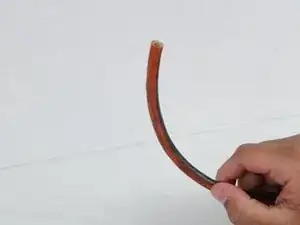
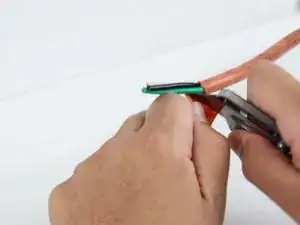
This guide will help you learn how to install an extension cord female plug. If the tip of the extension cord has been cut or burned, it is not essential to buy one. Repair is a simple and economical solution. So how do you install an extension cord female plug? I will show you how to repair a female plug step by step.
Caution:
Safety tips when working with Sharp Blades or Edges.
The most common concern when using sharp blades or edges is an injury, such as a cut (laceration, puncture) or an amputation.
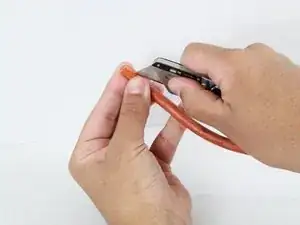
Tools or equipment with sharp blades or edges can include knives and other utensils, box cutters, utility knives, safety cutters, scissors, razor blades, etc. and in our case, it will be a utility knife.
To prevent cuts: Use the right tool for the job, Inspect the tool before use, Carry one tool at a time, tip and blade pointed down at your side, Work in a well-lit space so you can see what you are doing, Cut on a stable surface, Use a cutting board and/or slip-resistant matting to prevent the item from sliding on the counter, Hold the tool with your stronger hand, Use mesh gloves, especially for the holding hand, Cut away from your body. Make sure no body parts are in the cutting path, or in the path the blade might take if it slips.
Tools
Parts
-
-
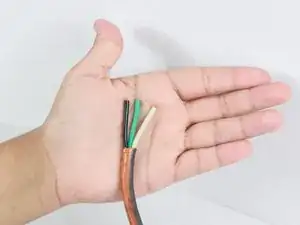
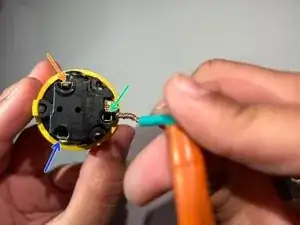
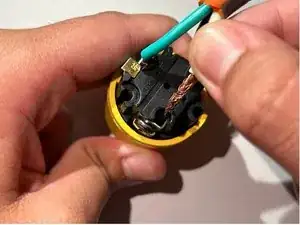
For green wire.
-
For black wire
-
For white wire.
-
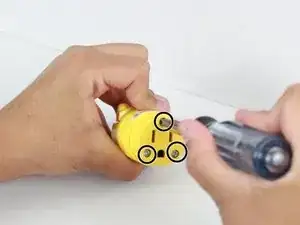
Now when you have each wire inside the hole you tighten the three screws.
-
-
-
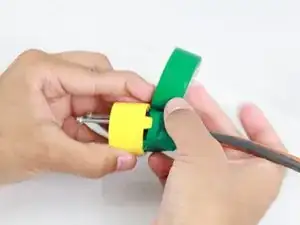
Electrical tape is optional.
-
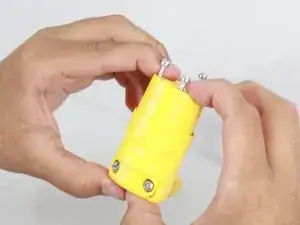
Need to make sure both of the parts are lined up in the same directions.
-
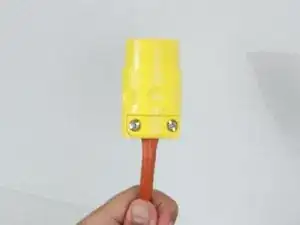
Push both parts together and you would see the screws pop up.
-
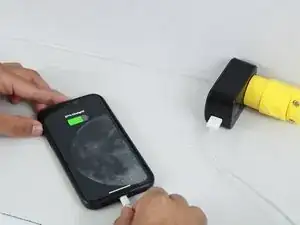
To reassemble your device, follow these instructions in reverse order.
