Introduction
In this guide you will see step by step how to replace the battery in your Insignia Wi-Fi Windows Tablet. You will need three tools a plastic spudger, tweezers, and a soldering iron to complete the replacement of the faulty battery.
Tools
Parts
-
-
Begin the replacement for the battery by opening up the device with a plastic opening tool along the edge.
-
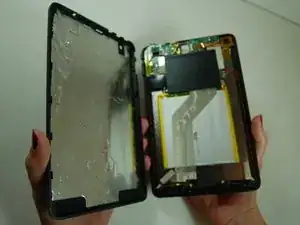
Work the plastic opening tool along the edge until you have separated the screen from the back plate.
-
-
-
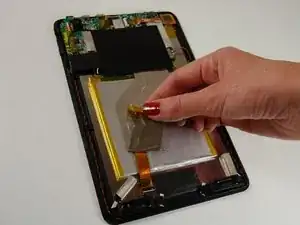
Start by placing tablet face down and carefully removing the mesh wire tap from the back of the battery.
-
-
-
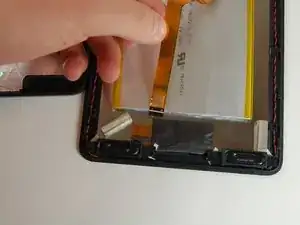
Remove the flat wire from its connector with the tweezers and fold to the side so that it's clear of the battery.
-
-
-
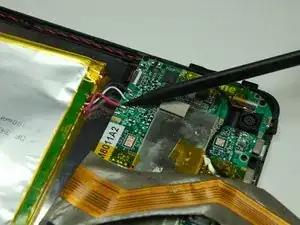
Next locate where the battery has three wires attached to the mother board. Take out the soldering iron and begin heating it up.
-
-
-
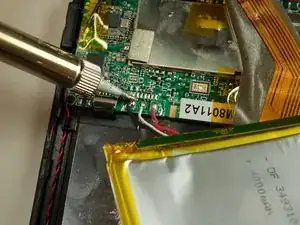
Once the soldering iron has heated up, begin by placing the tip of the iron where the wire directly meets the mother board. The soldering should heat up and allow you to gently pull the wire off. Repeat twice more to remove each of the three wires.
-
-
-
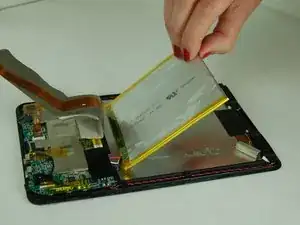
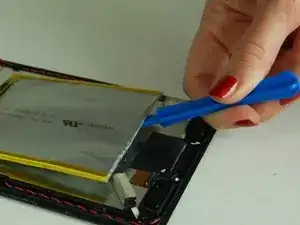
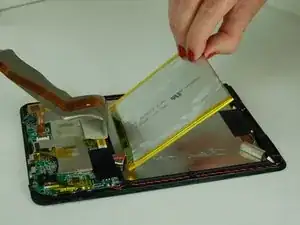
Once all wires have been removed from mother board, take plastic opening tool and separate the battery from the back of the screen. Its connected with glue, so don't worry.
-
To reassemble your Insignia W-Fi Windows 8" Tablet, follow these instructions in reverse order.
