Introduction

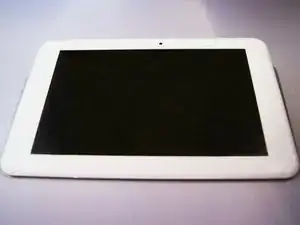
The screen is the most essential part of any tablet. If it is not working, follow this guide to remove and replace it. There are tiny screws, be sure to know where they are at all times.

  1. PaBdtYc2mwBnVOqN
    PaBdtYc2mwBnVOqN
    qE1EdvJ1IIlmuJVM
    Kxm2LVPXaujYiEbe
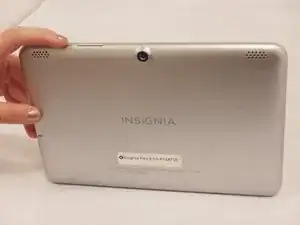
    • Make sure device is powered off.

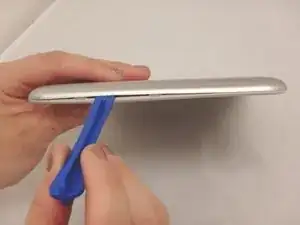
    • Wedge the plastic opening tool anywhere in the seam between the back casing and screen.

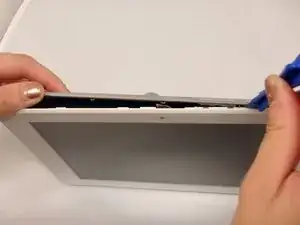
    • Slide the plastic opening tool along the sides and corners of the seam of the device while it separates from the screen.

    • You will hear the popping sound of the plastic connections separating from the device.

  2. TRWb5yNCQio25NMR
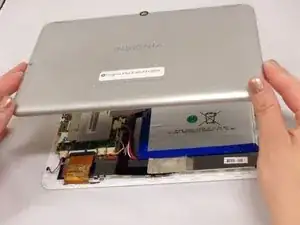
    • Lift the back casing away from the screen.

    • Set casing aside.

  3. D2UYvDYPFAVGZvUk
    D2UYvDYPFAVGZvUk
    YIJRBDmpLUXEpvoZ
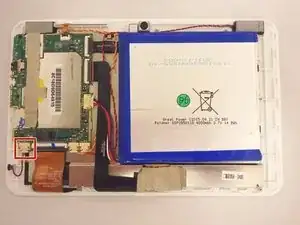
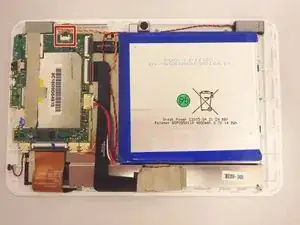
    • Pull gently on the cable that connects the microphone to the motherboard.

    • The microphone will stay attached to device and separated from motherboard.

  4. A3MLEKyZKNLE4hLV
    A3MLEKyZKNLE4hLV
    OlULKaMyfnTIBO2Q
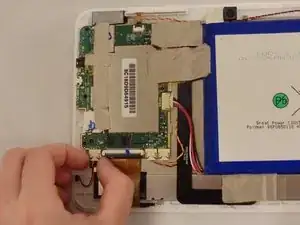
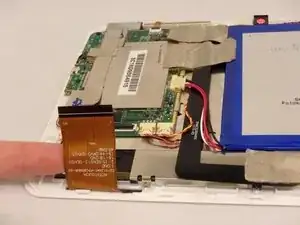
    • Flip up the black flap of the connector ribbon that connects the screen to the motherboard.

    • Connector ribbon will stay attached to the device and separted from the motherboard.

    • If the black flap of connector will not lift by using your finger, then use the nylon spudger.

  5. V1uUcWvi3ksOS1bX
    • Gently pull the connector ribbon by hand from the connector until it separates from connector.

  6. cJXF1fPpvCs2PWPQ
    cJXF1fPpvCs2PWPQ
    CfNCIBoOXJfmJ5TE
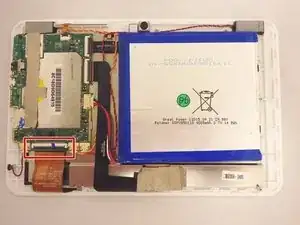
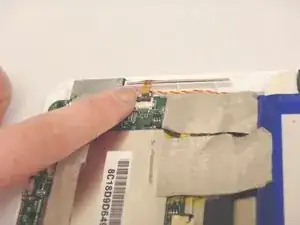
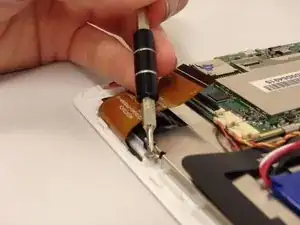
    • Flip up the black flap of the connector ribbon that connects the buttons to the motherboard.

    • The connector ribbon will stay attached to the device and separted from the motherboard.

    • If the black flap of the connector will not lift by using your finger, then use the nylon spudger.

  7. putrXVovKTrUMhTa
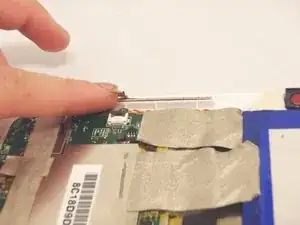
    • Gently pull the connector ribbon by hand from the connector until it separates from the connector.

  8. UlilbyuAJokgV3dR
    UlilbyuAJokgV3dR
    yd3OOTCVdWRWqeEH
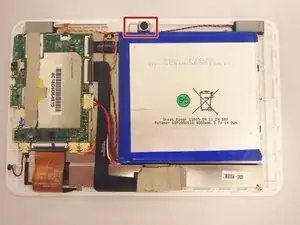
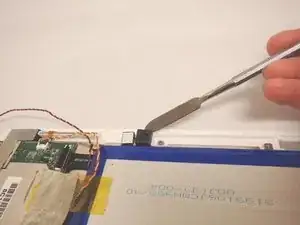
    • Gently pry the cameras from device using metal spudger tool.

    • Always try using a plastic opening tool or nylon spudger first. Metal spudgers are great for serious prying power but can damage your device if used incorrectly.

    • The cameras and connector ribbon will stay attached to motherboard.

  9. vcP5N6dJuQiuAnxT
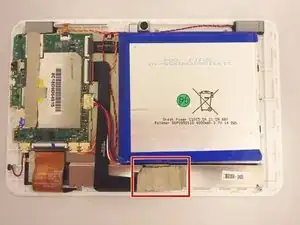
    • Remove the tape that is covering the screen motherboard connector ribbon.

    • The screen connection will now be exposed.

  10. 3XXfhAAJRTLYYghl
    3XXfhAAJRTLYYghl
    p6tICSqWihVLUpOt
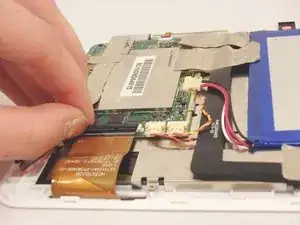
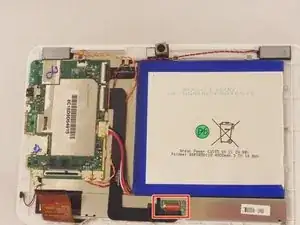
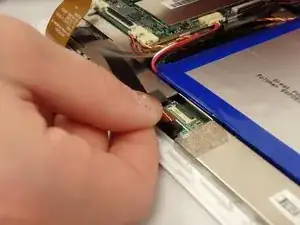
    • Flip up the black flap of the connector that connects the screen to the motherboard.

    • If the black flap of connector will not lift by using your finger, then use the nylon spudger.

    • Gently pull the connector ribbon by hand from the connector until it separates from the connector.

    • The connector ribbon will remain attached to the motherboard and separated from the screen.

  11. ZGuagoNus3oN12RU
    ZGuagoNus3oN12RU
    jCcUfXbMQYI6aaIV
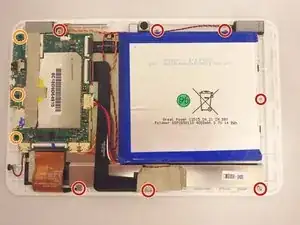
    • Using a PH00 screwdriver, remove the (7) seven silver screws that connect the metal plate to the device.

    • Using a PH00 screwdriver, remove the (3) three black screws that connect the motherboard to the device.

  12. yrdNvhZxR2pCkdfQ
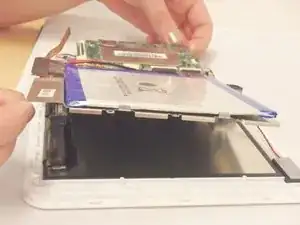
    • Gently lift the metal plate that is attached to the motherboard and battery and set aside.

    • Do not force the metal plate to separate from the screen!

    • If the metal plate does not separate from device freely, then you have not disconnected a connector ribbon or you have not removed all the screws. Repeat step 10.

    • Screen will now be exposed.

Conclusion

To reassemble your device, follow these instructions in reverse order.

Emily Guidinger

Member since: 01/04/16

527 Reputation

One comment

Where to buy it the display?
krnes1979 -