Introduction
Tools
-
-
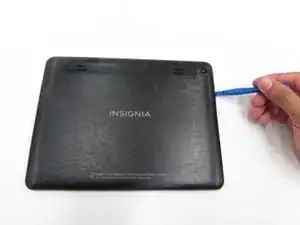
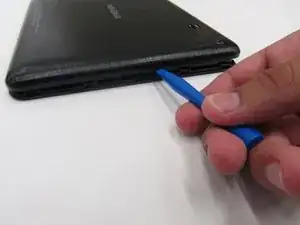
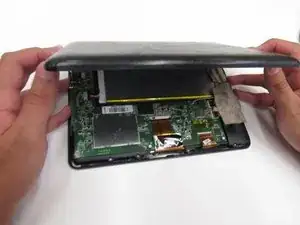
Insert a plastic opening tool into the seam between the back casing and the screen to separate the back casing from the tablet.
-
-
-
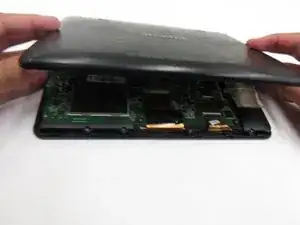
Lift the back casing away from the rest of the device which should include the exposed circuit board and screen.
-
Set the casing aside.
-
-
-
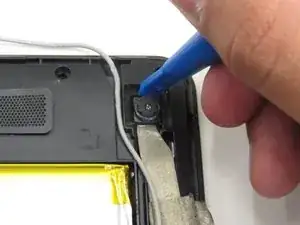
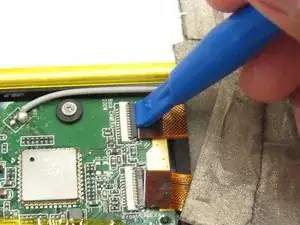
Use a plastic opening tool to flip up the black strip that is holding the orange camera ribbon near the module on the circuit board labeled "front camera" in white print.
-
Repeat this action on the orange camera ribbon near the module on the circuit board labeled "back camera" in white print.
-
-
-
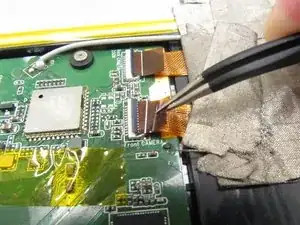
Use tweezers to gently pull on both orange camera ribbons in the opposite direction in which they are connected until they disconnect from the modules on the circuit board.
-
-
-
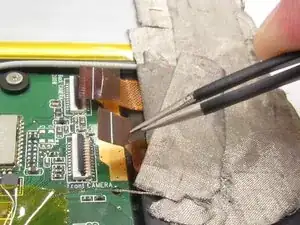
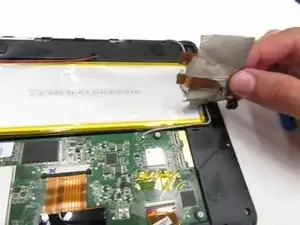
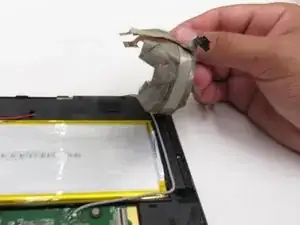
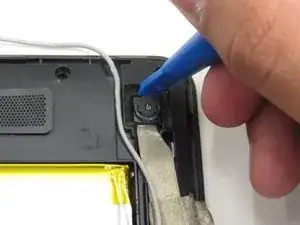
Peel off the grey tape covering the ribbons, in order to separate the cameras and their respective ribbons from the rest of the device.
-
To reassemble your device, follow these instructions in reverse order.
