Introduction

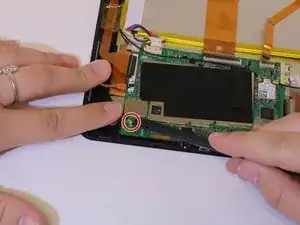
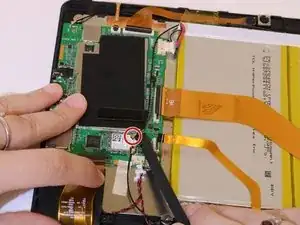
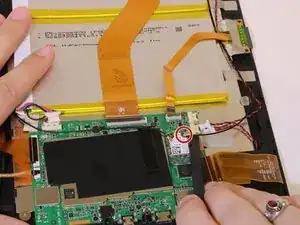
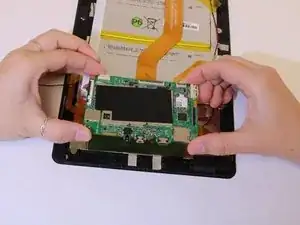
The Insignia Flex 10.1 NS-P10W8100 motherboard is connected to several Zero Insertion Force (ZIF) connectors and ribbon cable connectors. Be sure you have unplugged every connector before attempting to free the motherboard.

  1. xlbKF6XngbWCkAOV
    xlbKF6XngbWCkAOV
    c1pQT3VdkShE5TRW
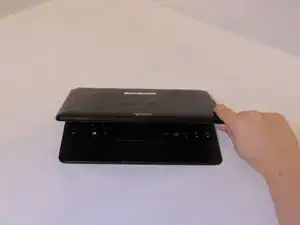
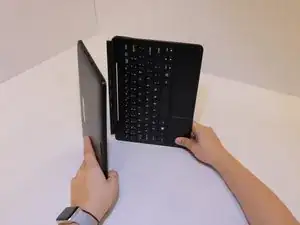
    • Carefully open the laptop and remove the keyboard by disconnecting it.

    • Place keyboard to the side as you will not need it.

    • Beware of plastic clips on the side of the device.

  2. CZMmZ4CcsjOOZl6W
    CZMmZ4CcsjOOZl6W
    i3Op5ybfggpRy2Kb
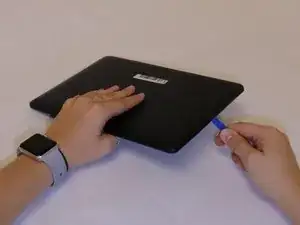
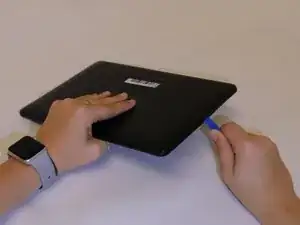
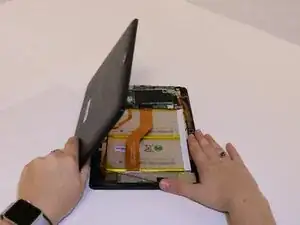
    • Lay the screen flat on its surface and use the iFixit opening tool to remove the cover by gently prying the back cover from the screen.

    • Apply the opening tool to the edge closest to the screen.

    • Apply the opening tool to each side which will help pry the back cover evenly.

    • Do not pry on the bottom side of the device. This is the side across from the camera.

  3. xobWKvJfHKx6yhUr
    • Use your fingers and pry the back cover from the screen. You may need to wiggle the cover a bit to separate the pieces.

    • If the back cover does not come off, work your fingers around the corners and slowly pry the cover off using your fingers.

    • Be careful with potential sharp edges and any exposed electrical components.

  4. H1xH4K12Dlc3dkhM
    H1xH4K12Dlc3dkhM
    ovQtAH2ejTLSaL4x
    2FnCYiAErBV4VhBl
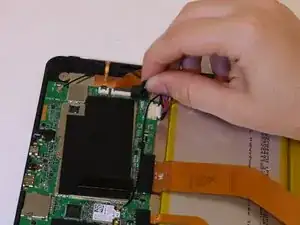
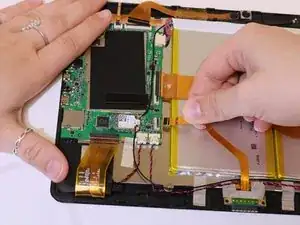
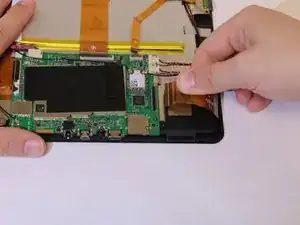
    • Gently remove the black tape from each of the three connectors.

    • It may help to move around the motherboard in a clockwise direction to remove each piece of tape.

  5. HfixnVrZUR4Pty32
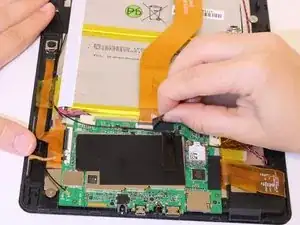
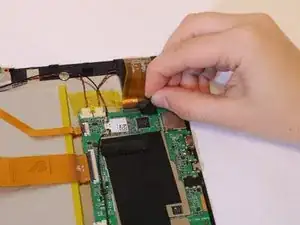
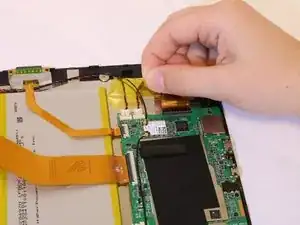
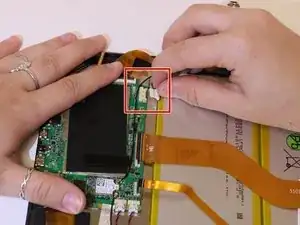
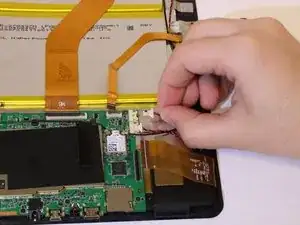
    • With a fingernail, gently remove the yellow tape from across the speaker wires.

  6. JFbXadOMoFVBB3Ed
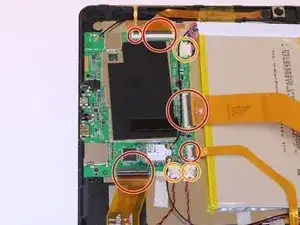
    • Once the pieces of tape are removed the resulting motherboard should look like this picture.

    • The ZIF connectors will be removed in a clockwise motion.

    • Secondly, the ribbon cable connectors will be unplugged to isolate the motherboard.

  7. E2fp6YIHHQDa21qa
    E2fp6YIHHQDa21qa
    pAwaTPvj6fFe2wrJ
    • Unplug the smallest ZIF Connector by using you fingernail to flip up the small locking flap. Then safely pull the cable out.

    • Be careful not too pull too hard as the ZIF Connector is fragile and can be damaged easily.

  8. XHiZdldHFjNNYxJb
    XHiZdldHFjNNYxJb
    q4QTdxPOErpf16Km
    • Following a clockwise direction, continue unplugging the ZIF connectors by safely puling the cable out.

  9. mnjGcZj163yeDYxR
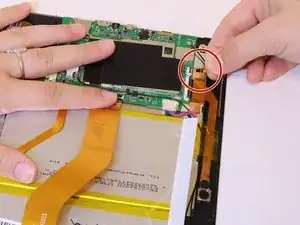
    • Remove the ribbon cables by firstly disconnecting the cable located on the top right of the motherboard,

    • Be careful not to forcefully yank the cable as it could cause a wire to disconnect.

  10. qGowI2ffwr6JTW2r
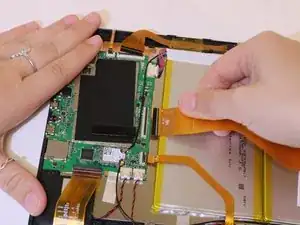
    • Remove the remaining two bottom ribbon cables.

  11. GhGsDVKXoG5MybvB
    GhGsDVKXoG5MybvB
    LyEnvMqR1FlnkSiK
    VwJNiup11vKObHWX
    • Disconnect the three low profile connectors by using a spudger to prop up both sides. Then, lift the connectors straight up from their sockets.

  12. ZShUF6naNEfwTEYD
    ZShUF6naNEfwTEYD
    gl6HbUcVkGuZ5HnC
    mLolfbmCqlGbWCsl
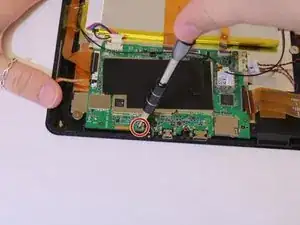
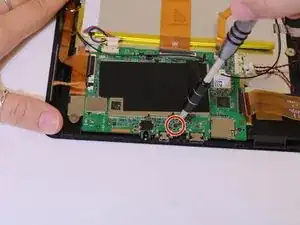
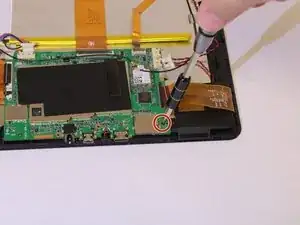
    • Using a Phillips #2 screwdriver, remove the three 4 mm screws to free the motherboard.

  13. Jg2Zv4wTXDyNlHyl
    Jg2Zv4wTXDyNlHyl
    DSuNiHHsvxIbel3c
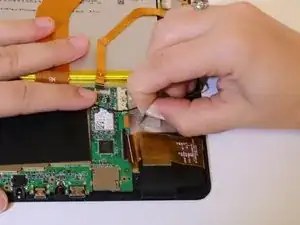
    • Pull the two pieces of grey tape off the motherboard.

  14. TvcOxaNUT6hg52U5
    TvcOxaNUT6hg52U5
    4nXcIIDMWAn3oYkc
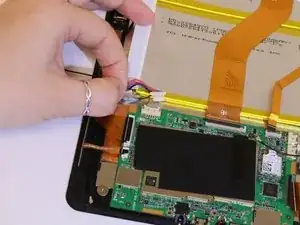
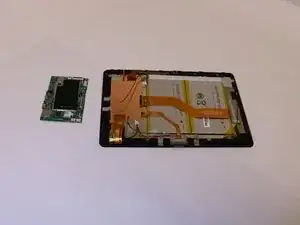
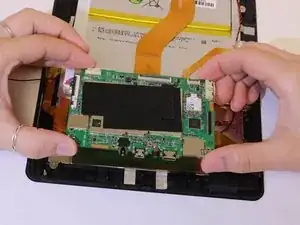
    • Remove the motherboard by lifting it upward.

Conclusion

To reassemble your device, follow these instructions in reverse order.
Edgar Rodriguez

Member since: 12/02/19

971 Reputation

0 comments