Introduction
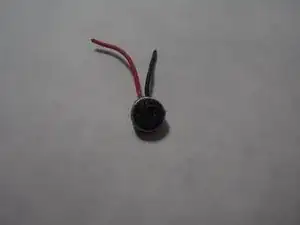
The microphone in the Insignia Flex 10.1 is used during audio and video calls, recording audio and video footage, or using voice commands. Use this guide to replace the microphone in your Insignia Flex 10.1 tablet.
Tools
-
-
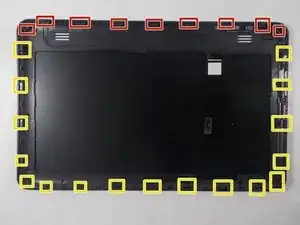
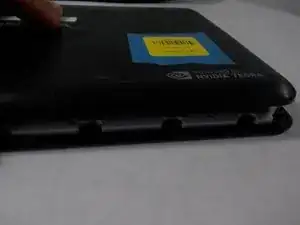
To help in visualization, the 9 clips boxed in red are located on the same side as the volume buttons.
-
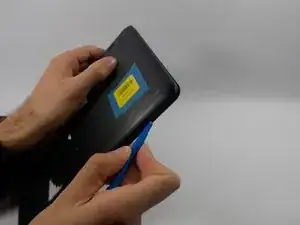
Remove back cover by inserting a plastic opening tool along the edge of the device to release the clips.
-
-
-
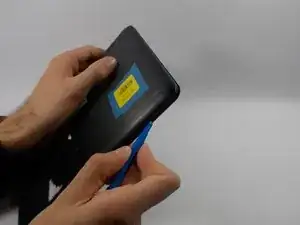
Insert the plastic opening tool into the seam between the front case and the rear panel of the Flex 10.1.
-
Gently enlarge the existing gap by pressing and wiggling the plastic opening tool into the gap near each of the clips attached to the rear case, pushing the clips toward the center of the device until the clips have been freed.
-
Repeat the same procedure to free all clips around the Flex 10.1.
-
-
-
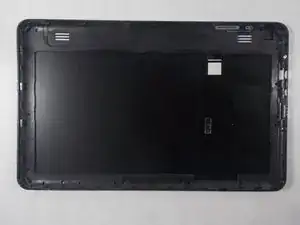
After ensuring all clips are free, separate the two halves of the Flex 10.1.
-
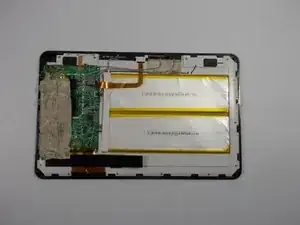
The rear panel is now free from the Flex 10.1.
-
-
-
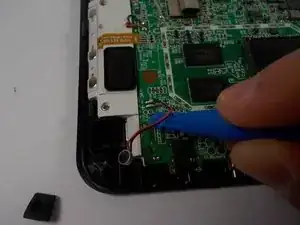
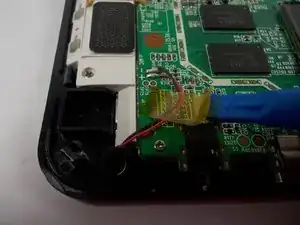
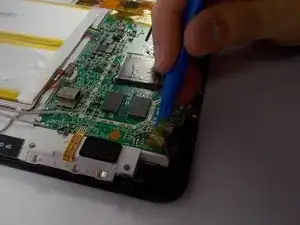
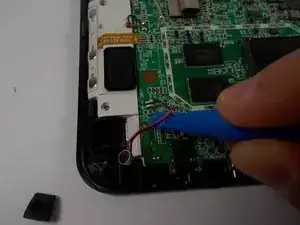
Using the plastic opening tool or your fingers, remove the tape holding the black and red wires down.
-
-
-
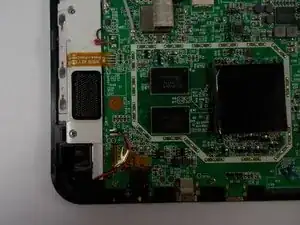
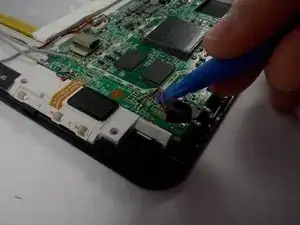
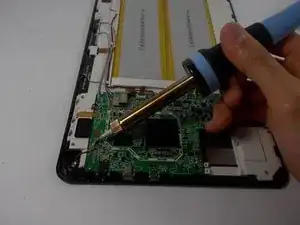
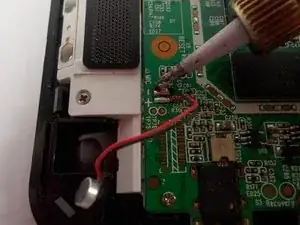
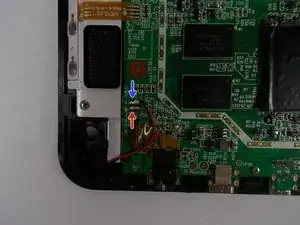
Begin by heating up the two solder joints on the motherboard one at a time.
-
When the solder melts and the wire is free from the motherboard, immediately lift the solder tip off the connection to avoid damage.
-
-
-
Solder the replacement microphone to the same joints on the motherboard.
-
Solder the connection by momentarily placing the tip of the soldering iron against the connection, pressing solder into the connection (melting it), and quickly removing both the solder and the tip of the soldering iron from the connection. The solder should flow around the wire and motherboard for a successful connection.
-
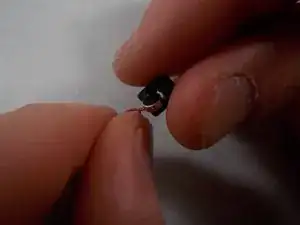
The black wire must be soldered to the negative joint.
-
The red wire must be soldered to the positive joint.
-
To reassemble your device, follow these instructions in reverse order.
