Introduction

  1. sAP5uImYZZCnyMRH
    sAP5uImYZZCnyMRH
    432WNxDp1BVbTJDc
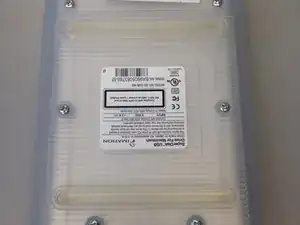
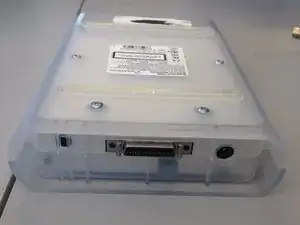
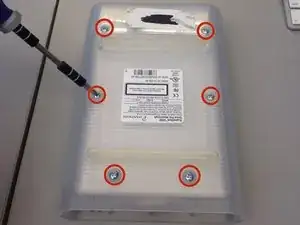
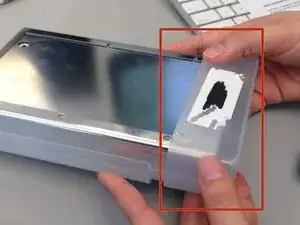
    • Flip the device over so the bottom is facing up.

    • You will know it is the bottom because there will be six silver screws visible.

  2. 12oJTUJkElFVHSuw
    12oJTUJkElFVHSuw
    uxnDBT2Wxa5OrLji
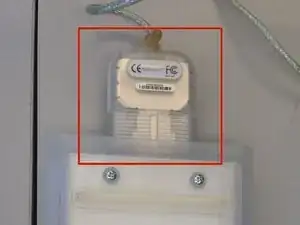
    • Remove the USB converter device by gently pulling it out.

    • Do not pull the converter device out by the cord.

  3. MuvOLRjTCilWLF2Y
    MuvOLRjTCilWLF2Y
    oucIgKVhJeXykvEQ
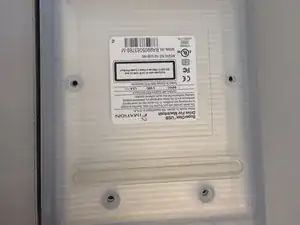
    • Remove the six silver screws using a small Phillips head screwdriver.

  4. 4OYHm1nwtynJvusm
    4OYHm1nwtynJvusm
    pkpTYVd6de1r6XWM
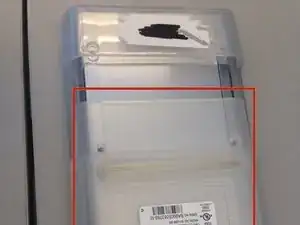
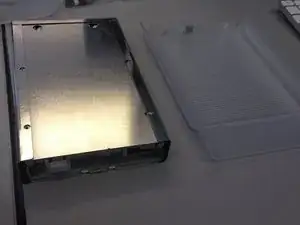
    • Slide the bottom plastic panel of the shell down so it is free of the end cap and the top panel.

    • Lift panel free of device.

  5. rWHAICSqHprPNLaR
    rWHAICSqHprPNLaR
    P3ILJ2Z5tYoWRN3W
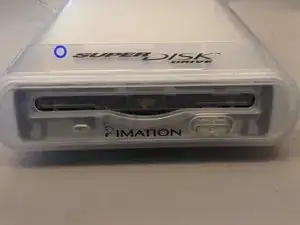
    • Remove the plastic end cap by sliding it forward, freeing from the rest of the device.

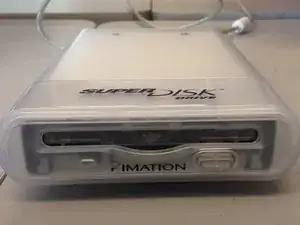
    • You can identify the end cap by noting the label "SuperDisk Drive" above where you would insert a floppy disk.

  6. peAqnUoDjD3mQLRR
    peAqnUoDjD3mQLRR
    2KLddHtCZPfPhxtg
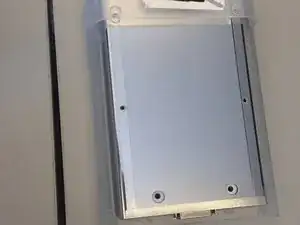
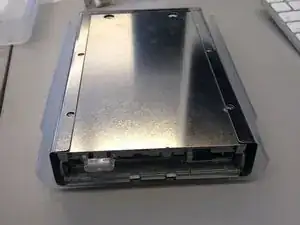
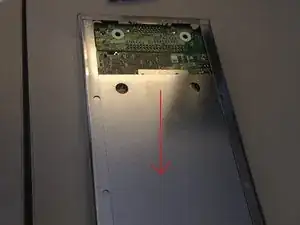
    • Slide the metal housing out of the plastic shell.

  7. Y3mhswu5qLLMlTyi
    Y3mhswu5qLLMlTyi
    FTHXxOpS65RbBYoM
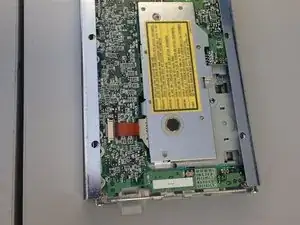
    • Slide metal panel out of the metal casing.

  8. DhfMjVD1odCOkwjC
    DhfMjVD1odCOkwjC
    ZIRZ634rVJAgYTNf
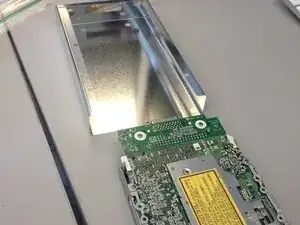
    • Slide disk drive out of metal casing.

  9. leQwjRbLu6fACKwa
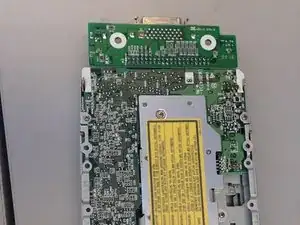
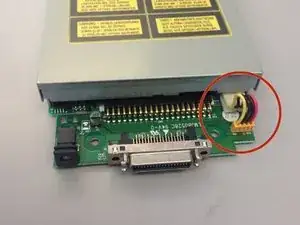
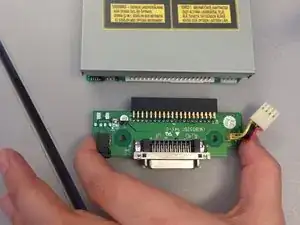
    • Flip the disk drive over so the the plug on the daughter board is visible.

  10. vRXZksiIWeboKNKK
    vRXZksiIWeboKNKK
    3TKBP3LkXHgGHZud
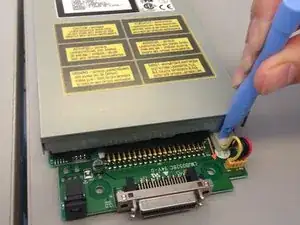
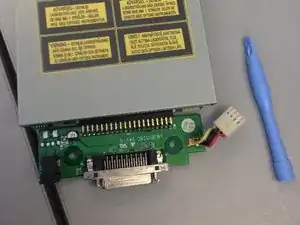
    • Using an iPod opener put pressure on the white plug and pull backwards until the daughter board unplugs from the main unit.

  11. 13Wbcf15xUZTDOAC
    13Wbcf15xUZTDOAC
    FEeOSntGDc2BdK3L
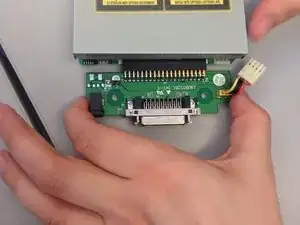
    • Gently pull on the daughter board until it separates from the device.

  12. F2DjZAVOaZTnQQ4C
    F2DjZAVOaZTnQQ4C
    qJfyAW2XrvhkNA2M
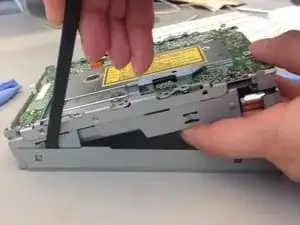
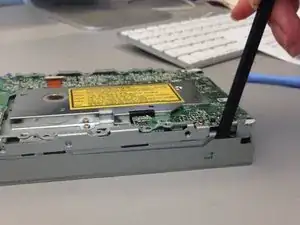
    • Place a plastic spudger in between the disk drive and its metal casing. Use the spudger as a lever the until the metal casing detaches from the disk drive.

    • You may have to use the plastic spudger in several spots along the metal casing.

  13. GTLmQRPiCudmmerx
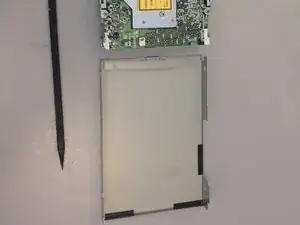
    • lift the disk drive completely out of the metal casing and set it aside.

Conclusion

To reassemble your device, follow these instructions in reverse order.

Caitlin Horwatt

Member since: 11/02/14

137 Reputation

One comment

Does anyone know if the MAC USB version works on modern PCs?
davidpaulpeterson -