Introduction
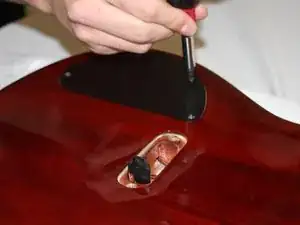
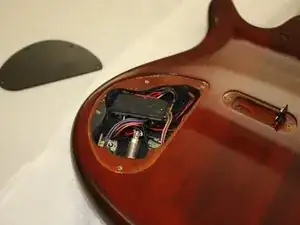
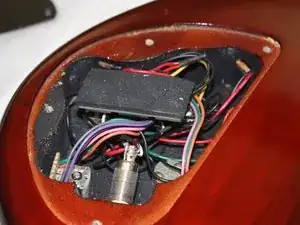
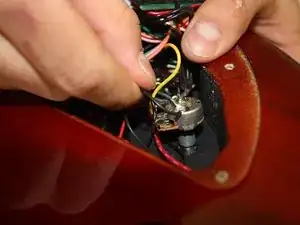
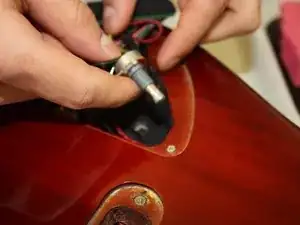
Follow these instructions to remove and replace a potentiometer on your guitar.
Tools
Parts
-
-
Gently place the instrument upside-down on a soft surface.
-
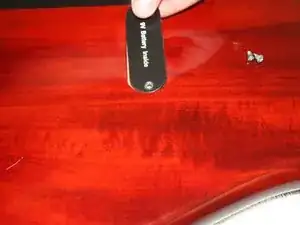
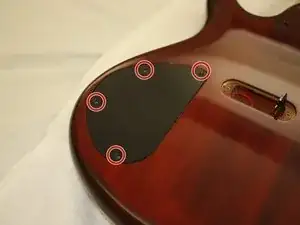
Locate the battery cavity cap and screws.
-
-
-
Gently lift the battery from the cavity.
-
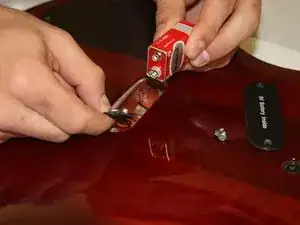
Detach the battery completely by firmly pulling the fabric connector from the conducting end of the battery.
-
-
-
Turn the instrument over.
-
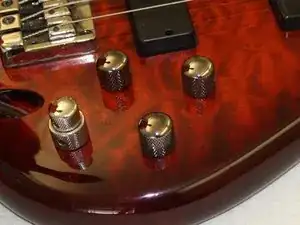
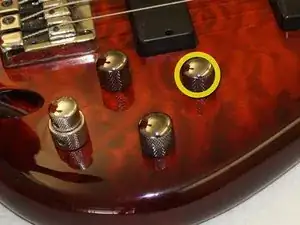
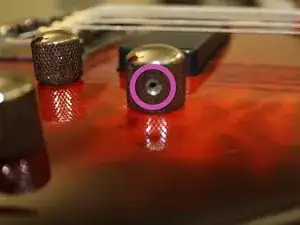
Locate the potentiometer knob.
-
Locate the allen screw socket on the knob.
-
-
-
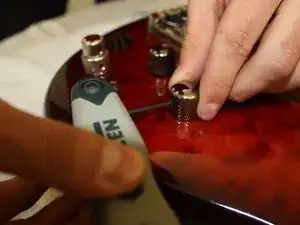
Use a 1/16" allen wrench to loosen the allen screw.
-
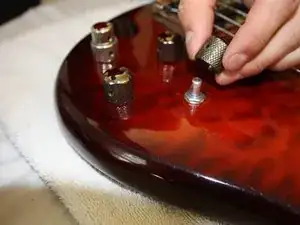
After the screw is loosened, lift the knob off of the instrument.
-
-
-
Locate the potentiometer nut, at the base of the potentiometer piston.
-
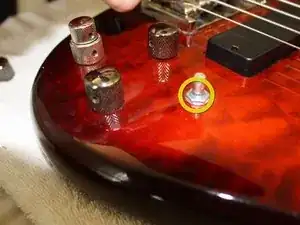
Use the adjustable wrench to remove the nut from the potentiometer.
-
-
-
Carefully turn the instrument over.
-
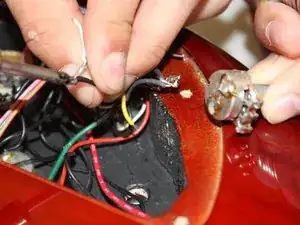
Remove the potentiometer from the instrument by gently pulling it upward.
-
-
-
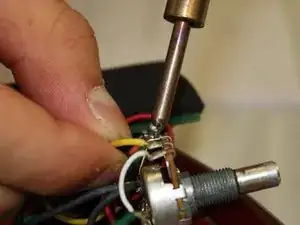
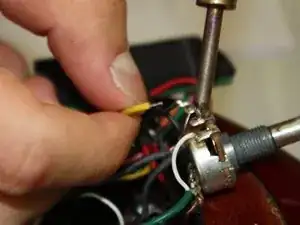
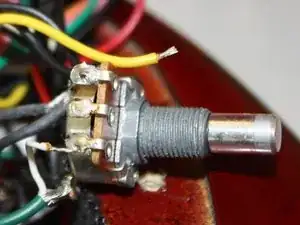
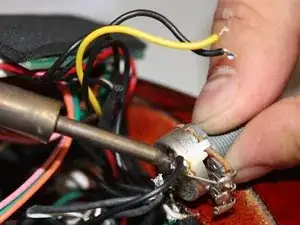
Use the soldering iron to release the black, yellow, and white wires from the side of the potentiometer.
-
-
-
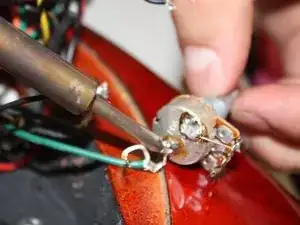
Use the soldering iron to release the black and green wires from the bottom of the potentiometer.
-
To reassemble your device, follow these instructions in reverse order with a new potentiometer.
