Introduction

CD Drives can wear down and stop functioning correctly or stop entirely. This guide will show the user how to remove and replace the CD Drive

  1. CvMXda3qOV4tWxTM
    • Start by having the right side of the laptop facing you.

    • The laptop can be open if you would like, but it can be done easier if it is closed.

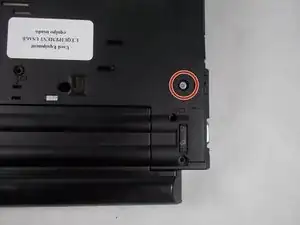
  2. 5QexnHUPdnpIqDDy
    • Remove the screw to be able to use the CD drive unlock switch

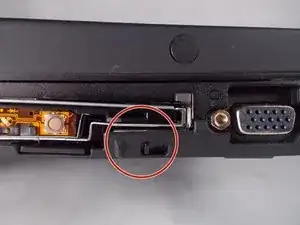
  3. ipXO2falbASlMfsn
    • Locate the switch on the right side of the CD Drive.

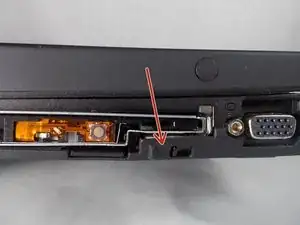
  4. 5eKOFGowfARRYiRq
    5eKOFGowfARRYiRq
    CTFjIPyUSA3Y35iP
    4OFRYdmNpiR13fQY
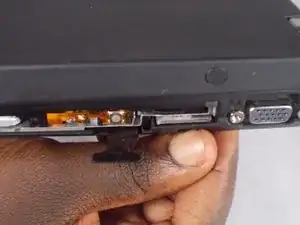
    • Place finger in between the switch and the bumper

    • Slide the switch to the right until the plastic tab ejects.

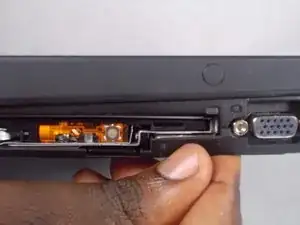
  5. H2QRjXvWqb3ZwULF
    H2QRjXvWqb3ZwULF
    aZMHgnLeqNZDOxBV
    PEpnNvRVNjfTUYEf
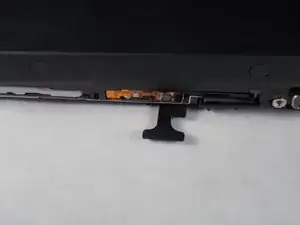
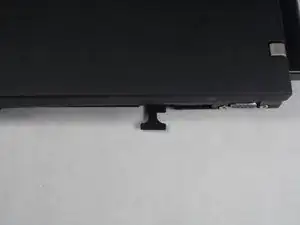
    • Place fingers on the plastic tab.

    • Pull on the tab until the CD Drive ejects.

    • The tab only comes out about an inch to inch and a half.

    • Do not try to pull the tab all the way out.

    • If after you have removed the CD Drive and the tab goes back in, it is alright. It does not affect the later process.

  6. fnbjeLImPijlIIn5
    fnbjeLImPijlIIn5
    ODuNWbfwi42VyLOT
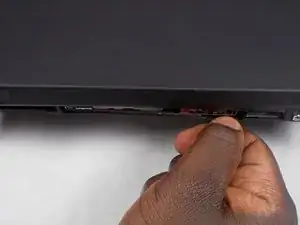
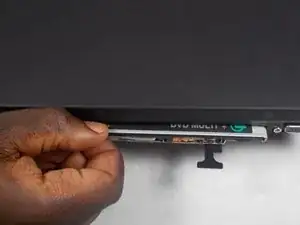
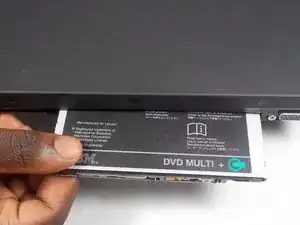
    • Grab the end of the CD Drive and pulls straight out towards your body.

    • Be careful not to pull it out at an angle to not risk damage.

  7. YAfDZiXAVScxucsW
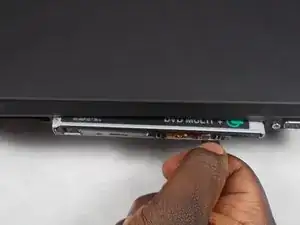
    • Now that you have successfully removed the CD Drive you can put in the new one.

    • Place the end of the new CD Drive in and slide in until it clicks.

    • If you are using slight force and it doesn't go in, it could be jammed. Just take it out and try again.

    • If you had not already, you can push back in the tab.

Conclusion

To reassemble your device, follow these instructions in reverse order.
aLiX pIeRRe

Member since: 19/03/18

855 Reputation

0 comments