Introduction
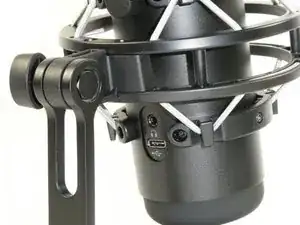
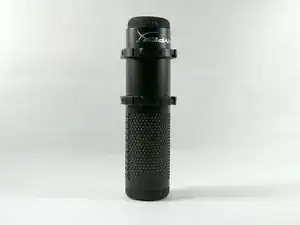
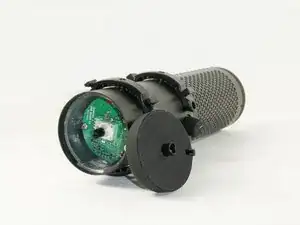
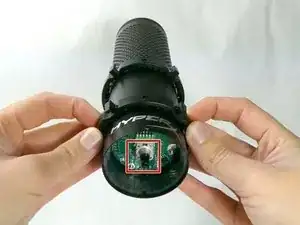
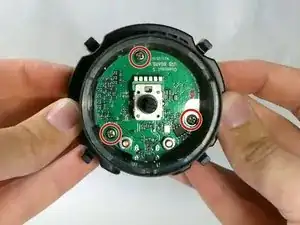
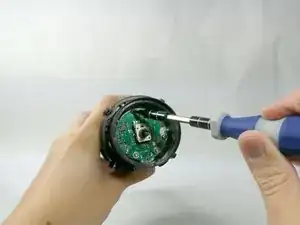
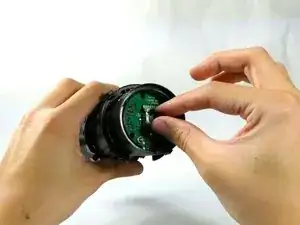
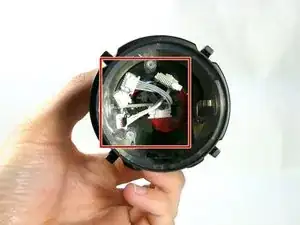
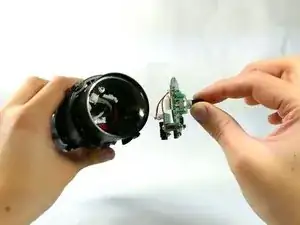
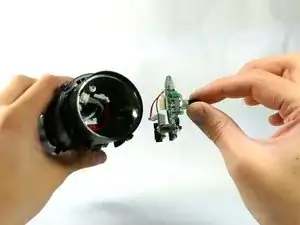
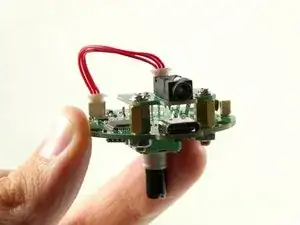
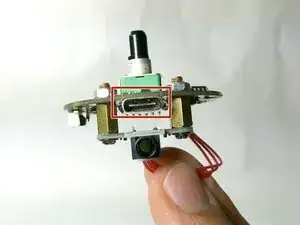
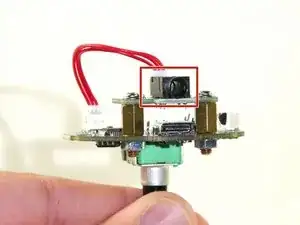
Suppose your HyperX QuadCast S microphone is not receiving power, or no audio is being outputted from the microphone. In that case, you may need to replace the headphone jack and USB-C port connected to the I/O Board of the microphone. Follow this guide to see how to access the I/O Board to reach these ports to begin replacement. For this guide, you will need a Phillips #0 screwdriver head. It's important not to damage any removed ports since the replacement ports will need to be soldered onto the board. This guide will not go into the specifics of how to solder the ports on the I/O Board however.
Tools
-
-
Set the microphone on a flat surface.
-
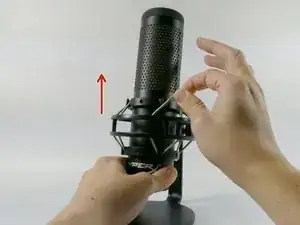
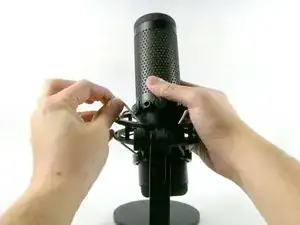
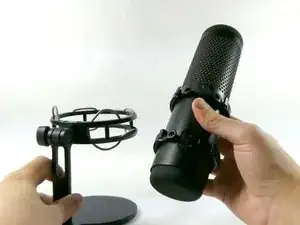
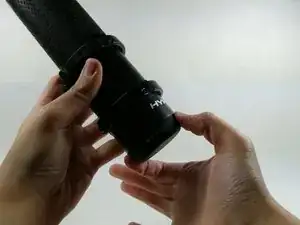
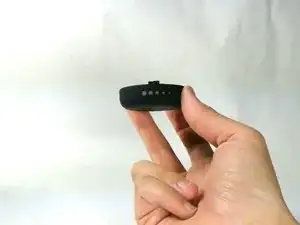
Pull each of the support bands upwards and off of the notches to release the microphone from its base.
-
-
-
Orientate the microphone with the gain control knob upwards.
-
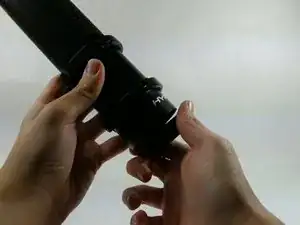
Pull outwards from the microphone to release the gain control knob.
-
To reassemble your device, follow these instructions in reverse order.
2 comments
do you have a motherboard replace for the original hyperx quadcast? current looking for a replacement right now.
tairkyu -
Unfortunately, HyperX doesn't sell the motherboards separately, making sourcing and replacing the board difficult. With our research, the only difference between the two microphone models is the illumination so the boards and the other features should be the same hardware. We'd recommend trying to source another quad cast for parts if you can find one that doesn't have a damaged board.
