Introduction
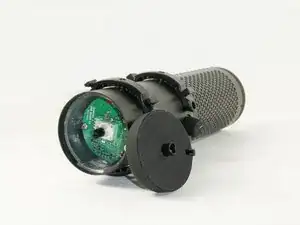
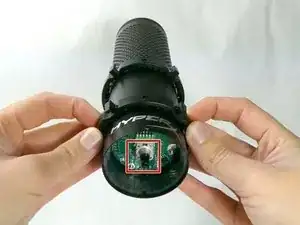
If your microphone has any distortion in tone, such as the audio being too quiet, or too loud, then there may be a problem with the gain control knob. This guide will demonstrate how to simply remove the gain control knob, which can allow access to the I/O board of the microphone. Keep in mind that this guide highlights removing the gain control knob, and not how to remove the I/O board.
-
-
Set the microphone on a flat surface.
-
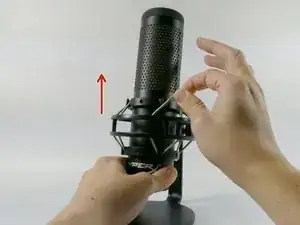
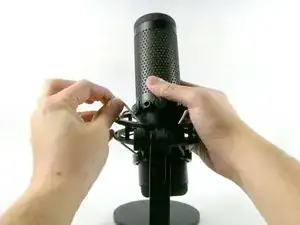
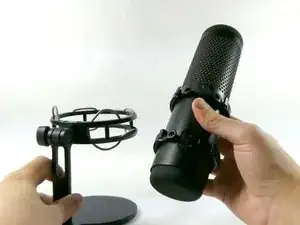
Pull each of the support bands upwards and off of the notches to release the microphone from its base.
-
-
-
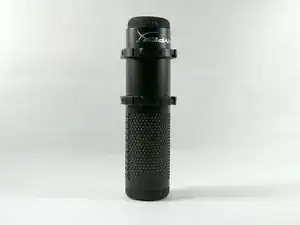
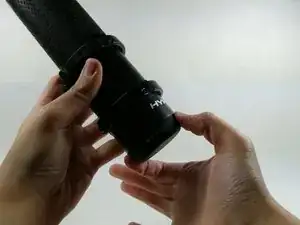
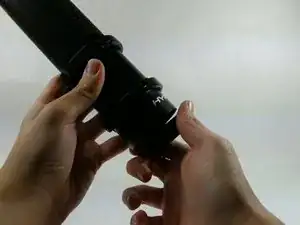
Orientate the microphone with the gain control knob upwards.
-
Pull outwards from the microphone to release the gain control knob.
-
Conclusion
To reassemble your device, follow these instructions in reverse order.
