Introduction
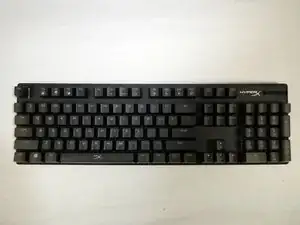
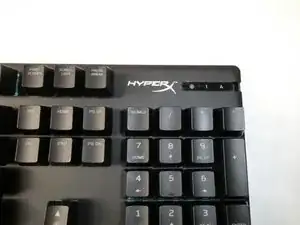
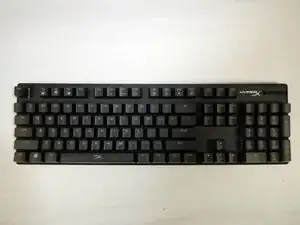
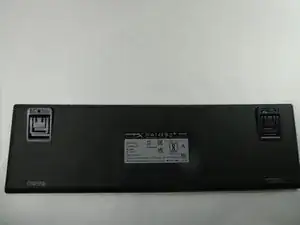
This guide will show how to replace the frontplate from your HyperX Alloy Origins mechanical keyboard (serial number HX-KB6RDX and its variants).
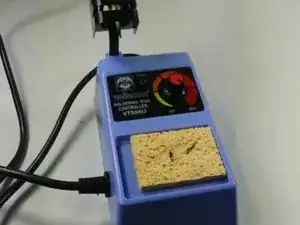
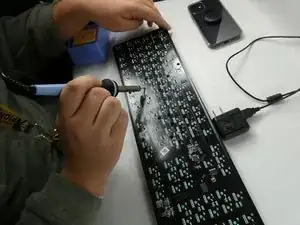
This task will involve the use of a spudger, Phillips #00 screwdriver, and a soldering workstation. This replacement should be done extremely carefully to avoid injury from the soldering iron. Replacement of the front plate may be required from an accidental spill or broken keys.
Before replacement of the front plate make sure you review and apply the actions in the troubleshooting guide to ensure that your keyboard is not functioning properly.
Tools
-
-
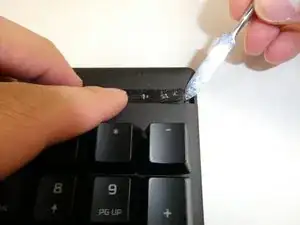
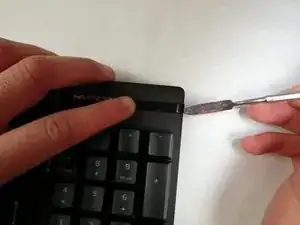
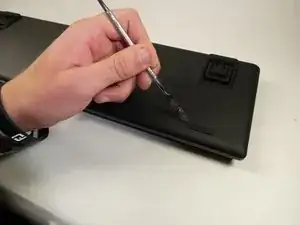
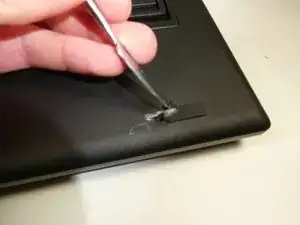
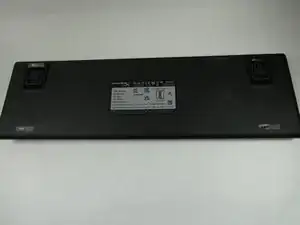
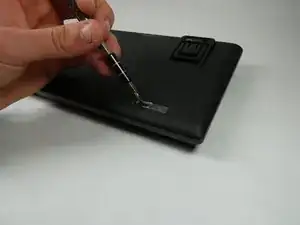
Insert the metal spudger or some other separating instrument into the right crevasse between the tab and the keyboard.
-
Lift up gently on the tab, while holding the left side of the tab down.
-
-
-
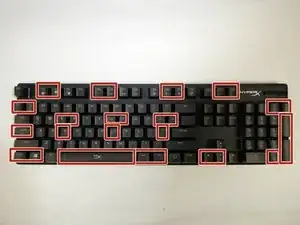
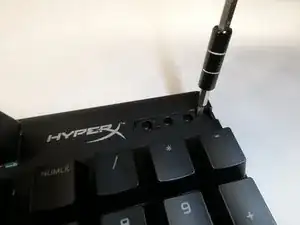
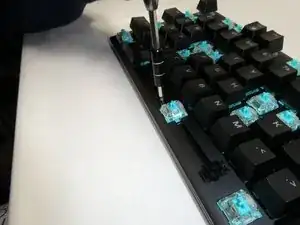
Remove all Philips #0 screws from the new openings created after removing the rubber feet and plastic tab.
-
-
-
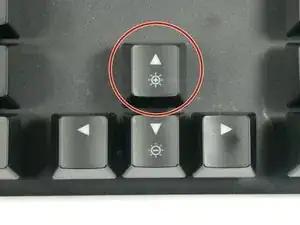
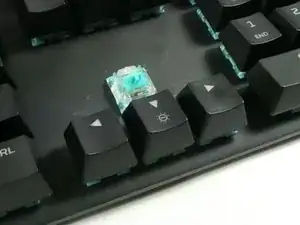
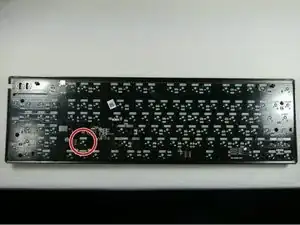
Identify the key switch to be replaced.
-
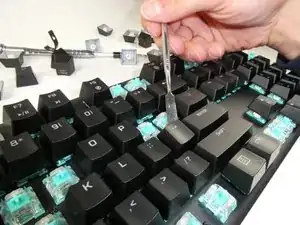
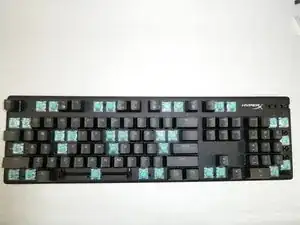
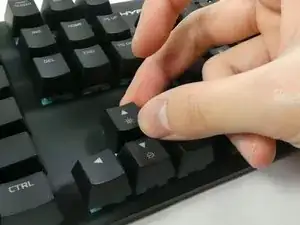
Remove its keycap by carefully prying it off of the keyboard with your fingers.
-
-
-
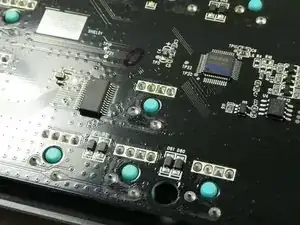
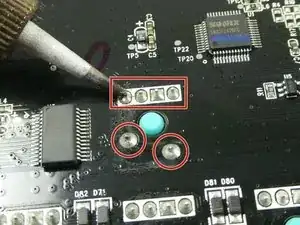
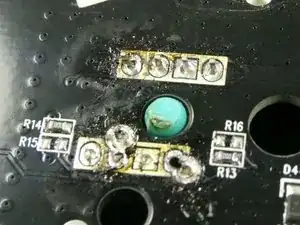
Melt the solder surrounding the four pins of the switch's LED, and the two lower pins of the switch body.
-
To remove the melted solder, use a desoldering iron, a desoldering pump, or desoldering braid.
-
-
-
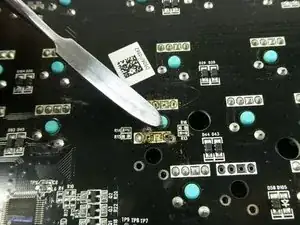
Using a spudger or another metallic instrument, firmly press down upon the exposed plastic of the switch. This will separate the switch from the rest of the keyboard.
-
-
-
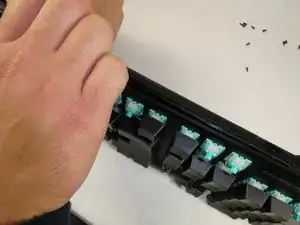
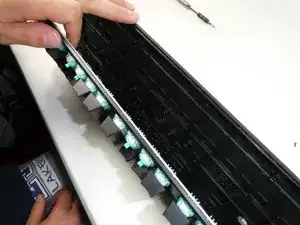
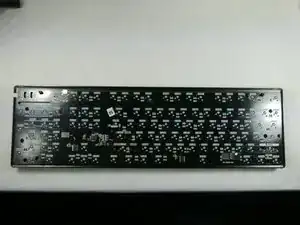
Separate the frontplate from the keyboard PCB using your hands.
-
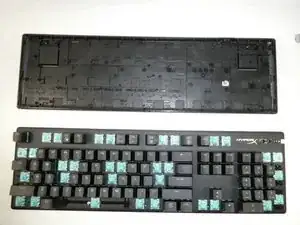
Set the PCB aside upon the backplate.
-
To reassemble your device, follow these instructions in reverse order. Note that when reattaching the switches back onto the keyboard PCB, the switches need to be held in place behind the keyboard while soldering.
