Introduction
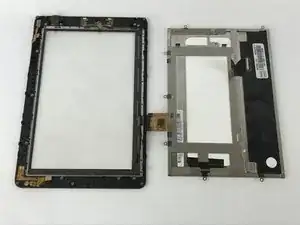
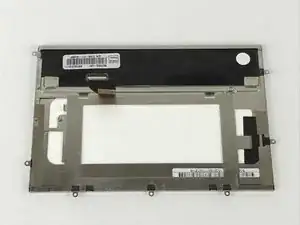
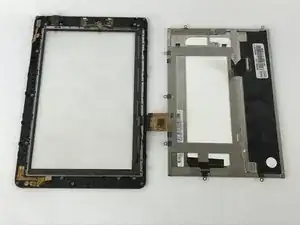
A portable device such as a tablet uses a touchscreen as its primary input. A touchscreen is any display that you interact with by simply touching it. The touchscreen of the tablet deteriorates over time. As a results, you experience touch lags, and sometimes your touchscreen just stops responding. In any case, you might need a screen replacement.In the following steps, we will walk you through how to remove and replace your touchscreen when you start having issues with it.
Tools
-
-
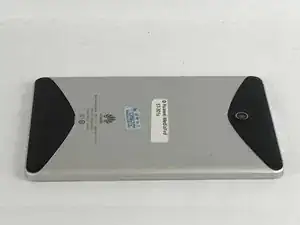
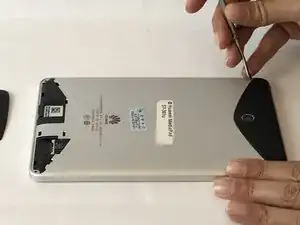
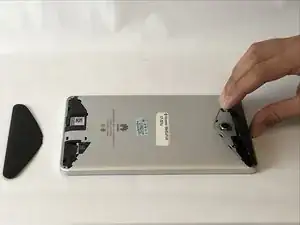
Use either your finger or a metal spudger to lift both the top and bottom black covers on the back of the tablet.
-
-
-
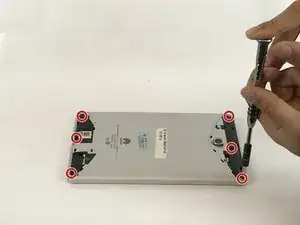
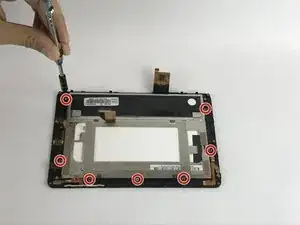
Use a Phillips (J000) bit screwdriver to remove the 6 (2 mm) screws located at the top and bottom of the tablet.
-
-
-
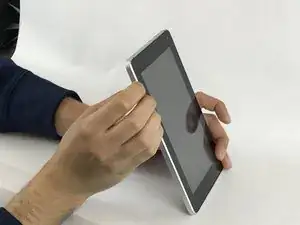
Hold the device by the silver edge and the front of the screen.
-
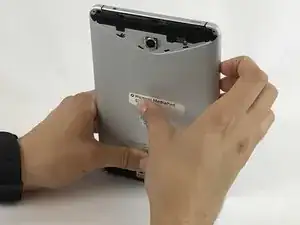
Then use your other hand to push gently on the center back of the tablet until the front screen is detached from the silver back cover.
-
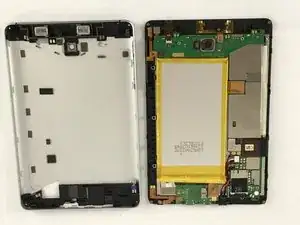
Finally, separate the screen from the silver back casing.
-
-
-
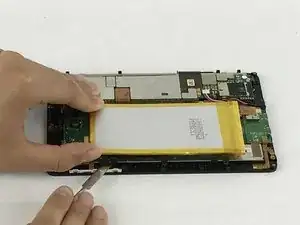
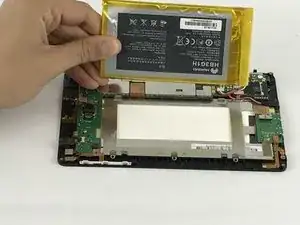
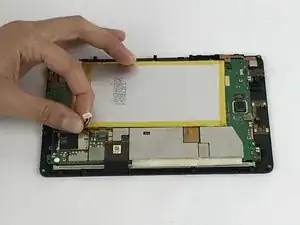
Use the plastic spudger to remove the battery from the device that is glued on the metal frame.
-
Follow the wires to where they are connected on the motherboard and simply pull the white connector out of the socket.
-
-
-
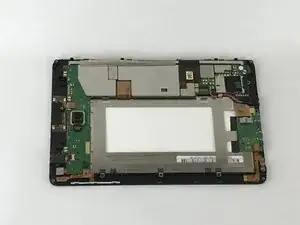
Once the battery is removed, the motherboard is ready to be removed.
-
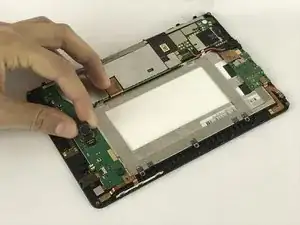
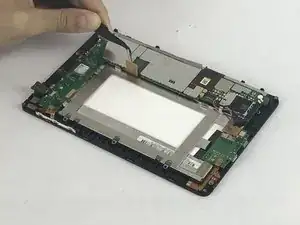
Remove the camera from the motherboard by disconnecting the clip next to it. You can use the precision tweezer here.
-
To remove the power port from the motherboard, unscrew the two 4mm screws with a T5 bit.
-
-
-
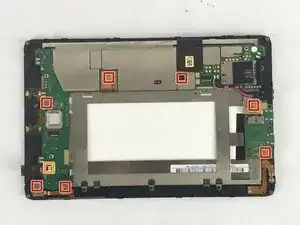
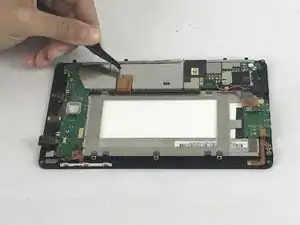
Use the precision tweezers to disconnect the 7 clips from the motherboard
-
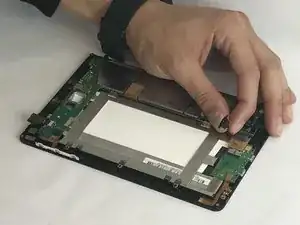
Remove the headphone input cable from the motherboard by carefully pulling on the clip.
-
-
-
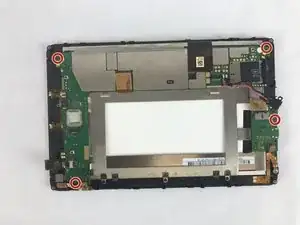
Unscrew the 4 screws 4mm with T5 bit from the edges or the frame of the motherboard to remove it
-
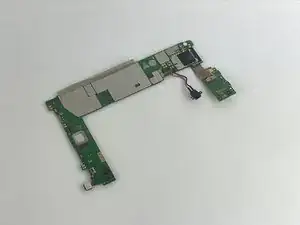
Carefully remove the motherboard from the metal frame.
-
To reassemble your device, follow these instructions in reverse order.
