Introduction
My recommendation is to not remove this key unless absolutely necessary.
It is much harder to reattach than other previous mac keyboards. Including the AA-powered previous gen wireless keyboard.
Tools
Parts
-
-
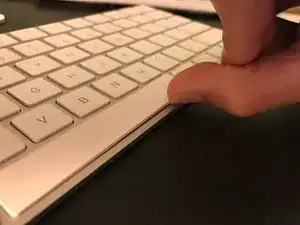
To remove the spacebar, slide a long fingernail under the front of the key and gently pry it up
-
-
-
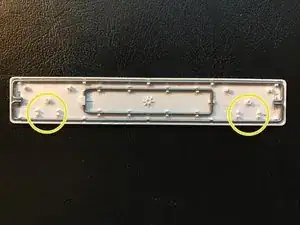
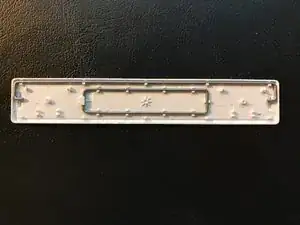
Identify top and bottom of the Spacebar.
-
The bottom side, (the side that will be closer to the lower edge of the keyboard), has two plastic notches on either side. These notches will grab on the lower portion of the two scissor mechanisms' small holes, as indicated.
-
-
-
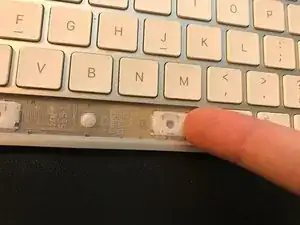
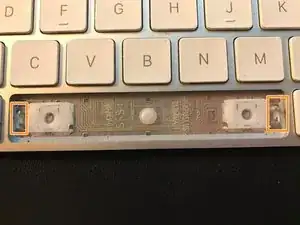
Locate the small metal hooks that hold the bracket arms and hook inward to grip the bracket arms.
-
-
-
Position the bottom of the key in the opening with the top tilted up and away from the keyboard.
-
Apply pressure starting from the bottom and slide your fingers up toward the top of the key.
-
You should hear and feel the two lower connections to the scissors. The top bracket should naturally be in the correct space.
-
You should be able to tap the key and feel normal action from the top part of it. No matter where you tap it on the top half.
-
-
-
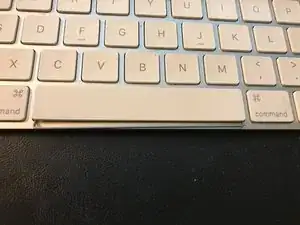
Carefully pry up the bottom part of the Space key at one corner, without pulling it away from the the scissor connection points.
-
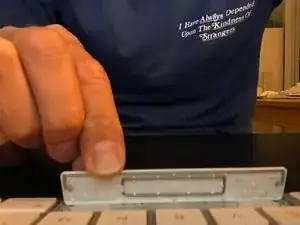
Carefully slide the bracket into the space below the spacebar. Nudge the bracket in until it is in its home.
-
Gently tap the key around the bottom side of the keyboard. Do not apply excessive force as shown on previous mac keyboard spacebar repair videos.
-
To reassemble your device, follow these instructions in reverse order.
24 comments
Great tutorial, thanks a lot!
However I found it easier to attach the metal bracket to the holding clips and just popping the key back on top of it.
Same as Xavier. First both metal brackets in the keyboard in place and then gently pushing the spacebar down on them. The key got stuck in its lower position at first, but after pulling it up, it works like a charm.
Gerard L -
Thanks for saying I had to pull it up a little.
Thanks! I spilled beer on my Enter and Caps Lock keys—two of the most complex :(
Your advice helped me for Caps Lock.
The Enter key is different.
For an Enter key, you need to remove the butterfly hinges and attach them to the key cap first. Then add the metal bar, then slide the butterfly hinges back into place. The other edge of the hinge and the metal bar then click back into place when you press down.
This is because under the Enter key there are two hinges that are not aligned, so you can’t slide the key in — whichever way I tried, I only ever caught one hinge and not the other.
By removing them from the keyboard you can check they are properly in their slots on the key cap. You need to look carefully at how they attach to the keyboard, so you can slide them back in later.
I really don’t recommend this repair for the Enter key unless you are really, really precise and have a real eye for detail and a magnifier. Trickiest is getting a <1mm piece of nylon into a <1mm piece of plastic.
Amazing design.
