Introduction

Use this guide to open your Fitbit Ionic for repairs.

  1. j3U2pxnNpNDc1XgL
    j3U2pxnNpNDc1XgL
    5LVAPNxPV53ZiZkS
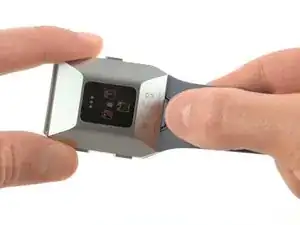
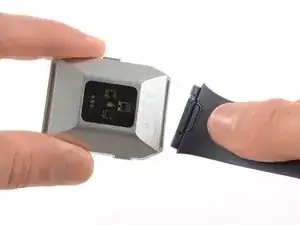
    • Before starting, take your Fitbit Ionic off the charger and power it down.

    • Feel free to attach or remove the watch band as needed to provide more control as you make repairs.

  2. 5GlxOPlV3YAer1HX
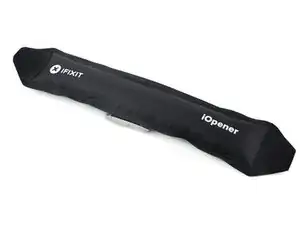
    • Heat an iOpener and apply it on the display for at least two minutes to soften the adhesive underneath.

    • The adhesive of the Fitbit Ionic is very strong. You may need to reheat the iOpener and repeat this procedure several times until the display adhesive gets loose enough.

    Hair dryer on low took about 25 minutes directly blasting on the device, then used the ifixit metal spudger blade with rubber handle in the velcro kit pack

    disgustipated -

    Thanks for sharing your experience!

    Adriana Zwink -

  3. NieMBxeN4NRFTkGt
    NieMBxeN4NRFTkGt
    KUiscVfXSQxE2oVM
    KC5SWFtTAdOIqEgk
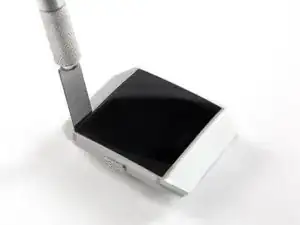
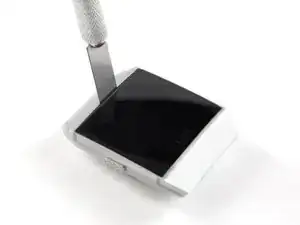
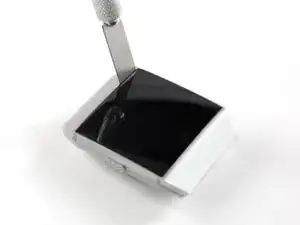
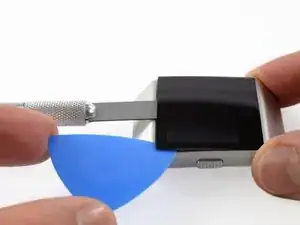
    • Insert a technician's razor with a flat blade into the small gap between the watch case and the display.

    • Cut through the adhesive on the upper side of the Fitbit Ionic.

  4. 6PATXUSPhy2IiRBA
    6PATXUSPhy2IiRBA
    qTDImfYExkgJANJn
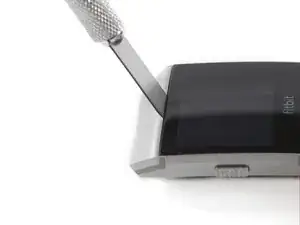
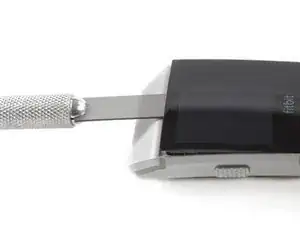
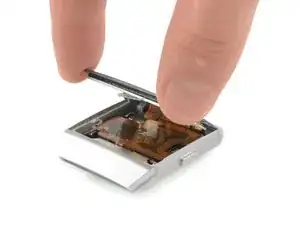
    • Use a technician's razor with a flat blade to pry up the top edge of the display and create a small gap.

  5. vAQbyryoEfv3oGJK
    vAQbyryoEfv3oGJK
    WOmQ4JnQNBGeRv5N
    JPseNP3M2P1iv5RJ
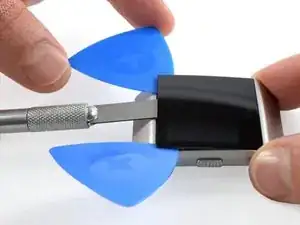
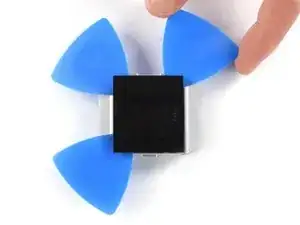
    • Insert two opening picks underneath the top left and the top right corner.

    • Leave the opening picks in place to prevent the adhesive from resealing.

    • Remove the razor blade.

  6. StNV63ipPBPKipVl
    StNV63ipPBPKipVl
    nwaKXnDhTB64JH3J
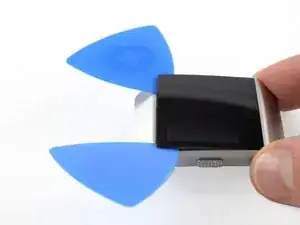
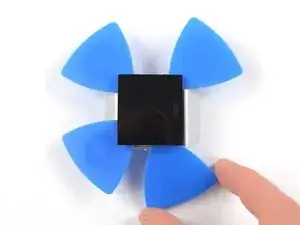
    • Insert a third opening pick underneath the top right corner and slide it along the right edge of the display.

    • Leave the opening pick in the bottom right corner to prevent the adhesive from resealing.

    • If cutting becomes too difficult, reheat and reapply the iOpener.

  7. D2l3JKJmNNPL1Eea
    D2l3JKJmNNPL1Eea
    HFw6GLx5AiQhjrRR
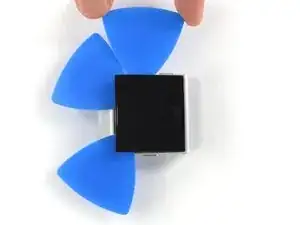
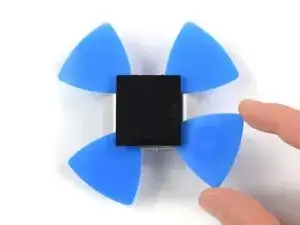
    • Insert a fourth opening pick underneath the top left corner and slide it along the left edge of the display.

    • Leave the opening pick in bottom left corner to prevent the adhesive from resealing.

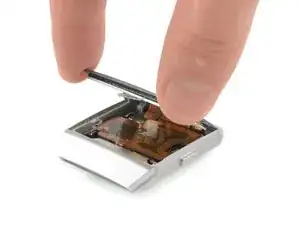
    • Do not remove the display assembly all the way yet—it's still connected to the mainboard.

  8. WpSZM6JYYAIIZtbM
    WpSZM6JYYAIIZtbM
    MZnOEPQTOgA6owrA
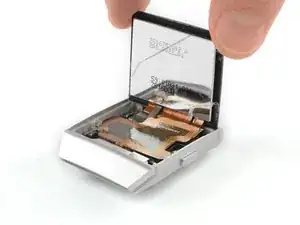
    • Carefully fold the display assembly in the direction of the bottom edge.

Conclusion

To reassemble your device, follow these instructions in reverse order.

You’ll need replacement adhesive to reattach components when reassembling the device.

Opening didn’t go as planned? Check out our Answers community for troubleshooting help.
Adriana Zwink

Member since: 18/12/19

47683 Reputation

0 comments