Introduction
Most commonly in the driver seat, but potentially in any of the heated seats, a small wire breaks connection with the main wires in the seat heater. This results in the seat heater icon being illuminated for only a second or two before turning back off again. This guide will show you how to open up your seat, in this case the driver’s seat, and get to the wires that need to be reconnected.
A small flat head screwdriver is useful for disconnecting plastic clips. The ability to solder very small wires in the presence of flammable materials is necessary, too. Even if you don’t have proper soldering technique and just use the solder like a glue gun, as I ended up having to do, it will still work just fine.
-
-
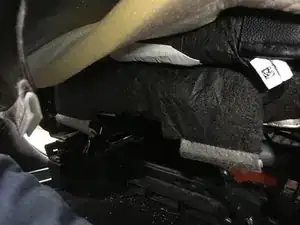
The first step is to remove the lower seat cover. It is attached behind the seat and under it. Lift the black fabric covering and you will see how these connect underneath. They are not under tension, they just require that you snap them straight down and off of the metal rim.
-
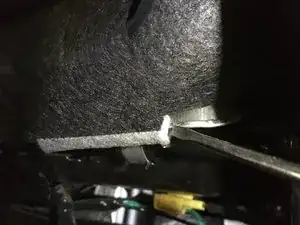
I recommend using a small flathead screwdriver to pull them down. There are three. Disconnect all three.
-
When you have disconnected all three, disconnect all four electrical connectors.
-
-
-
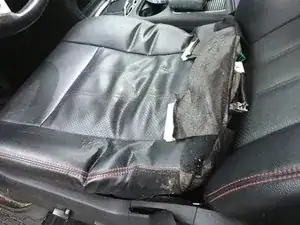
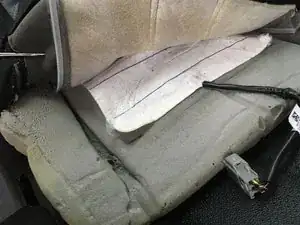
The next step is to pull back the seat cover. The seat cover for the part we need has the two outside clips. Push or pull those up and forward - along with the seat cushion -until you can see them from the top of the seat. Two of the connectors will come with the seat cushion
-
There is a loop of fabric that goes underneath the cushion, you will need to fish the two connectors through that loop and then pull the cushion out of the covering, as you would a fitted sheet from a mattress. Then pull it all back to expose the pad underneath as much as you can. There are clips to disconnect and that will be in the next step.
-
-
-
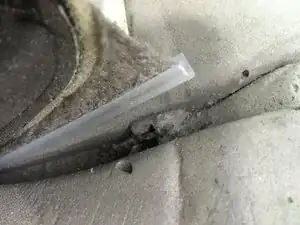
There are plastic strips running from front to back that answer and two black plastic clips underneath the seat itself. Hold on to the black plastic clip on one side and try to open it a little with your finger as you pull the clear plastic strip out of its grip. Do this on both sides.
-
Then, going forward another 4 inches or so, there is another set of clips.Unclip these if you need. I did need to unclip a second one on the side closest to me in order to get access to the heating pad enough to make the repair.
-
-
-
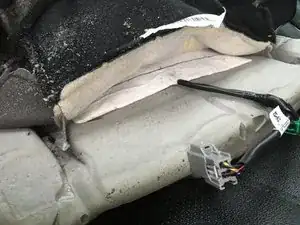
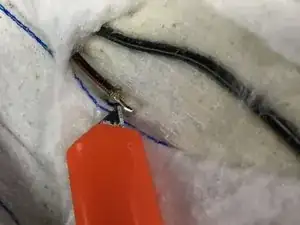
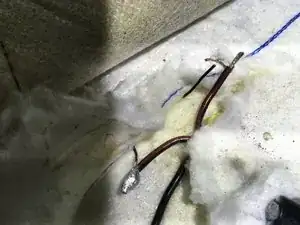
Now that you have access to the white cotton heating pad, you will need to carefully cut into it to expose the poor connection. Don’t bother removing the tape from the sides, I’m not sure why it’s there.
-
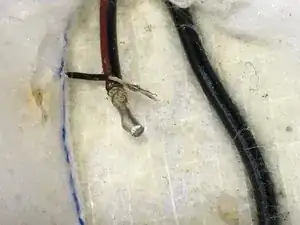
The bad connections will be near where the wires go in. The thicker wire runs in from the connector site and one black wire goes left and one black wire goes right.
-
-
-
I ended up soldering both sides. I tried the outboard side, the side closest to me, and then reconnected all of the plugs but that didn’t fix it. Then I went to the other side and did it too. I ended up stripping back some of the insulation, as you can see the wire is extremely tiny, like 28 gauge.
-
-
-
As I mentioned, you can test it without putting everything all back together. Definitely do that. Reassembly is opposite of disassembly. Remember to disconnect the two plugs that go to the seat bottom so you can fish them back through the loop of fabric and pull the fabric down back over the phone like it was a fitted sheet on a mattress.
-
To reassemble your device, follow these instructions in reverse order.
