Introduction
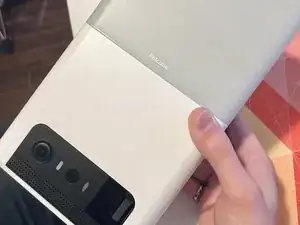
This guide actually covers the Petcube Bites 2 Lite, but I'm assuming all their cameras are similar internally.
Mine had stop giving treats because the mine motor had stopped spinning. Since my device was out of warranty, Petcube support didn't have other options than purchasing another device.
I didn't have anything to lose at this point to try to repair it myself, which ended up being not really hard, and is shown in this guide.
Tools
-
-
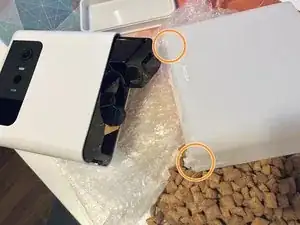
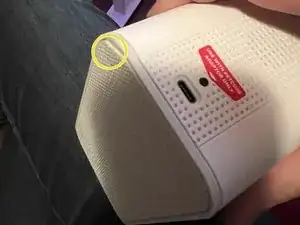
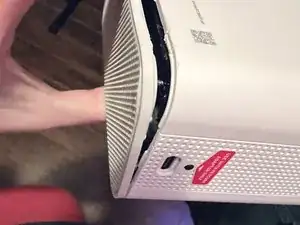
Start by pressing the 2 clips on each side of the device to remove the tread holder head.
-
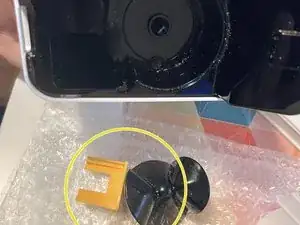
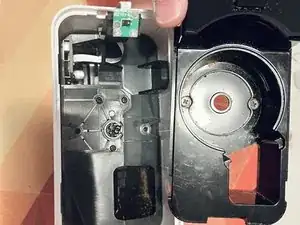
Once inside, pry out the size insert and the treat motor cap.
-
-
-
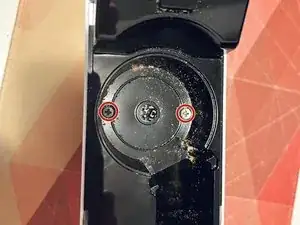
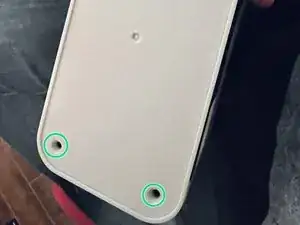
Unscrew the 2 larger Philips screws to be able to remove the base of the treat holder from the device body.
-
-
-
The core device can actually be accessed by the bottom; screws are hidden under the rubber pad.
-
The rubber pad is simply glued to the bottom, you can easily unstick it from the shell to gain access to the screws.
-
Under the rubber pads are 4 Philips screws to get inside.
-
-
-
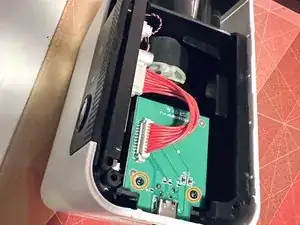
Once inside, you'll find a board that hosts the physical controls of the device.
-
Remove the 2 Philips screw to remove it from its place.
-
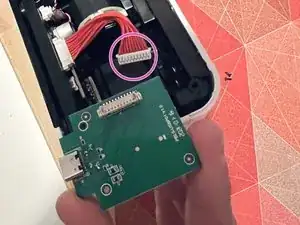
Then disconnect the ribbon cable and put the board away.
-
-
-
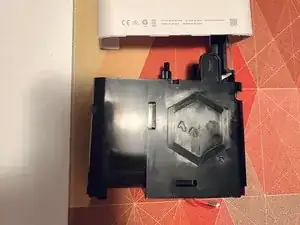
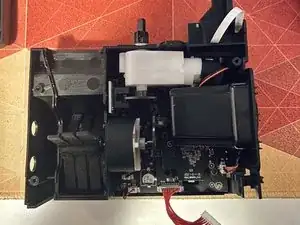
Once the controls are removed, you can simply slide the core of the device out of its shell.
-
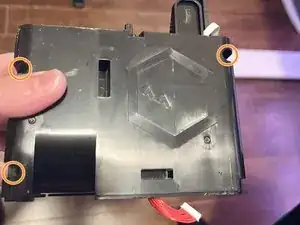
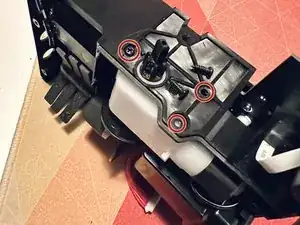
You'll find 3 Philips screws (2 on the left, 1 on the right) to get inside the core.
-
-
-
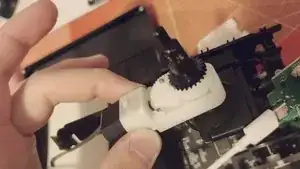
The 3 Philips screws holding the motor to the structure can be removed.
-
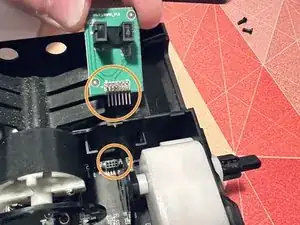
The motor won't slide out immediately – you'll also need to remove the encoder sensor. Just pull it out carefully from its socket.
-
While trying to slide the motor out, make sure to disconnect its cable from the main board.
-
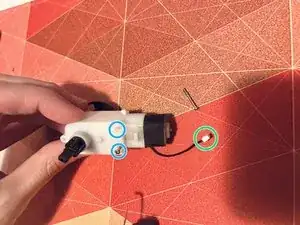
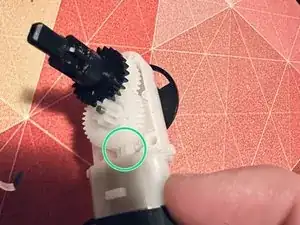
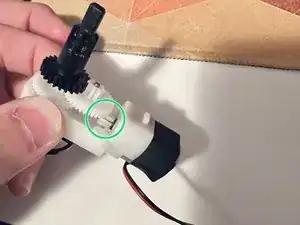
The motor can then be disassembled by removing the 2 Philips screw holding its shell.
-
-
-
If you want to test out the motor before reassembling everything:
-
Reconnect all the cables that were disconnected during disassembly
-
Plug the device back in
-
Connect to the device through the Petcube app, and try flinging a treat
-
The motor will instantly respond (or not) and make it easier to find what's wrong, or if the motor needs replacement.
-
Then to reassemble the device, follow these instructions in reverse order.
2 comments
Hello! This is very helpful.. mine doesn’t start up at all do you have any ideas on how to get the motor to start
This guide was super useful! Unfortunately, I found that the problem is that one of the gears broke off. Does anyone have any instructions on how to dismantle this type of motor in order to substitute the damaged gears? Thank you in advance!
