Introduction
This is a prerequisite guide! This guide is part of another procedure and is not meant to be used alone.
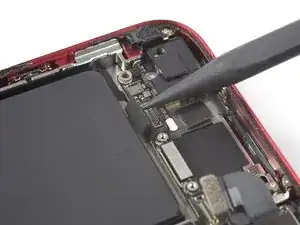
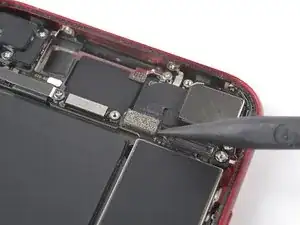
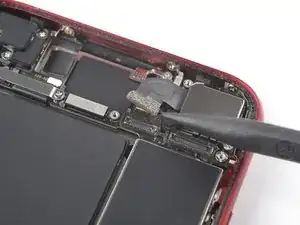
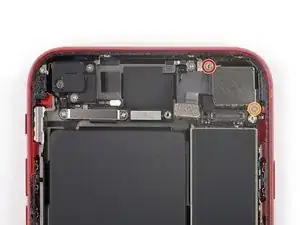
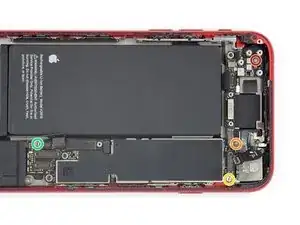
Use this guide to disconnect the logic board in the iPhone SE 2022.
This guide was performed on the A2783 (international) model.
You’ll need replacement adhesive to reattach components when reassembling the device.
Tools
-
-
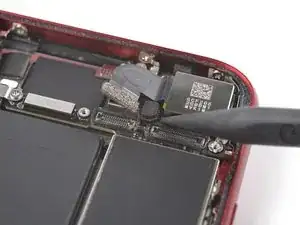
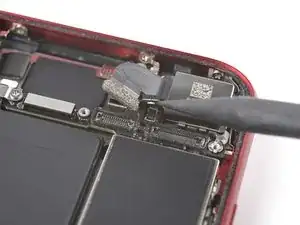
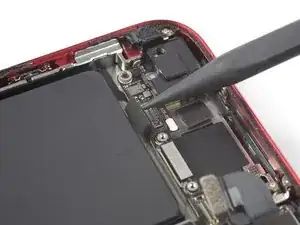
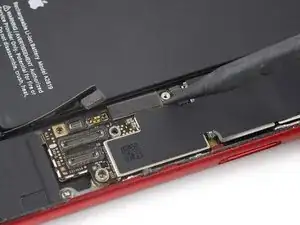
Use the pointed end of a spudger to disconnect the rear camera by prying the connector straight up from its socket.
-
-
-
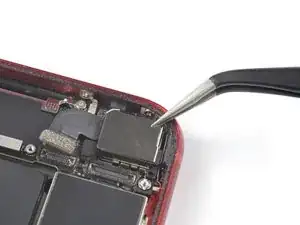
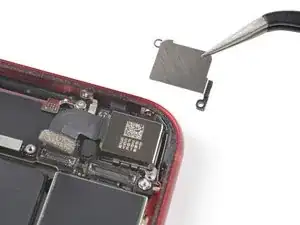
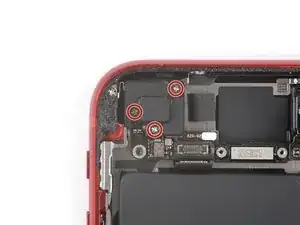
Remove the two screws securing the rear-facing camera bracket:
-
One 3.0 mm-long standoff screw
-
One 3.1 mm-long Phillips screw
-
-
-
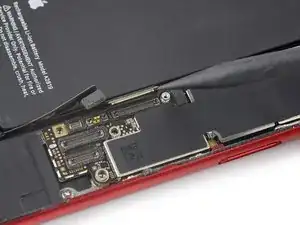
Use the pointed end of a spudger to disconnect the flash by prying the connector straight up from its socket.
-
-
-
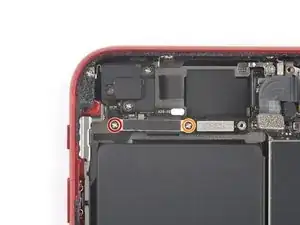
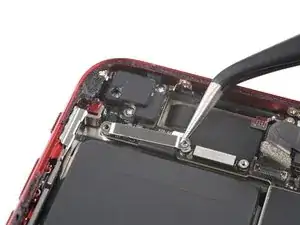
Remove the two screws securing the upper cable bracket:
-
One 2.8 mm-long Phillips screw
-
One 1.2 mm-long Phillips screw
-
-
-
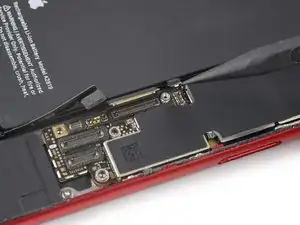
Use the pointed end of a spudger to disconnect the upper flex cable by prying the connector straight up from its socket.
-
-
-
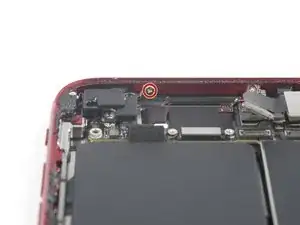
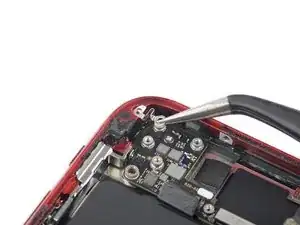
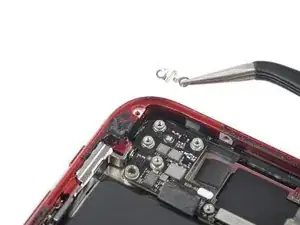
Unfasten the 1.4 mm-long Phillips screw securing the antenna component to the top edge of the rear case.
-
-
-
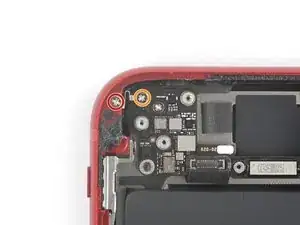
Unfasten the two screws securing the top left grounding bracket:
-
One 1.5 mm-long Phillips screw
-
One 1.2 mm-long Phillips screw
-
-
-
Unfasten the four screws securing the logic board:
-
One 1.7 mm-long Phillips screw
-
One partially threaded 1.7 mm-long Phillips screw
-
One 2.5 mm-long standoff screw
-
One 2.2 mm-long standoff screw
-
-
-
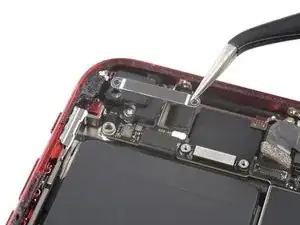
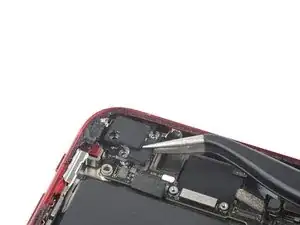
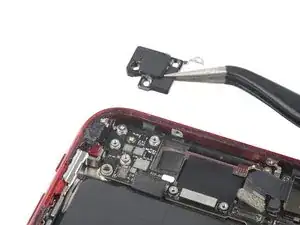
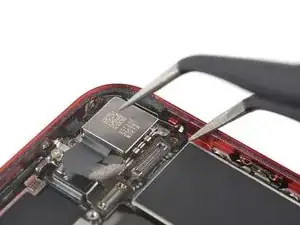
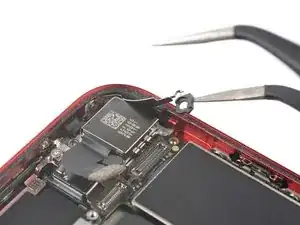
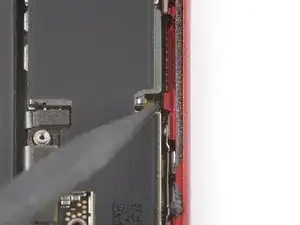
Use a pair of tweezers to carefully pry up the logic board grounding bracket in the top right corner of the rear case.
-
-
-
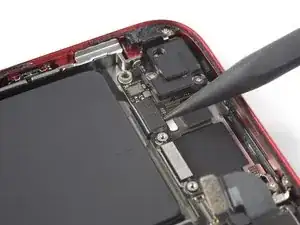
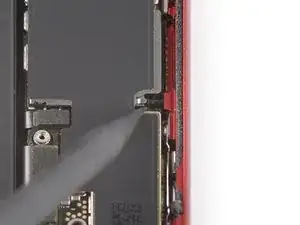
Use the pointed end of a spudger to move the SIM card eject plunger out of the logic board's way by pushing it to the right edge of the rear case.
-
-
-
Use the pointed end of a spudger to disconnect the Lightning port cable by prying the connector straight up from its socket.
-
Use the pointed end of a spudger to disconnect the wireless charging coil cable by prying the connector straight up from its socket.
-
To reassemble your device, follow these instructions in reverse order.
