Introduction
In this lesson we will discuss how to disassemble this computer and clean its cooling fan from dust and sediment.
-
-
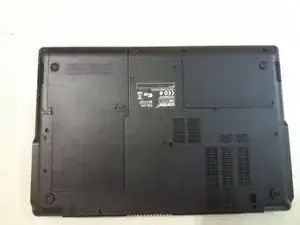
First of all, make sure your device is switched off and unplugged.
-
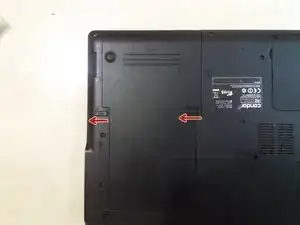
Remove the battery by pulling the two screws in the direction indicated by the pins.
-
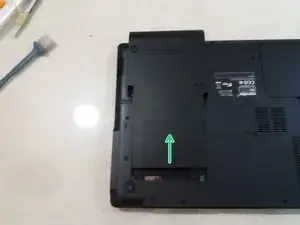
Pull the battery up.
-
-
-
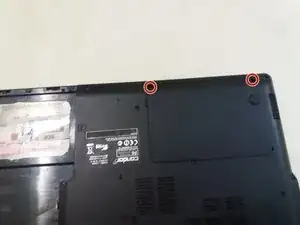
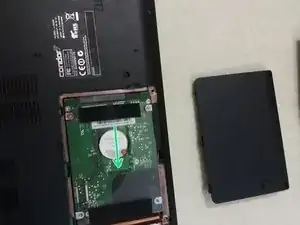
To remove the hard drive, unplug its screws in this cover.
-
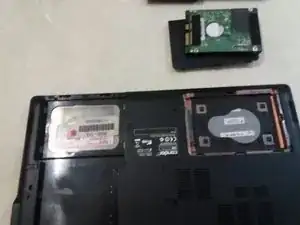
Pull the hard drive in the direction indicated to remove it.
-
Then we remove the hard drive from its place with ease.
-
-
-
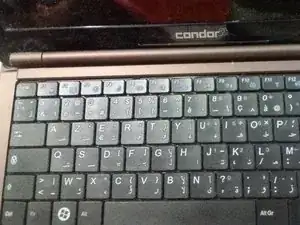
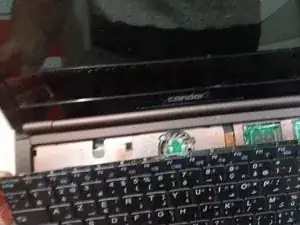
To access the motherboard, you must first remove the keyboard because underneath it screws should be removed to separate the base of the chassis from the top of the keyboard.
-
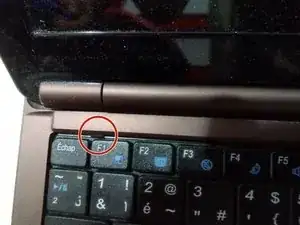
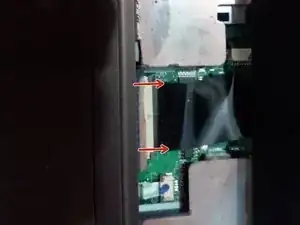
With a flat screwdriver we remove the keyboard by pressing the red-pointed component and pushing the keyboard up to release it.
-
-
-
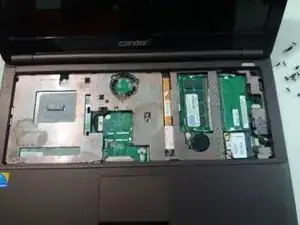
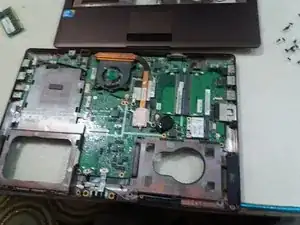
Remove the top cover and remove the processor cooling fan.
-
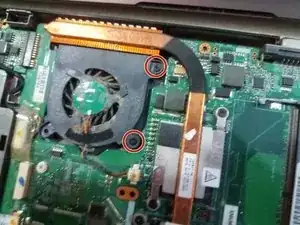
Unscrew the screws indicated in red to remove the cooling fan.
-
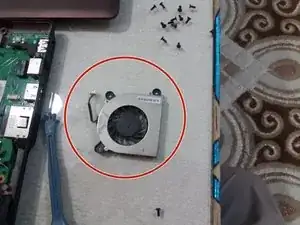
Remove the fan.
-
-
-
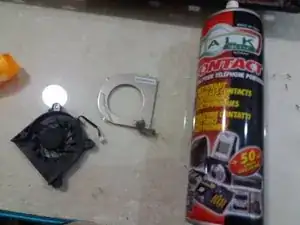
We now clean and remove the dust and sediments that hinder fan function and increase processor heat.
-
To reassemble your device, follow these instructions in reverse order.
