Introduction

Sometimes a burning smell can come form the toaster. This could be caused by crumbs stuck in the unit so its suggested that you deep clean the Black and Decker Toast R Oven.

  1. Nw6DnVIlkIstBvGU
    • Make sure that the toaster is unplugged before you begin.

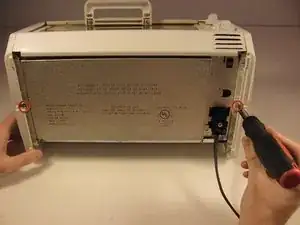
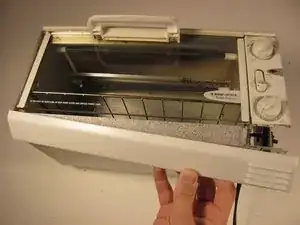
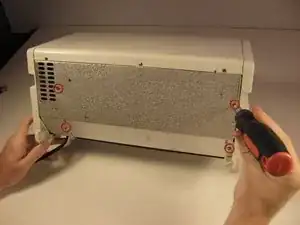
    • Turn the toaster over with its backside face down.

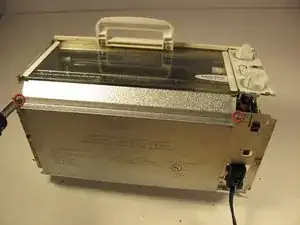
    • Remove the two Phillips #4 1cm screws that attach the side panels.

  2. JuyRWQ1u4Dx2ROSO
    JuyRWQ1u4Dx2ROSO
    kfrfegIB1RrAIVFG
    • Pull downwards (towards the bottom of the unit) and outward to remove the side panels.

    Hi I am doing my own repairs on a black and decker toaster oven and need some help. identifying that part under the oven where the power cord enters the enclosure its actually a disconnect switch to disconnect the power when the door is opened.

    Joel V. Le Gendre -

  3. ZFvWgrAyvO5YUNAK
    • Remove the metal vent piece that is below the door.

    • This should slide off easily once both of the side panels are removed.

  4. MMPDgXdmbUqNRVK5
    • Remove the two Phillips #4 1 cm screws, which connect the bottom panel to the unit.

  5. GSkpPCwIZUs1MQKS
    • Remove the crumb tray (the bottom, metal panel) from the toaster unit.

  6. AOiQuRTWyVSOPWAm
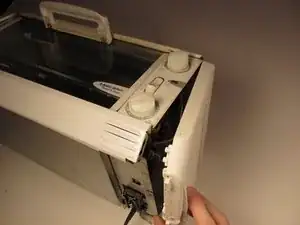
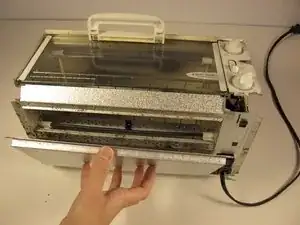
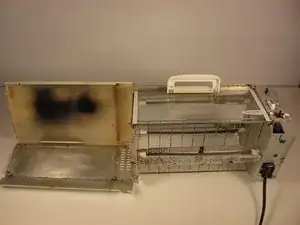
    • Remove the aluminum strip from the bottom of unit; this is the piece that is directly under the door.

  7. SUUelKH1UiKHb1u6
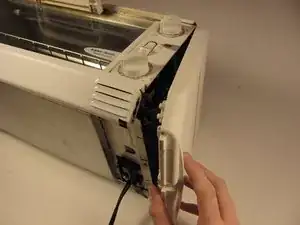
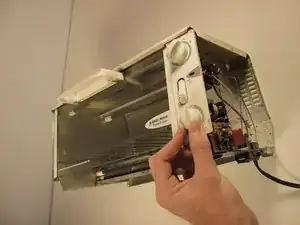
    • Remove the knobs by pulling them upward; they should slide right off.

    • When placing the knobs back on the unit, make sure the semicircle notch fits correctly in the hole so that the knobs don't fall off.

  8. sHxs1fdGs6XcroZA
    • Unhook the bottom of the the display panel from the toaster unit.

    • It will be a little tough to pry off, but don't be afraid to be forceful. You can use your hands, or pliers, to bend the metal piece backwards.

  9. iapVNZMiu61qvQVy
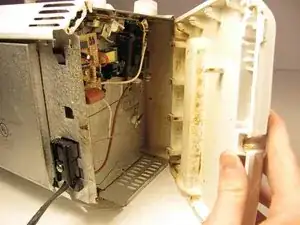
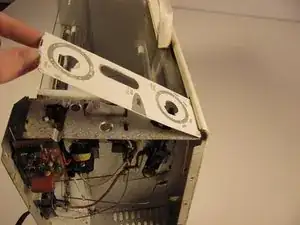
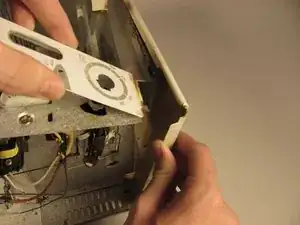
    • Begin to detach the back panel from the toaster unit.

    • Then, unhook the rest of the display panel.

    • This will also be a little tough to get off, but don't be afraid to be forceful.

  10. RDhOCNBYZyPkClPO
    • Finish removing the outside cover by lifting the lid upward.

  11. 3HFY2Vl6KJFtnQFv
    • Remove the four Phillips #4 1 cm screws from the back of the unit.

    All this to clean the crumb tray? Ridiculous! Is there not an easier way to take out the crumb tray?

    owenbygay -

  12. pPK4LdbPC5Qdo51F
    • Now, you can clean the outside units of the toaster oven.

  13. RYWfBfYGVbbBy5VW
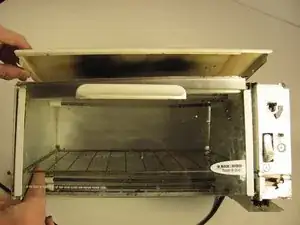
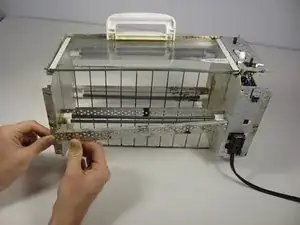
    • Remove the the heating coil protection bar from the toaster unit by first pulling out the left side.

Conclusion

To reassemble your device, follow these instructions in reverse order.

Jonathan

Member since: 19/09/12

281 Reputation

One comment

This guide is amazing - almost equally because it is so detailed and thorough as because it helped me know exactly how to clean this almost ancient piece of equipment, that's still going strong after what must be 40+ years (in spite of not having been thoroughly, properly cleaned in probably 20!) Acknowledgement to Black & Decker of that era too - let's hear it for American-made products like this one! Thank you for creating this guide!

Lynn -