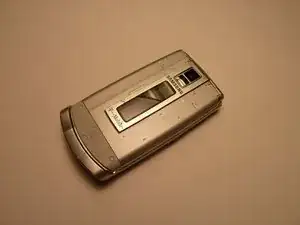
Introduction

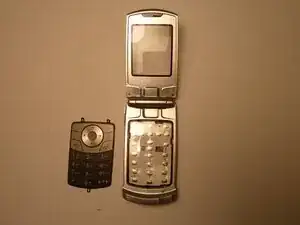
This guide contains photos that do not include pictures of the back cover or battery. However, the instructions have been adjusted to reflect this lack of visual aid.

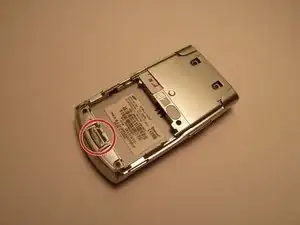
  1. OHjxVhaKPMXsBssZ
    • Flip the phone over and take off the back cover

    • Note: These images do not contain the back cover or battery of the phone.

  2. EkLg3yITvVIGcZdf
    • Use button to remove battery from the phone.

    • Note: These images do not contain the back cover or battery of the phone.

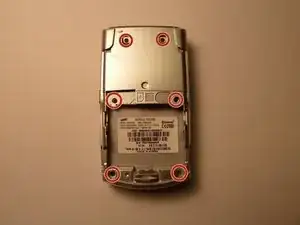
  3. yQSwUWaWNBbAlqUB
    yQSwUWaWNBbAlqUB
    DjbPuJ3J42trxQvr
    qkhB52frwM4MGVYb
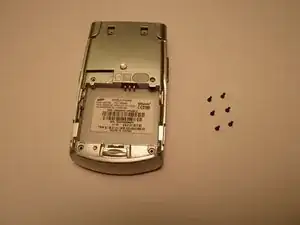
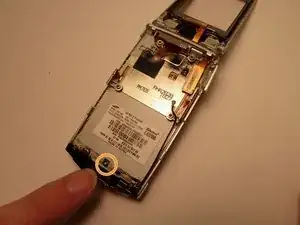
    • Locate the six (4mm) screws on the back casing of the phone.

    • Unscrew each one using a phillips head #000 screwdriver.

    • Place screws on magnetic mat.

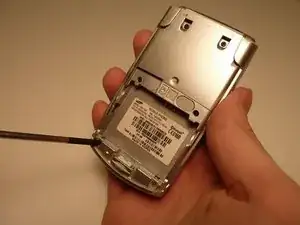
  4. VqHUSLkqEQoWRCBm
    VqHUSLkqEQoWRCBm
    SqQvNlHkogFOkTxo
    akfTLriRKxevPe2A
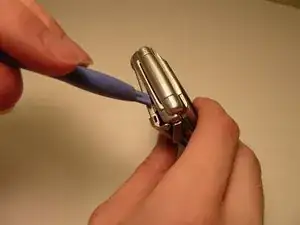
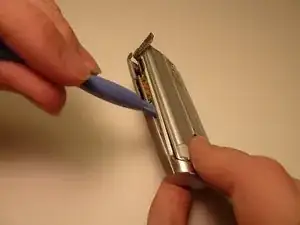
    • Starting at the top of the phone, carefully insert plastic opening device into the seam.

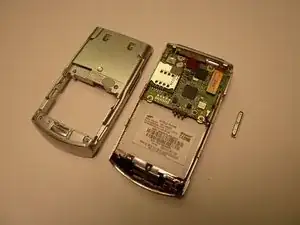
    • Carefully slide device along the seam and around the corners of the phone until the back is separated from the front.

    • Note: Some force must be exerted. Be careful when taking off panel. Go slow.

    • Note: The volume button may separate from the case, this is normal. It is not broken.

  5. ijEwSUVXqVdO2YKg
    ijEwSUVXqVdO2YKg
    PMmM2xeCZQNjLW3J
    eOByxlfDPRfAp56C
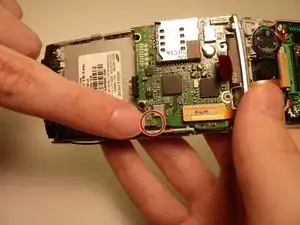
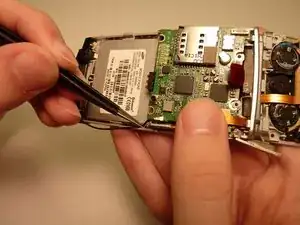
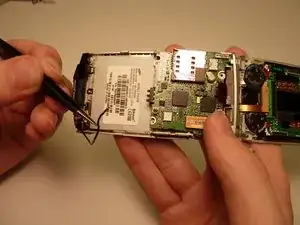
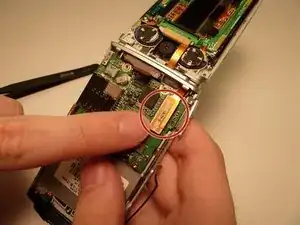
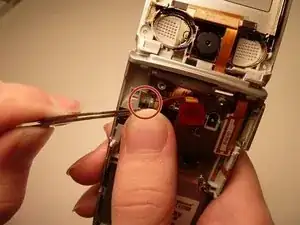
    • Locate the connection point of black wire running from the microphone to the motherboard.

    • Carefully disconnect the gold connector from the motherboard using tweezers.

  6. UAaSMJBiOMFHfXNS
    UAaSMJBiOMFHfXNS
    BtuIfEPxYav2X1Sf
    duD2iOUA4VmYb1WZ
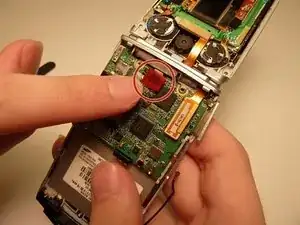
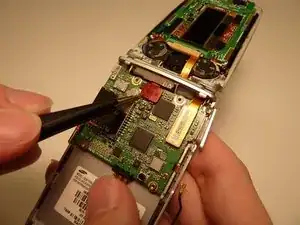
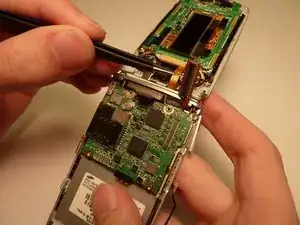
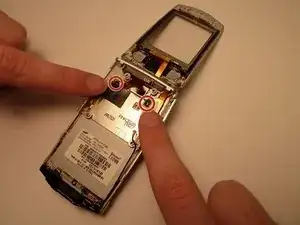
    • Locate the red connector at the top of the motherboard.

    • Carefully lift and remove the connector from the motherboard using tweezers.

  7. yp3QyvAGRLrWWUkB
    yp3QyvAGRLrWWUkB
    PuNZI1gHc1JNfYEO
    hlvOsPS4j24RvRrp
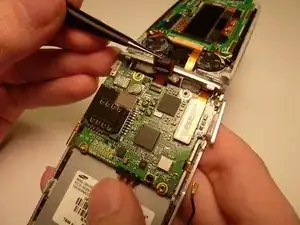
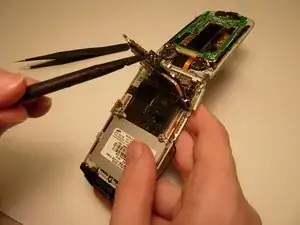
    • Locate the gold connector that connects the screen to the motherboard.

    • Carefully disconnect the connector from the motherboard using tweezers.

  8. mZWREYmEG6RDMExc
    mZWREYmEG6RDMExc
    mJddeZmcAVxmCsLs
    NrDIjWWbOSHg2TgN
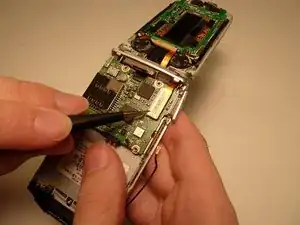
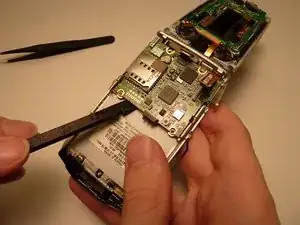
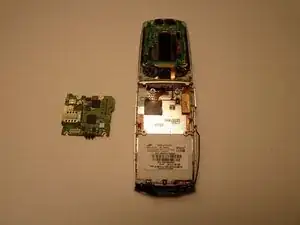
    • Start at the bottom of the motherboard and gently pry it from the back of the cell phone using the plastic opening tool.

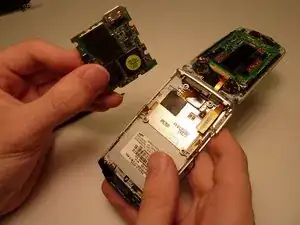
    • Lift the motherboard from the cell phone.

  9. vkaLEFeMt2Voo6iw
    • Remove the motherboard from the cell phone.

  10. k6OPyPqOkOYqkLdt
    k6OPyPqOkOYqkLdt
    JL1SQKiZipwOwPQO
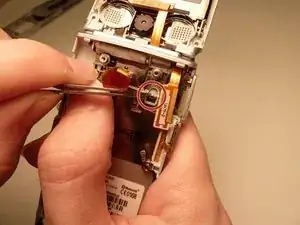
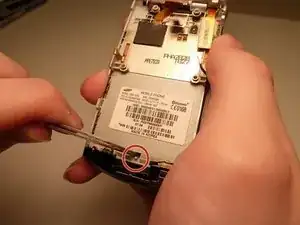
    • Locate the two black, rubber tabs near the top of the back of the phone.

    • Locate the one black, rubber tab near the base of the phone.

  11. MAtGjBDCeOvfoa1D
    MAtGjBDCeOvfoa1D
    4NWVXr5GJUyoKcqE
    v6RgPKuEnkUAyOSR
    • Using tweezers, pry each of the tabs open.

    • Tuck each tab behind the white notch.

    • By tucking the tabs behind each notch. This allows improves the ease of removing the keypad.

  12. yR3EWIH3Tb3J3LtE
    yR3EWIH3Tb3J3LtE
    EUTQUlZ5eyuE3GOl
    lqHqFkLNN6SnVRdy
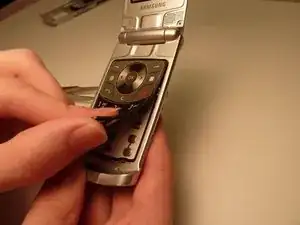
    • Flip phone over to make the keypad visable.

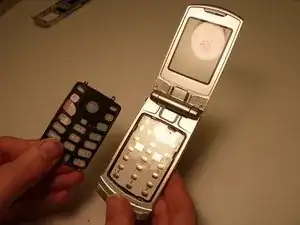
    • Carefully lift keypad around the edges.

    • Remove keypad from the cell phone.

  13. mAHfLVZN5nXAvIih
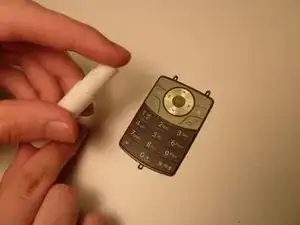
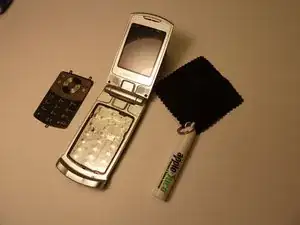
    • Obtain device cleaner and a cleaning pad.

  14. LLHKWouCkUHSnLN6
    LLHKWouCkUHSnLN6
    oioJTcUCY11xoVbd
    3byufYDQQbMsrHIx
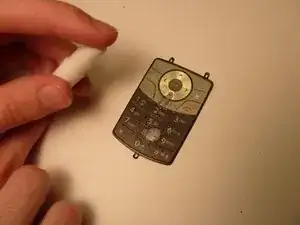
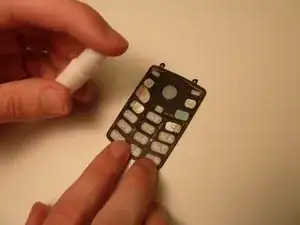
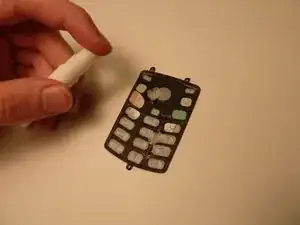
    • Spray the front of the keypad with device cleaner.

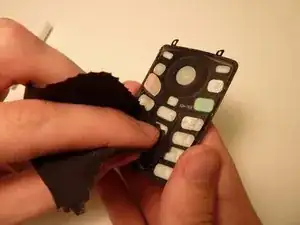
    • Clean front of keypad using cleaning cloth.

  15. yGfsCWRMQLALdK3q
    yGfsCWRMQLALdK3q
    GhPjFZNpDWeSXXSs
    k5kZWoOs4WJb21KA
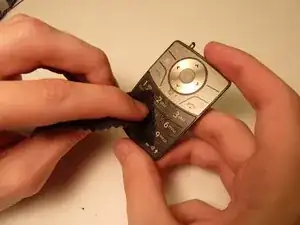
    • Flip keypad over.

    • Spray back of keypad with device cleaner.

    • Clean back of keypad with cleaning cloth.

Conclusion

To reassemble your device, follow these instructions in reverse order.
Yi Ren

Member since: 26/03/14

801 Reputation

0 comments