Introduction
Accidents happen, and when they do, it's essential to know how to properly tend to minor cuts and wounds. Fingertip injuries, in particular, can be quite common and can disrupt our daily activities if left untreated. Whether you've suffered a small cut while removing a cracked screen, working with tools, or engaging in any other activity, this guide will provide you with step-by-step instructions on how to effectively cut and apply a fingertip bandage.
Tools
Parts
-
-
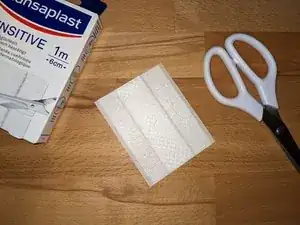
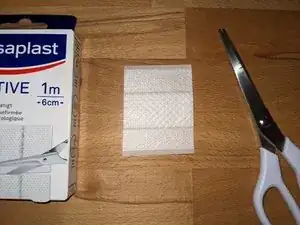
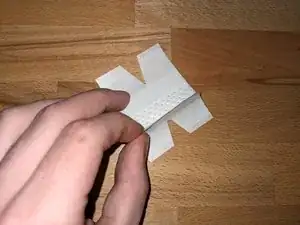
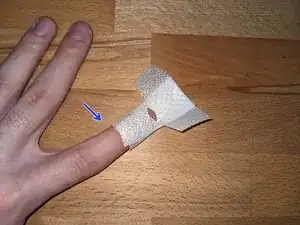
Cut the bandage strip to length.
-
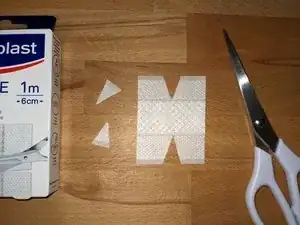
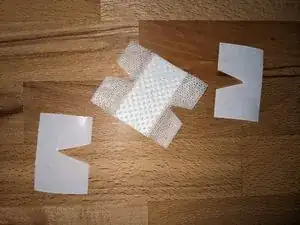
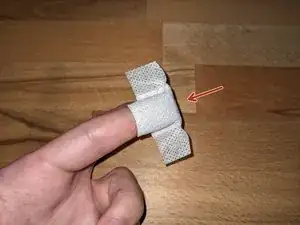
Now, carefully cut a small triangle out of the bandage on both adhesive sides, up to the gauze pad. Cut the triangles out exactly in the middle. This will create four "little wings", as seen in the second picture.
-
-
-
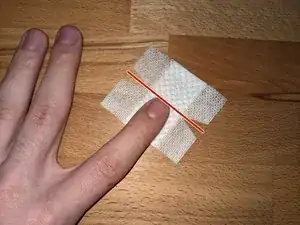
Place your finger on the bandage so that the tip of the finger meets the center line.
-
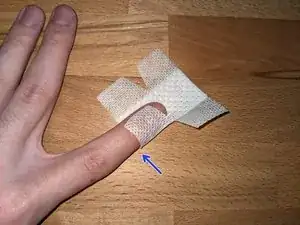
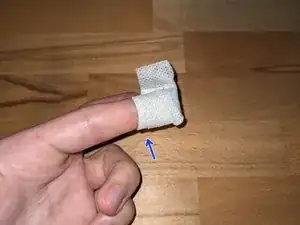
Fold up the two "little wings" on the side facing you one by one and secure them on the top side of the finger.
-
-
-
Pull the bandage as tightly as possible over the fingertip towards the back and turn the finger with the underside facing upward.
-
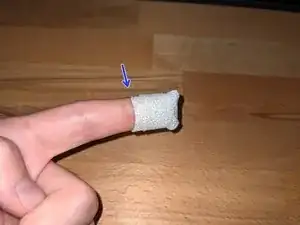
Fold up the two remaining "little wings" one by one and secure them on the underside of the finger.
-
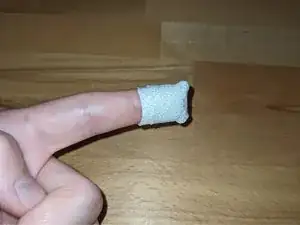
If you have chosen the correct size of bandage, placed it properly, and pressed it firmly, it should now cover the entire fingertip. The wound should not come into contact with the adhesive surfaces.
