Introduction
Paper jams can be common even in printers without traditional ink cartridges. This concise guide will walk you through simple steps to identify, locate, and fix paper jams. Whether you're a DIY pro or a first-timer, we've got you covered with clear instructions and visuals. Let's get your no-ink printer back to smooth operation in no time!
Tools
-
-
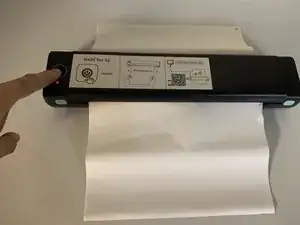
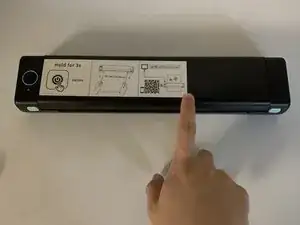
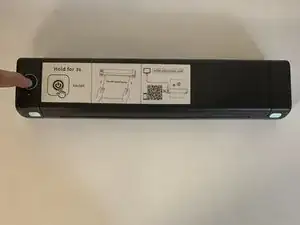
Turn off the printer: Locate the power button on the printer and hold it for 3 seconds to shut down the device.
-
-
-
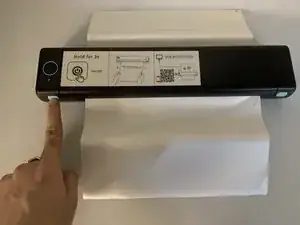
Access printer's interior: Firmly hold both buttons of the printer to expose the internal components.
-
Reminder: Exercise caution while accessing the interior components and ensure careful handling to facilitate reassembly later.
-
-
-
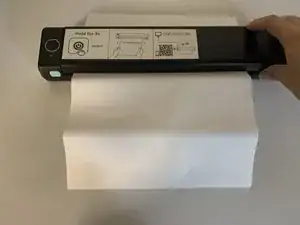
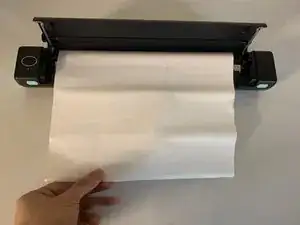
Take your time to remove the paper, ensuring a slow and careful process to avoid any unintentional tearing, crumpling, or potential damage to the paper and the printer during extraction.
-
-
-
Carefully close the printer lid, ensuring a gentle and controlled motion to avoid any unnecessary impact or disturbance to the printer's components.
-
-
-
The printer is prepared and ready to resume the printing process.
-
Note: You can now use the printer as usual, and no additional steps are required for regular printing operations.
-
To reassemble your device, follow these instructions in reverse order.