Introduction
It’s your worst nightmare. You go to relieve yourself and attempt to get rid of the evidence, only to realize the toilet isn’t cooperating. This happens to the best of us, so you’re not alone. Luckily, this common problem comes with an easy fix using a basic, affordable tool: the mighty toilet plunger.
Tools
-
-
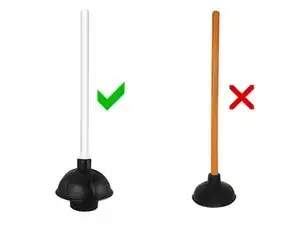
A proper toilet plunger has a funnel-shaped flange extending from the bottom of the rubber cup.
-
A sink plunger just uses a rubber cup, which doesn't form a tight seal inside the toilet bowl.
-
-
-
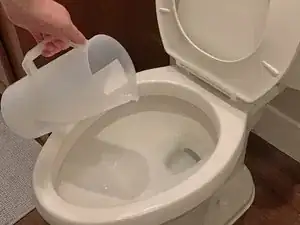
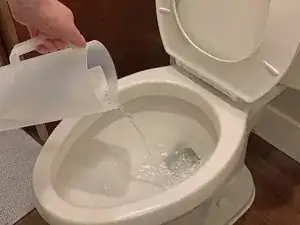
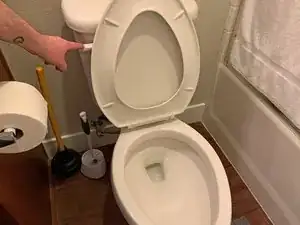
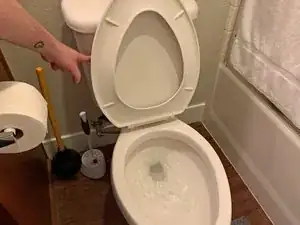
If need be, use a pitcher or a cup to add more water to the toilet bowl so that the water level is about half-way full.
-
-
-
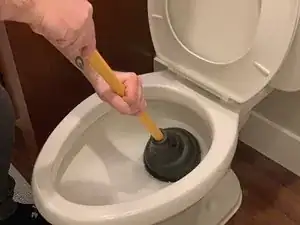
Insert the toilet plunger into the toilet bowl, making sure that the narrow bell-shaped flange at the end of the plunger is inserted into the drain at the bottom of the toilet bowl.
-
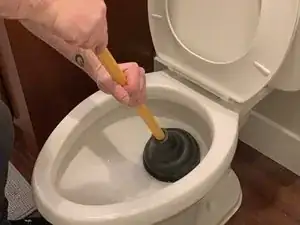
Once inserted, twist the plunger back and forth a couple of times to make sure it's firmly seated at the bottom of the toilet bowl.
-
-
-
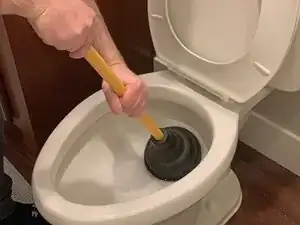
Start by slowly pushing down on the plunger. The inside of the plunger is full of air at first, so a quick downward thrust initially will push that air out quickly and splash water all over you and your bathroom.
-
-
-
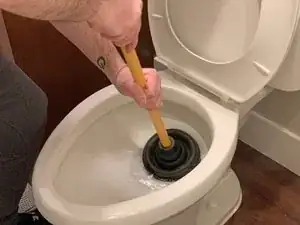
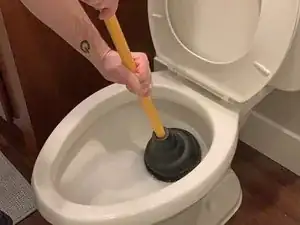
Next, vigourously force the plunger up and down several times, making sure to keep the plunger sealed to the bottom of the toilet bowl.
-
After several thrusts, remove the plunger and repeat steps 5 and 6 until the toilet bowl drain clears.
-
-
-
Once the toilet is unclogged, give the toilet a victory flush to clear out any residual matter left over from the clog.
-
-
-
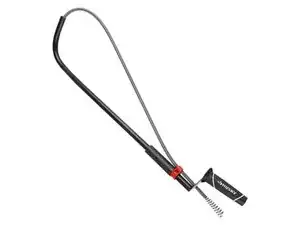
There may be times when a plunger just doesn't get the job done. In that case, a toilet auger may be more useful and persuasive.
-