Introduction
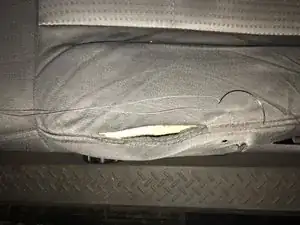
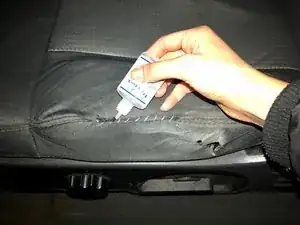
You will learn to do simple threading and sewing in this guide. The tools needed are scissors, an upholstery needle, thick thread, and Fray Check.
Tools
-
-
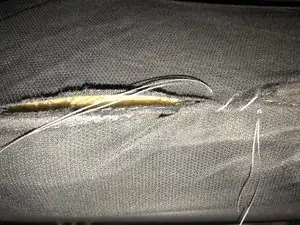
Clamp each side of the tear with a safety pin or binder clamp to ensure it stays tight while you stitch.
-
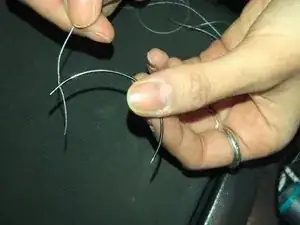
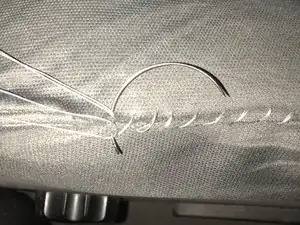
Thread the curved upholstery needle with extra long, double length of thread in the same color as your car seat’s fabric. Tie a knot with the ends of the double thread, opposite to the needle.
-
-
-
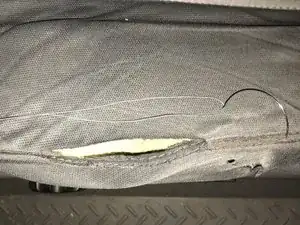
Slip the needle through the fabric at one end of the tear, and bring it up through the fabric on the other side, about a quarter inch away from the tear.
-
-
-
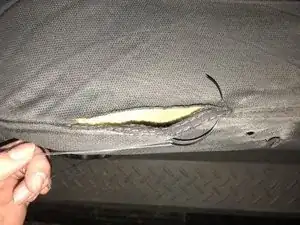
Bring the needle back over the tear and slip it through the fabric to the other side again, continue this until you reach the end of the tear, keeping the stitches a quarter inch apart .
-
-
-
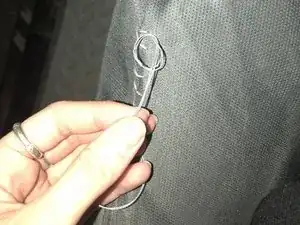
When you reach the end of the tear, stitch over the last stitch 3-5 times, then knot the edge of the thread and trim it as close as possible to the fabric.
-
3 comments
Are u kidding me??? That looks like crap! I guess it looking similar to before the tear appeared wasn't part of the "how to repair car upholstery" article... silly me...
Maybe do a segment on 'how to repair a side view mirror" and then just duct tape it on!
Thanks for your contribution 👍
Megan -
Well said Megan. I 100% agree with you. That is the worst fix example I've seen!
Well, it's not pretty, but it's exactly what I was looking for to repair an old, beater pickup truck seat.
