Introduction

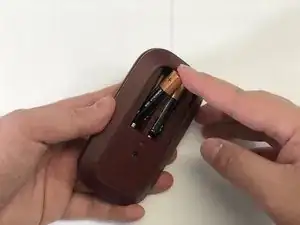
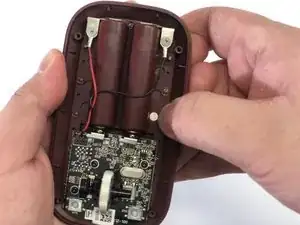
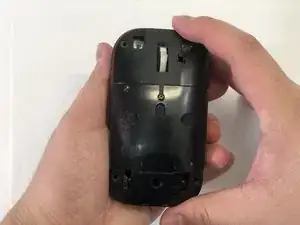
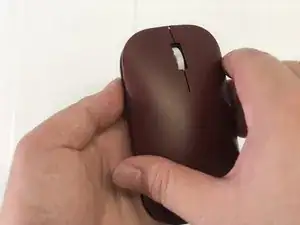
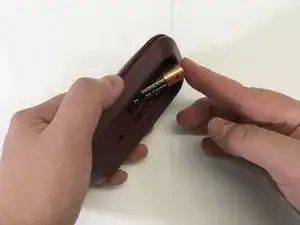
The Microsoft Surface Mobile Mouse has a magnetic battery cover that conceals the battery compartment. I noticed that the magnetic strength of the cover deteriorates over time, especially after a fall from a table height. If the mouse takes a hard fall, the magnets inside the mouse get misaligned, and eventually causes the battery cover to not stay in place. The purpose of the repair is to show people how to restore the functionality of the magnetic battery cover.

  1. MDH2QnInawUG2bol
    MDH2QnInawUG2bol
    5dTLOgWWrEBlrNZr
    c6dRMgQs1Q4P1agC
    • Remove the AAA batteries from the battery compartment under the mouse.

  2. AOPCb2VlSTQIKclA
    AOPCb2VlSTQIKclA
    aLwehsD3Nh6Tc2nK
    ykbZQ1lCLOP5NWGU
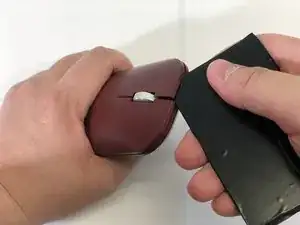
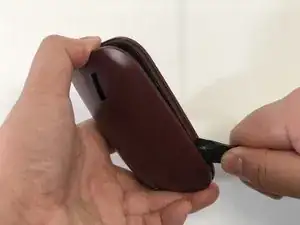
    • Using a plastic card, create leverage under the top plate. Start at the mouse buttons and make your way to the back of the mouse.

    • Notice how the mouse buttons are raised after you create leverage under the top plate.

  3. rNRNipfP1uXRsJvV
    rNRNipfP1uXRsJvV
    cokfwBPcaaiDuJHD
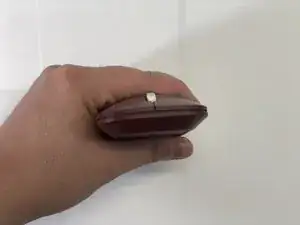
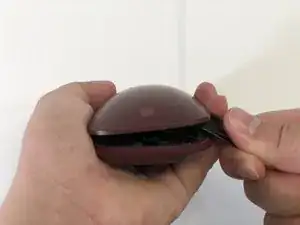
    • Using a plastic spudger, make your way to the back of the mouse. There are two hidden tabs that you can push outwards, and you can feel them once your spudger is in the center of the mouse. Apply pressure outwards on the hidden tabs in order to remove the top plate.

    • Notice how the top plate is separated from the mouse once successfully removed.

    this way of opening will break the plastic holders at the back

    Paolo Lombardi -

    Plastic holders need to be pushed outwards from the back of the mouse.

    Miro Vaanela -

  4. EMKCwfmJ2CJbxTdX
    • Remove the four 5mm screws from the back plate.

    • Remove the back plate from the mouse.

  5. 4kiyVdPoayRMmNeU
    • Locate the magnets and separate them from each other.

    • Notice how in this example, the magnets are stuck to the battery terminals. The magnets can be stuck to any metal surface inside the mouse.

    • Each of the magnets has a marking that shows what orientation the magnets should be in.

    I used this guide to replace the mouse wheel. From this point remove the additional 2 pin Dupont connector and the 5mm torx (T5s) keeping the board to the lower housing. Remove the board and the broken wheel and then replace the wheel. Follow the directions in reverse to re-assemble the mouse. The mouse wheel can be found on Amazon. https://www.amazon.com/Mouse-Replacement....

    Renjamin -

  6. GJMe6KD4WpF1NLkq
    GJMe6KD4WpF1NLkq
    jLVNJSdTVCFB1nDl
    xliXa4yDBAFg3mJY
    • Place a magnet with the marked pole facing up into each of the 6 slots.

    • Use the battery cover to your advantage by placing it into the battery compartment. That way, the magnets stay in place when they are placed in their slots.

  7. gCvCy2GcF2moSjOZ
    • Use a hot glue gun to glue the magnets in place.

    • Be careful while using the hot glue gun! It may melt the plastic of the mouse if used for too long.

    • An alternative to hot glue is to use electrical tape in order to secure the magnets.

  8. REsMLfgB4cThAxVB
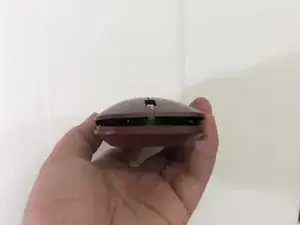
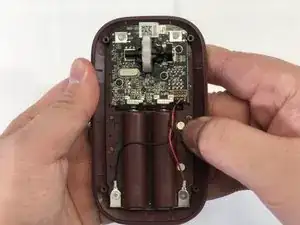
    • Ensure that the back plate is in the correct orientation so that the scroll-wheel can fit through the hole.

  9. utmiBRu3St2jNgwE
    • Secure the back plate onto the mouse by screwing in the four 5mm screws.

  10. FnBFajPvaNgiybmg
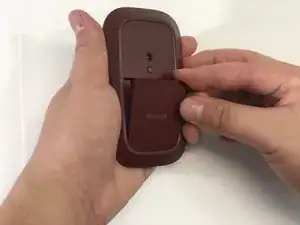
    • Place the top plate in the correct orientation so that the scroll-wheel can fit through the opening, and press down to snap the plate into place.

Raymond Ly

Member since: 11/05/20

262 Reputation

0 comments