Introduction

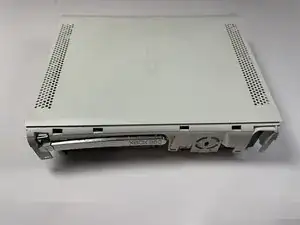
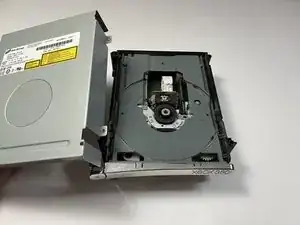
The Xbox 360 is an iconic console, but as time passes the disc tray often stops functioning properly. When this happens we lose the ability to play any desired game. This guide demonstrates how to carefully disassemble the Xbox 360, and replace the drive belt inside the optical drive, so you can go back to enjoying those games. Please use the tools gently, so the Xbox 360 won't get scratched and pieces won't tear off.

Don't forget to fully disconnect your Xbox 360 before beginning the guide. Lastly, here is a link for Screwdriver Best Practices that can help.

Screwdriver Best Practices

  1. uDTkvDiHbZMDHIRd
    uDTkvDiHbZMDHIRd
    fZU3i5ockW3GIXOk
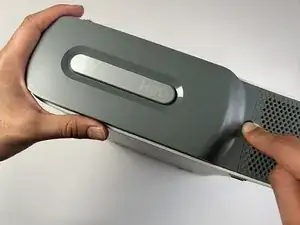
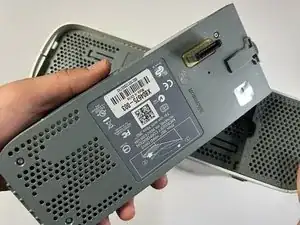
    • Remove the hard drive.

  2. IPGbx3QMSKDwI1T1
    IPGbx3QMSKDwI1T1
    T3slFeKhBgiPXZlK
    FkbJm6anj5VOQeGP
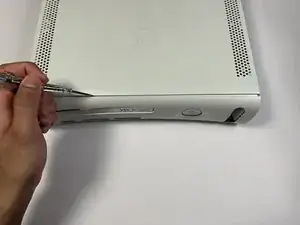
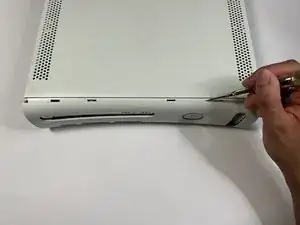
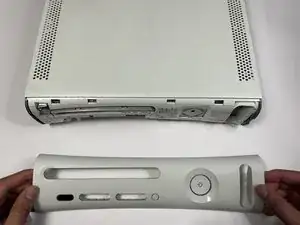
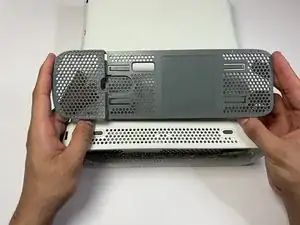
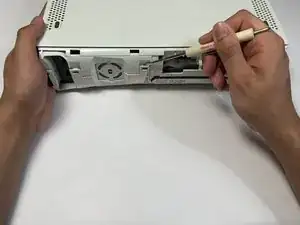
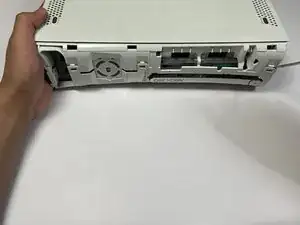
    • Use a pry tool to gently remove the faceplate from the Xbox.

  3. J3YSovawiH21ssDq
    J3YSovawiH21ssDq
    LQMLnmpatBXYEWTN
    WOorVOLKYhTeqFKU
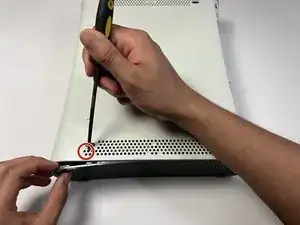
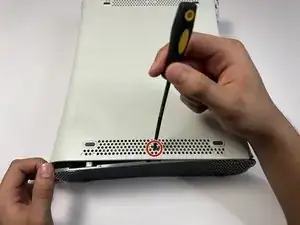
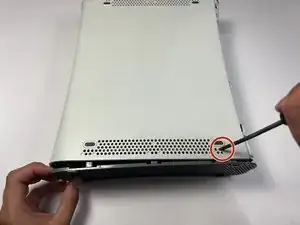
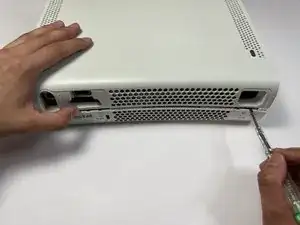
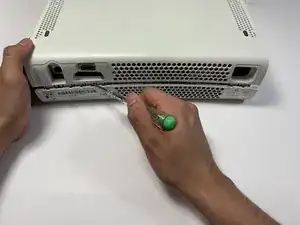
    • Press down on the three holes as indicated to release the clips securing the base plate.

    • Remove the base plate.

    • Repeat this step on the other side.

  4. QTtmvFNUJj3a1xOY
    QTtmvFNUJj3a1xOY
    AfZ6WbVwJieUcfhB
    XiKjY3pM1DBrQXtC
    • Repeat the previous step to remove the top plate of the Xbox.

  5. OIyQrlhZsaEKoRng
    OIyQrlhZsaEKoRng
    fPJshTrCHXjWhehT
    lLQgoGPpC4TILJr5
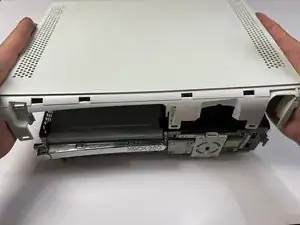
    • Gently unhook all four clips located on the front of the Xbox.

    • Take care not to break the plastic clips; it may be fragile.

  6. TmQfYqNJYQPx15ED
    TmQfYqNJYQPx15ED
    1S5QeWSsCgD6opLI
    1wLKCZyhBnTEWaCO
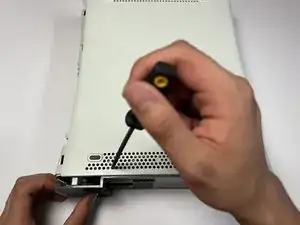
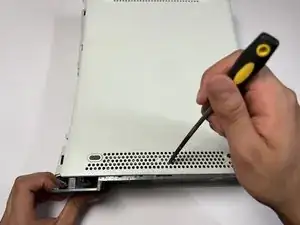
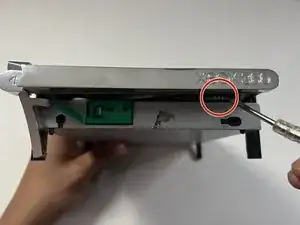
    • Use the flathead screwdriver to gently press down on all of the indicated indents.

    • Remove the top casing from the Xbox.

  7. xI66wsFUIGI2mVTV
    xI66wsFUIGI2mVTV
    xwR6Bd2EIb3uHKNi
    BZIThSxytRvJRRvV
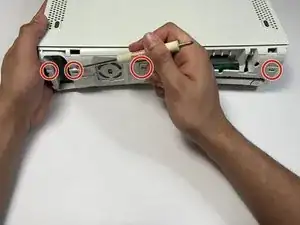
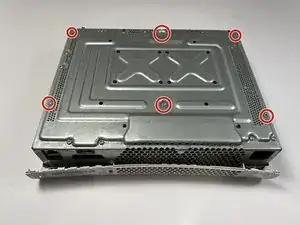
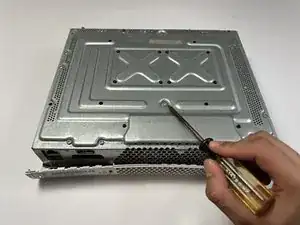
    • Use the T3 Torx screwdriver to remove all six screws.

  8. w1OgFiY2rRAPOJhE
    w1OgFiY2rRAPOJhE
    FeF1jFrqqS6nGhB2
    FmSWgdPKocOtTmgL
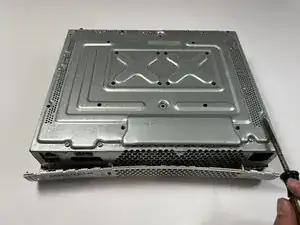
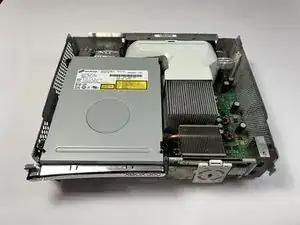
    • Carefully flip over the Xbox to the other side.

    • Lift the Xbox casing off.

  9. HtviWSHVYGUiFwWc
    HtviWSHVYGUiFwWc
    5ZOTkMXNROKh1NlO
    GkeiUdOCG1wCQXSA
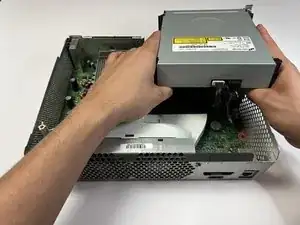
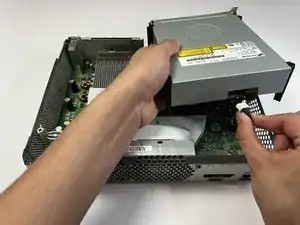
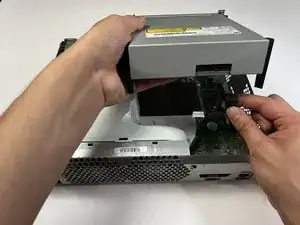
    • Unplug the two connections in the rear of the disk drive.

  10. 2HKHEJAapuPcZd2Y
    2HKHEJAapuPcZd2Y
    nKAI3Pn3cKdFxTtr
    Eutd2uDmbGgbRO5b
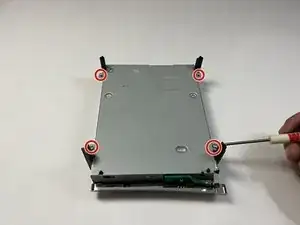
    • Use a flat screwdriver to remove the four screws underneath the disc drive.

    • Flip over the DVD disc drive and remove the casing.

  11. m5UmVbsZBWFqRImk
    m5UmVbsZBWFqRImk
    lcEWiRnJevdJDEMs
    EIHkiG1XVtPoYena
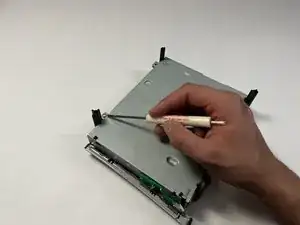
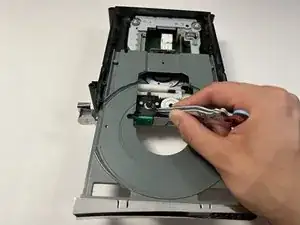
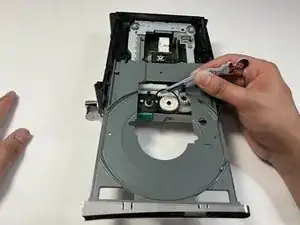
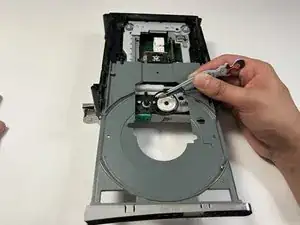
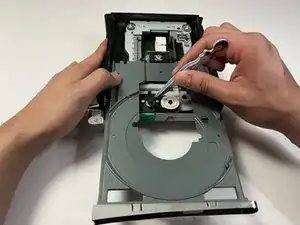
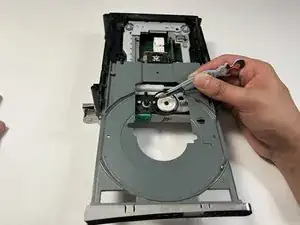
    • Spin the located area with the flathead screwdriver to open up the disc drive.

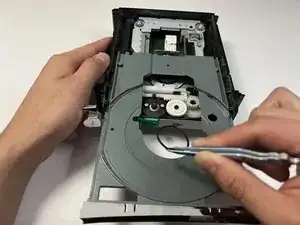
    • Use tweezers to remove the belt drive.

  12. 6LyTUCsGmRTGpt3I
    6LyTUCsGmRTGpt3I
    rqdPssnvUBI2TXOl
    XnTBWr1fGUyB4EVP
    • Replace with a new drive belt.

Conclusion

To reassemble your device, follow these instructions in reverse order.
Angel Lopez

Member since: 28/02/23

237 Reputation

0 comments