Introduction

This repair guide was authored by the iFixit staff and hasn’t been endorsed by Google. Learn more about our repair guides here.

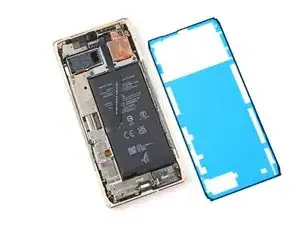
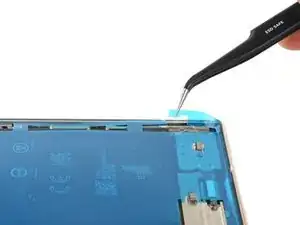
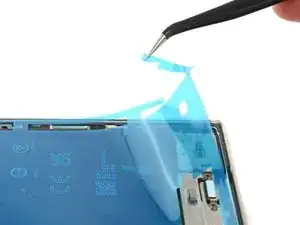
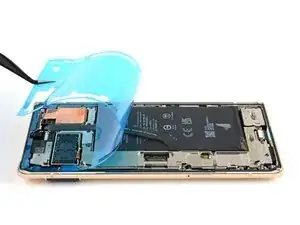
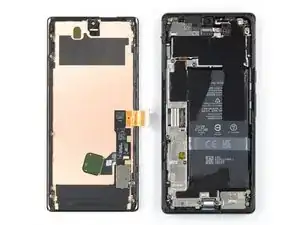
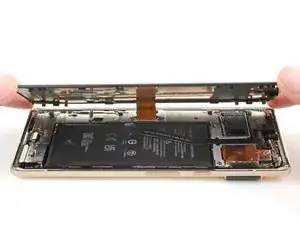
Use this guide to apply new screen adhesive in your Google Pixel 7 Pro following a repair.

Retaining water resistance after the repair will depend on how well you reapply the adhesive, but your device will lose its IP (Ingress Protection) rating.

Note: This guide is written with the Pixel 6 Pro, but the procedure is the same.

  1. vOxGqvEMRQ4VxmVE
    vOxGqvEMRQ4VxmVE
    H3VXXfHJQ2j5VmXO
    Sh1fh1DuW3EPBsRV
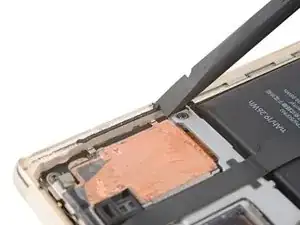
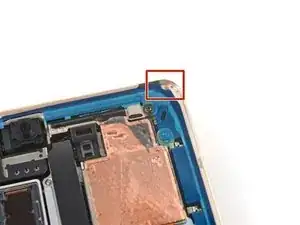
    • Any residual adhesive or debris will prevent your screen from sealing properly.

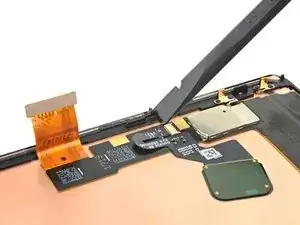
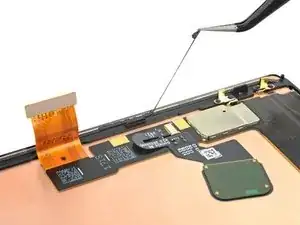
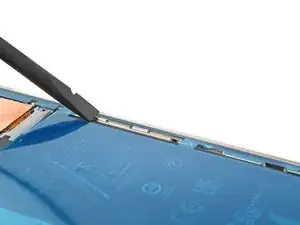
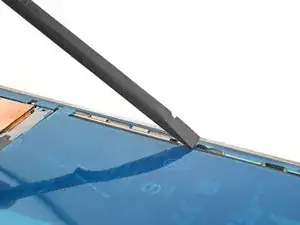
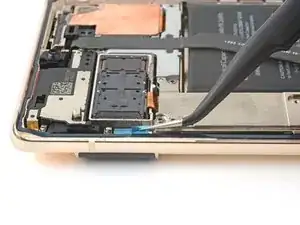
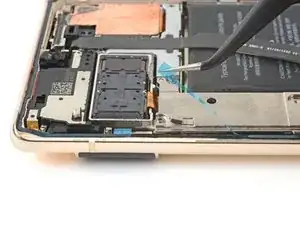
    • Use the flat end of your spudger to scrape off as much adhesive as you can.

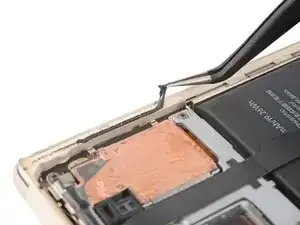
    • Use tweezers or your fingers to peel and remove any remaining adhesive.

    • Take care not to puncture the battery with your tweezers—a punctured battery may leak dangerous chemicals or cause a fire.

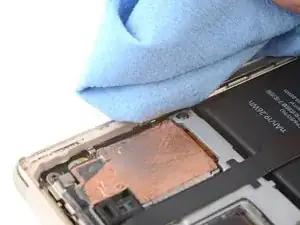
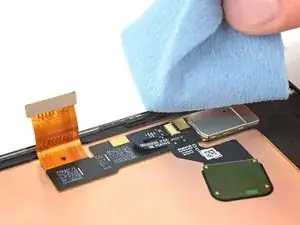
    • Clean the perimeter of the frame with a small amount of highly-concentrated isopropyl alcohol (over 90%) and a lint-free or microfiber cloth.

  2. 1KPZMaVpogCR1isd
    1KPZMaVpogCR1isd
    UBdKYT1BBpsgTPn6
    cSyW3ftigSvRr2KG
    • If you're reusing your screen, clean it as you did for the frame.

  3. BfekWMJqs6b31KjV
    BfekWMJqs6b31KjV
    VPVwycMBJRvgIyGr
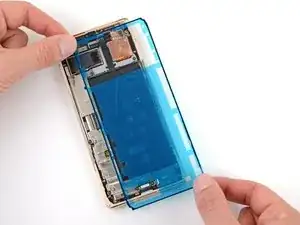
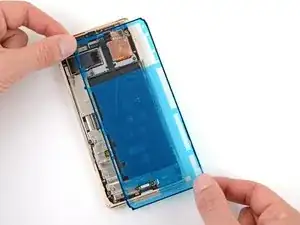
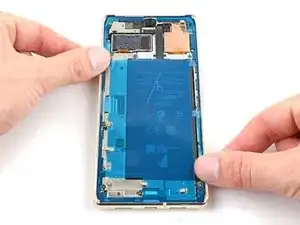
    • Before applying the new adhesive, lay it over the frame to find its proper orientation.

    • Use features such as the front-facing camera, upper loudspeaker, and corner notches to orient the adhesive.

  4. MiXBkRA63MxLtbrg
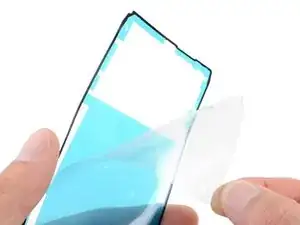
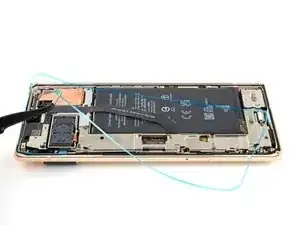
    • Use the pull tab on the top of the adhesive to remove the clear protective backing.

  5. FZBNDkfJZnWWWuKg
    FZBNDkfJZnWWWuKg
    DTWrEko3ZqQPqukg
    asaRWLlQNnMWUjIB
    • Be very careful during this step! The adhesive is very sticky and can't be repositioned once it sticks. Misaligned adhesive can lead to an improper seal.

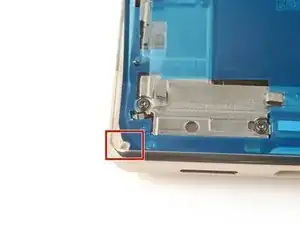
    • Lay the adhesive onto the frame, starting with the bottom edge. Make small corrections as you go.

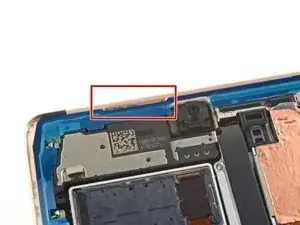
    • Use the bottom left notch, top right notch, and upper loudspeaker cutout to help align the adhesive.

  6. VcKEaNSNUFlOLMaQ
    VcKEaNSNUFlOLMaQ
    MuY4AJ4mlpRdfWIK
    6TBaHUgYWZAmPavV
    • Use a spudger or your fingers to firmly press along the perimeter of the adhesive and adhere it to the frame.

  7. KPSErArInFUVsU2O
    KPSErArInFUVsU2O
    HFBPlWwU2THM2ipC
    l6g2DxmfXIA2EBfD
    • Grab the pull tab on the lower right of the frame and peel off the main liner.

    • There's a smaller liner under this one. Don't remove it yet.

  8. MfmGyTSAcajP6siM
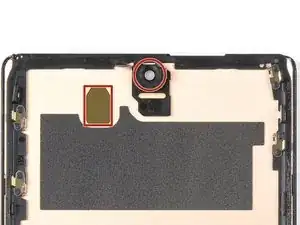
    • Check the front-facing camera hole and sensor cutout on the replacement screen and remove any remaining protective liners in it.

    why dont you show the method to connect the cable? This is the most important part. I cant seem to be able to connect. I dont hear or feel a click

    Rome Gabe -

    I missed this step and don't have a front facing camera now. Whoops!

    Kyle -

  9. 4E66NsxrJkTHoLAX
    • Return to your phone's guide and continue reassembly.

    • Remember to reinstall the display cable bracket.

    • Finish this guide when your screen is installed and you're ready to seal the phone up.

  10. q6VeQFQYXhMQ1NZu
    q6VeQFQYXhMQ1NZu
    NItaUExClEPpbfP6
    foKIGvLolJlxnvHQ
    • Grab the pull tab on the upper left of the frame and remove the liner covering the perimeter adhesive.

    • Make sure the adhesive doesn't peel up with the liner.

    Where does it mention to remove the sticker from the front camera? Also, a photo of this with highlight around the area would be super helpful...

    alberte -

    Hi! In this process, there isn't a liner over the front-facing camera or its recess in the screen. This process only demonstrates how to apply the adhesive which secures the border of the screen to the frame. If you are following this guide, using this part, then bullet 6 of step 11 provides a reminder to check the recess in your replacement screen. It appears that our part doesn't come with the front camera liner, which may be why the original author didn't include a picture of the liner. Your part may differ slightly.

    Clay Eickemeyer -

  11. 14UobuNNkVdYqCZ6
    14UobuNNkVdYqCZ6
    4jHVlV1XCxsxUFba
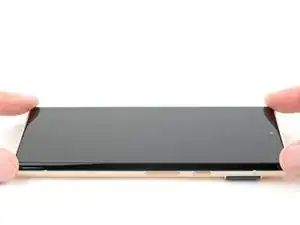
    • Flip the screen over and lay it onto the frame.

    • Press along the perimeter of the screen to secure it.

    What do you think about using t8000 or b7000 glue? I am concerned that the water resistance will not be very good with this OEM glue. I have it and it doesn't look very thick. You know how the screen sort of snaps into place without adhesive? Well mine does not snap in one corner and lifts up about a 32nd of an inch. I worry the adhesive sticker will not work on this spot.

    Michael Carton -

    It sounds like either one of the clips isn't engaging near the corner you mentioned, or the frame is slightly bent. After you replace the adhesive and reinstall the screen, compress the phone with a lot of force for an extended period of time. As I mentioned in my other comment, official screen installations require something in the ballpark of 80 psi for 30 seconds to properly seat the adhesive. For best results, find a way to evenly compress your phone with a strong force. Be careful not to distribute an uneven amount of force to the raised rear camera mesa. Doing this will better allow the glue or adhesive to settle. In the end, don't trust the water resistance to be as good as original.

    Clay Eickemeyer -

  12. PXPk1i62abp2a6vB
    PXPk1i62abp2a6vB
    OClGoqfkGI1Kq4iJ
    Qt1CPpJDaVSRibvQ
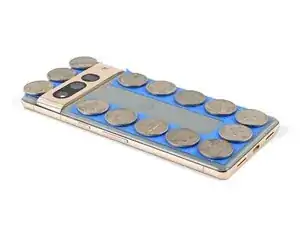
    • To evenly compress your Pixel and strengthen the bond of the screen to the frame, you need to account for the camera bar.

    • If you have screen vise clamps, you can work around the camera bar. Secure the clamps to the perimeter of the device.

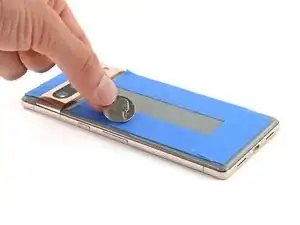
    • Apply tape to the perimeter of your rear glass to protect its finish.

    • Place coins or similarly thick objects along the edges of the rear glass. Make sure they're as thick or thicker than the camera bar.

    • Stack multiple books or other heavy objects on your phone. Leave them in place for thirty minutes or longer. Ideally, leave them stacked overnight.

Arthur Shi

Member since: 03/01/18

248651 Reputation

One comment