Introduction

If your Endgame Gear XM1 mouse is intermittently losing connection, or outright does not respond when it is plugged in, the cable may be damaged. With the help of this guide, you can fix your mouse and get it back in working order by replacing the cord.

Unplug the mouse from your computer before beginning this guide.

  1. kNhsJeNKSeUe6SQH
    kNhsJeNKSeUe6SQH
    OWhENfSxUfMGnErk
    ScGLaSVSmORAoGZL
    • Use the plastic spudger to peel off the four rubber feet on the underside of the mouse.

  2. 5SY4HeYqDyft2Af1
    5SY4HeYqDyft2Af1
    PFyUONAbxOOXO1iy
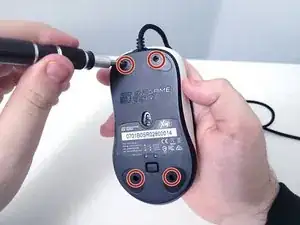
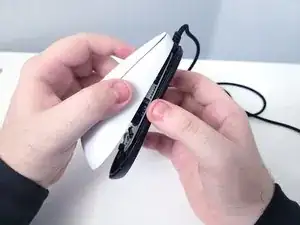
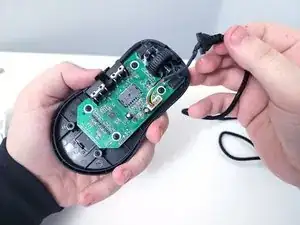
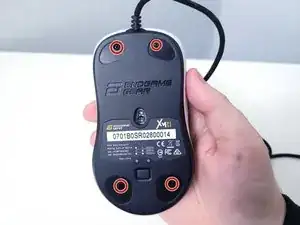
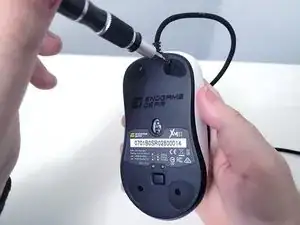
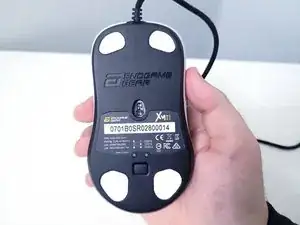
    • Use the Phillips #1 screwdriver to unscrew the four 8.0 mm screws on the underside of the mouse.

  3. WaWuRDbmkINIOZRV
    WaWuRDbmkINIOZRV
    OKgi3oZBPgcp1cQC
    eSmPxLPX5GZgtmIW
    • Use your hands to carefully separate the top and bottom shells from each other.

    • The top and bottom shells should very easily separate without any force used to pull them apart.

  4. nHGW2gauVb5OmPLF
    nHGW2gauVb5OmPLF
    qXe4eDmlHZ3fYVLo
    • Remove the stress relief from the base of the bottom shell.

  5. 5SwZyqbbGBAG4jGx
    5SwZyqbbGBAG4jGx
    6AUUwNfftFn42EXB
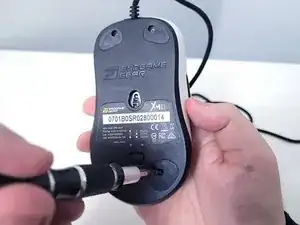
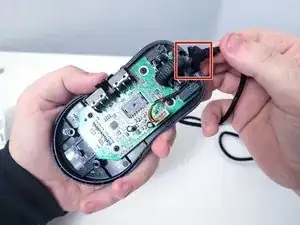
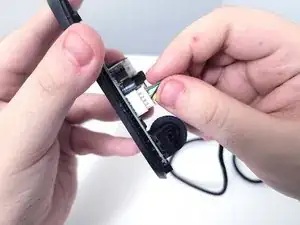
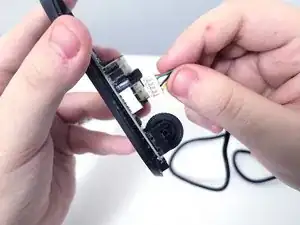
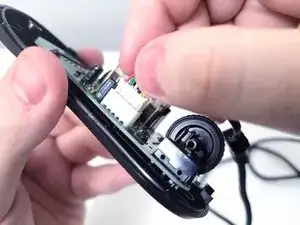
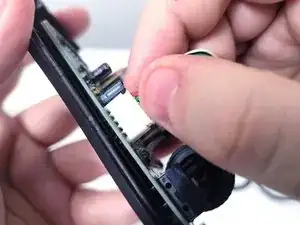
    • Using your fingers, pull the cable away from the connector in the same direction that the individual wires are running.

    • Pull evenly on the full width of the cable so that no individual wires are overly strained. Avoid forcefully pulling or yanking the cable.

  6. HZIKUNMoOBSZgUF3
    HZIKUNMoOBSZgUF3
    W3slHRXtavnLMnOb
    • Insert the replacement cable in the socket by lining up the pins on the socket to the holes on the cable connector, then push it in.

    • Make sure that the two lines on the cable connector are facing the inside of the mouse.

  7. b1x45TFTHWqBKqRB
    b1x45TFTHWqBKqRB
    Oc3IISvuteXWJDI1
    XTgs1131kdef3MgP
    • Route the cable between the scroll wheel and the Omron sensor.

    • Place the stress relief in the designated opening at the base of the bottom shell.

    • Be sure to push the cable down so that it is firmly secured between the mouse wheel and the right mouse switch.

  8. NX1BQZW5igbtTdJB
    NX1BQZW5igbtTdJB
    MIwiiqsOOhvOZg6F
    • Line up the top and bottom shell, press them together, and make sure they click.

  9. ue5W56vTYcy56XKi
    ue5W56vTYcy56XKi
    RKWaQhHXQNeLVYQ3
    • Place the 8.0 mm screws in their designated holes, and screw them in using the Phillips #1 screwdriver.

  10. LOsWdaXBLwcAJ21B
    LOsWdaXBLwcAJ21B
    wKETrxoKDoOHIReQ
    BQBP1GxyQs16mqxV
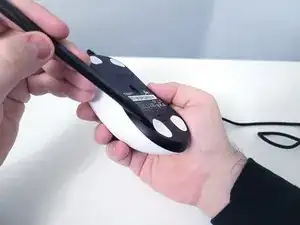
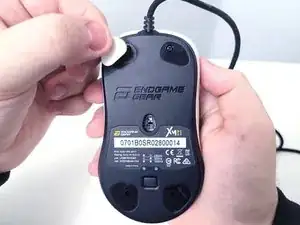
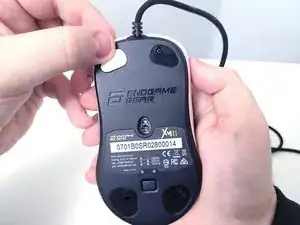
    • Install new mouse feet by lining them up with the grooves at each corner of the mouse, and apply pressure to assure that they stay in place.

Conclusion

To reassemble your device, follow these instructions in reverse order.

Heba Azeef

Member since: 30/01/23

181 Reputation

0 comments