Introduction
Use this guide to replace the back cover adhesive by applying it to the back cover first.
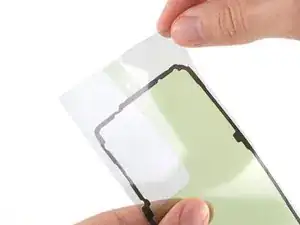
To determine where you first apply the adhesive, match the contours of the adhesive on the clear side with the back cover and the frame. If the clear side matches the frame, follow this guide instead.
The frame-first adhesive tends to have screw holes in the colored lining.
This guide is applicable for all Galaxy S21 devices.
Tools
-
-
If you're re-using your back cover, remove the remaining adhesive.
-
Repeat the same procedure for any remaining adhesive on the frame.
-
-
-
Before removing any liners, position the adhesive strip with the clear liner facing down over the back cover to find the proper orientation.
-
If the adhesive matches the frame instead of the back cover, follow this frame-first adhesive guide.
-
-
-
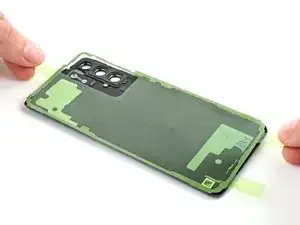
Carefully align the sticky side of the adhesive over the edges of the back cover.
-
Press down on the perimeter of the adhesive strip to bond it to the back cover.
-
-
-
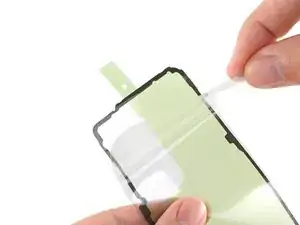
Peel off the colored liner from the adhesive strip to expose the opposite side of the adhesive.
-
-
-
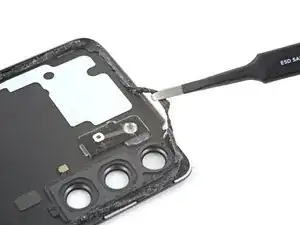
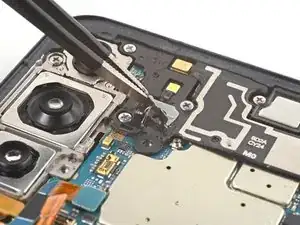
Use tweezers to remove the old microphone gasket. It may be attached to the back cover or the phone.
-
Remove the clear liner from the large L-shaped adhesive piece.
-
Place the square piece of adhesive over the back cover's microphone cutout under the flash unit, with the blue liner tab facing right.
-
Remove the blue liner.
-
-
-
Align the back cover with its original position on the frame.
-
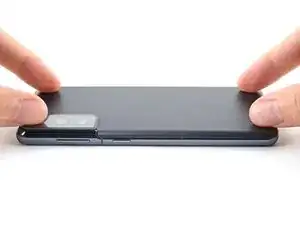
Press down on the perimeter of the adhesive to bond the adhesive to the frame.
-








If using alcohol to clean up the adhesive, try and avoid the camera foam. Otherwise it'll soak up the alcohol and you'll have to push it out to make it normal shape again.
Rachel Frei -