Introduction
If you're experiencing issues with inconsistent keypresses or unresponsiveness in your hot swappable mechanical keyboard, this guide will assist you in replacing the switch leaves in Gateron mechanical switches, however the same instructions will work on most other switches.
The metal leaves within mechanical switches play a crucial role in providing tactile feedback and completing the electrical circuit within the switch. When a switch leaf is damaged or broken, it can result in malfunctioning or non-responsive switches.
Before proceeding with the replacement, it's important to confirm that the switch leaves are the root cause of the problem. You can inspect the switches for any visible damage or deformities. Additionally, testing multiple switches or using different keycaps on the affected switches can help pinpoint the issue.
Please note that replacing the switch leaves in a hot swappable keyboard doesn't require soldering. Instead, you'll be utilizing the hot swappable feature of the keyboard to easily remove and replace the switches.
Tools
-
-
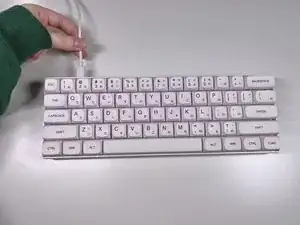
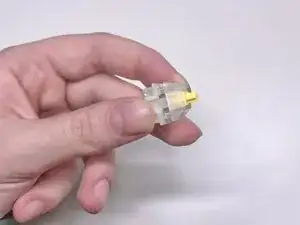
Use a switch puller to grip the top and bottom of the base of the switch.
-
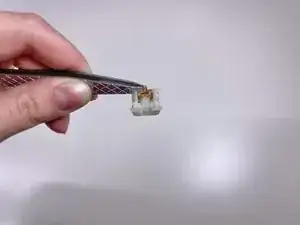
Gently pull the switch straight upwards from the hot swappable socket on the keyboard.
-
-
-
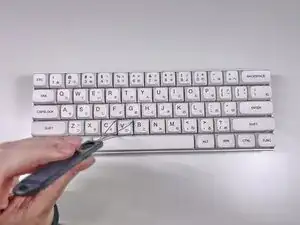
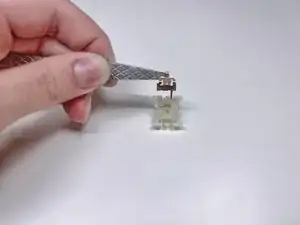
To open the switch housing, align the prongs on the switch opener with the clasps holding the top and bottom of the switch.
-
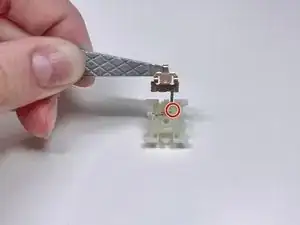
Apply gentle pressure on the top of the switch until the upper switch housing detaches from the lower switch housing.
-
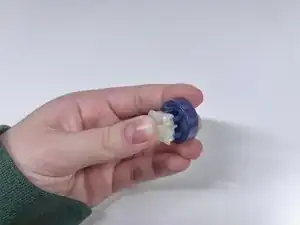
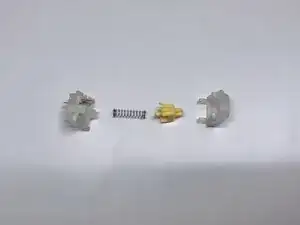
Remove the stem, upper housing, and spring, so that you are left with the lower housing and switch leaves.
-
-
-
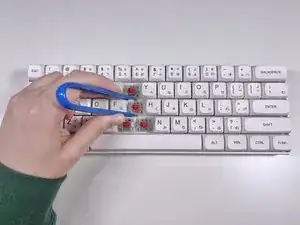
Remove the old switch leaf by grabbing the top of the leaf with tweezers and gently pulling it out.
-
-
-
Insert the new switch leaf by inserting the pin through the small hole at the bottom of the switch housing.
-
-
-
Align the switch components as they were when you took apart the switch
-
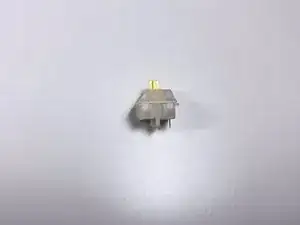
Apply pressure to the top and bottom of the switch housing until it snaps back into place.
-
-
-
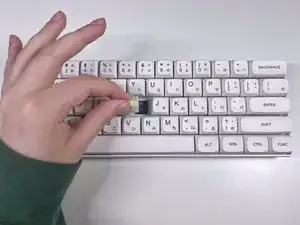
Reinstall the switch to the PCB by lining up the pins on the switch to the holes on the PCB, and apply gentle pressure straight down, until it clicks back into place.
-
Replace keycaps by aligning the cap with the switch stem, and applying gentle pressure until it is in place.
-