Introduction
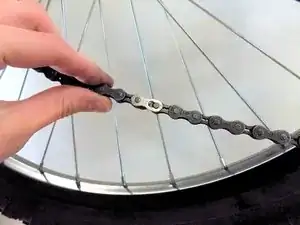
Bicycle chains sometimes need to be removed for maintenance or replacement. To make this process easier, bicycle chains sometimes include a master link, which is easier to open and close than normal links. This guide details how to replace a chain on a Pacific Cycle R4046WMB using a master link.
Tools
-
-
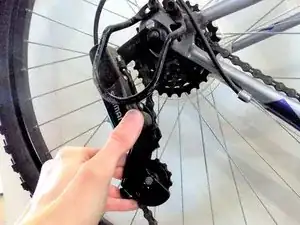
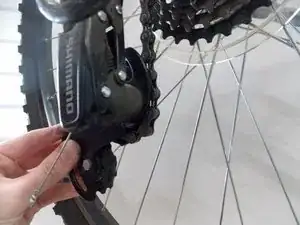
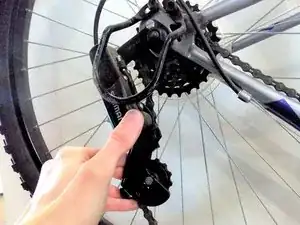
Using one hand, pull the rear derailleur forward to create slack in the chain.
-
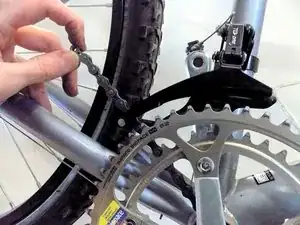
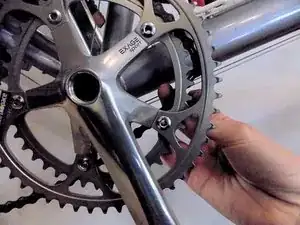
Using your other hand, lift the chain off of the front gears, setting it down on the "inside," between the gears and the bicycle's frame.
-
-
-
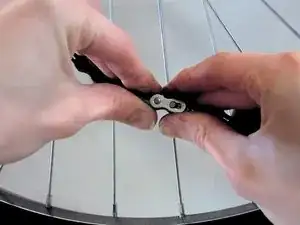
Disengage the master link by pushing the links on either side of it together.
-
After the master link is disengaged, pull the chain apart by separating the two halves of the master link.
-
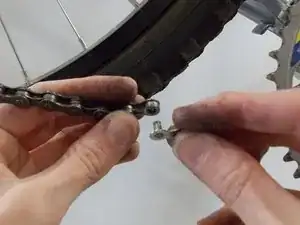
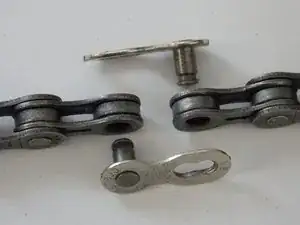
Pull the two halves of the master link out of each end of the chain, and set them aside.
-
-
-
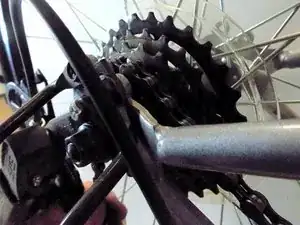
Set the chain onto the same rear gear you removed the previous chain from earlier.
-
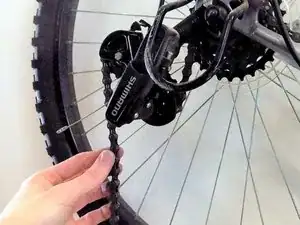
Thread the chain down and around the first derailleur gear...
-
...then between the two derailleur gears...
-
...then around the other derailleur gear.
-
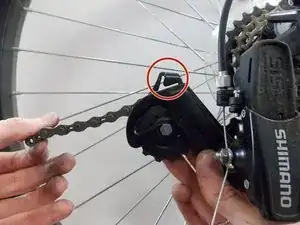
Be sure to thread the chain through the chain guard, rather than over it.
-
-
-
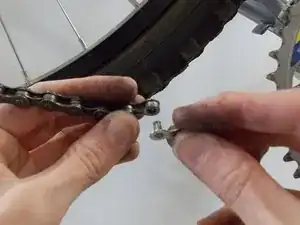
Slide the pin of one of the master link halves through the end of one end of the chain.
-
Attach the other half to the other end in the opposite direction. ("From the front" on one end, and "from the back" on the other end.)
-
-
-
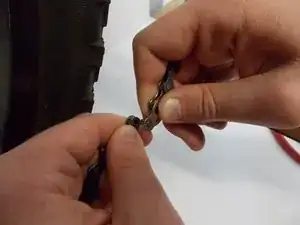
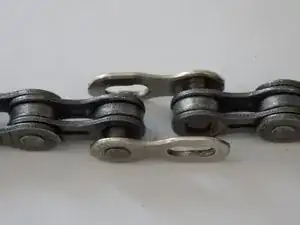
Slot the two halves of the master link together. One half's pin should go in the other's hole, and vice versa.
-
-
-
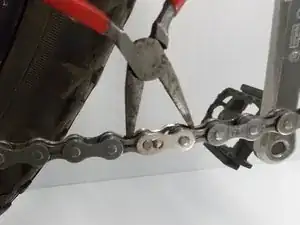
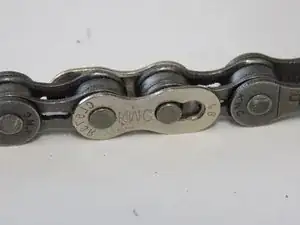
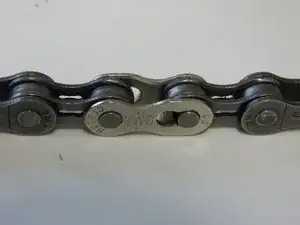
Hold the chain on either side of the master link, and pull them apart. The master link will snap in place, with each pin now in its "outer" hole rather than its "inner" hole
-
-
-
Pull the rear derailleur forward to create slack in the chain, just like in Step 1.
-
Set the chain onto the front gear.
-
