
Introduction
The only thing you can't do is buy a washing machine, drive it home, and hope that it works. These dutiful appliances must first be hooked up to a water supply and drainage system.
Supply pipes branch out in a basic laundry room to provide hot and cold water to both the utility sink and the washing machine. The drain hose of the unit clips to the side of the utility sink, which has a P-trap connecting to a line of house drain.
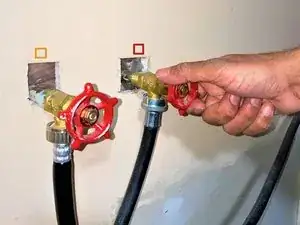
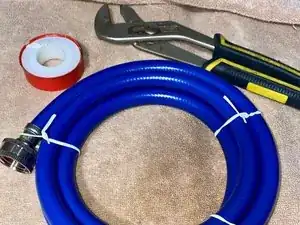
Hot and cold water and a drain are required for a washing machine. You may need to add valves for the washing machine, which look like bibs for the outdoor hose but point straight down. A standpipe or sink, which has a P-trap that attaches to a house drain line, is hooked to the washer drain hose. The drain must slope down at a rate of 1/4 inch per running foot for each of these.
Several problems that lead to structural damage inside your home can be caused by water that collects around your washing machine. This indicates that pipes need to be changed and replaced with new and better connections. We explain steps that you can take to define and address this issue in this guide.
-
-
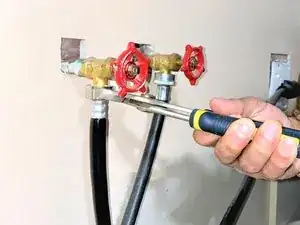
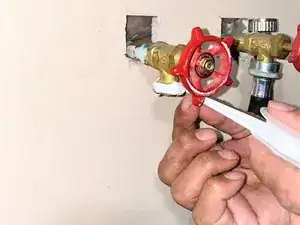
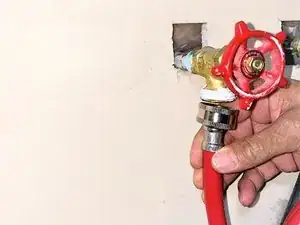
Using an adjustable wrench, disconnect the pipes carefully from the water supply side and the washer side.
-
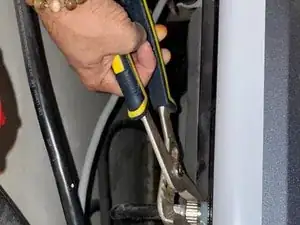
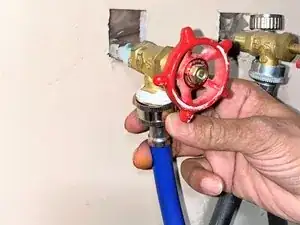
After the pipes are disconnected, re-check the leakage and rust in the washer installation.
-
-
-
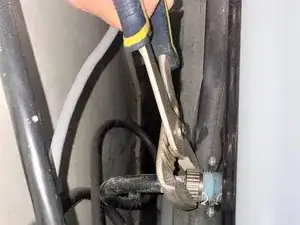
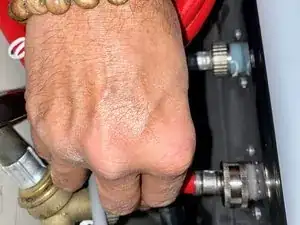
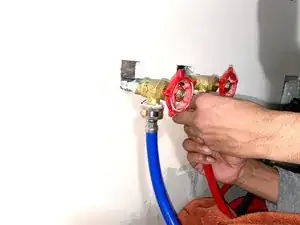
Rotate the pipes in a clockwise direction to tighten up.
-
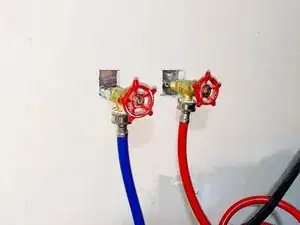
Turn on the water supply. Perform a quick wash and check the connection.
-

- This guide contains easy steps of instructions to be followed if your pipes of the washer are needed to be changed.
One comment
Those are hoses. Pipes are in the wall
NitWit -