Introduction
Since the vintage hand-held 'Bricks/Tetris' gaming consoles were manufactured mostly in the 1990's, their internal components are most likely worn by now. The silicone rubber membrane key switches under the buttons will periodically need to be cleaned and/or replaced. Cleaning under sticking buttons in itself is not a challenging task. The issue arises when one or more solder joints break after disassembling the device in order to access the silicone rubber membrane. Avoiding the failure of solder joints with one of these consoles is almost impossible due to age and the shortness of the wires inside. Disassembling the cover by itself will frequently result in a breakage of the solder joints connecting the main board wires to the batteries. Therefore this guide instructs the owner of one of these vintage hand-held gaming consoles to restore the game's functionality after discovering the game will not power on.
-
-
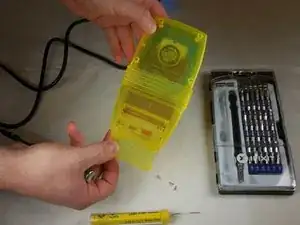
Use a Phillips 1 screwdriver to unfasten the four screws from the back of the case.
-
Remove the battery cover to expose the two remaining screws that hold the case together.
-
-
-
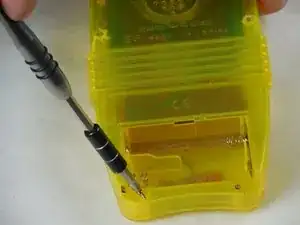
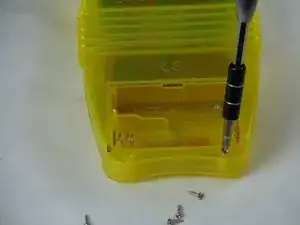
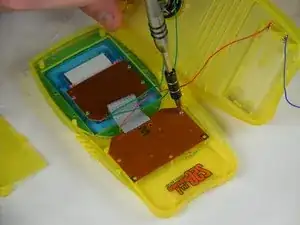
Using the same Phillips 1 screwdriver, unfasten the two smaller screws holding the controller board to the case .
-
-
-
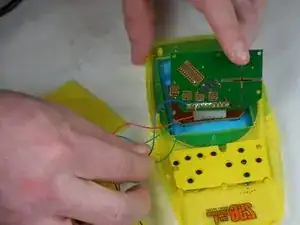
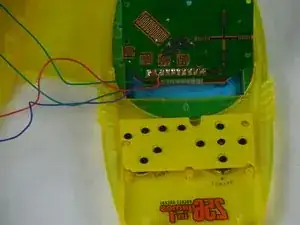
Verify that the detached wire(s) reach the intended destination.
-
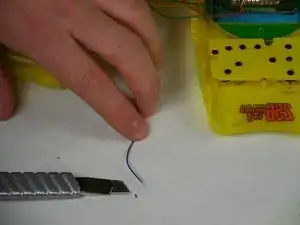
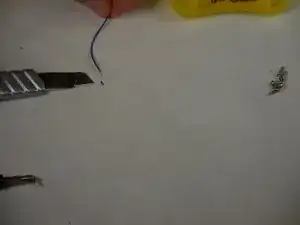
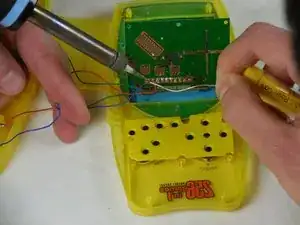
Use a blade or wire stripper to strip 0.5 cm of insulation off the end of the wire(s) to be soldered.
-
-
-
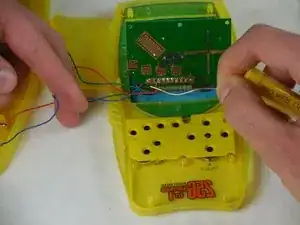
Re-solder the disconnected wire to the proper joint.
-
Lightly tug on the newly soldered wire to confirm a reliable solder joint.
-


Although newly manufactured hand-held Brick gaming consoles are plentiful to purchase online, the owner of an earlier generation hand-held Brick gaming console will most likely want to keep the original ones they bought. There is no telling if/when these devices will become a collector's item, but history has shown that not all types and models of these hand-held Brick games are being manufactured. Some models were manufactured for a very limited period of time. The owners of those rare Brick games will eventually want to fix theirs. Not much else can go wrong with these Brick games as long as the owners protect the LCD screens from damage.