Introduction
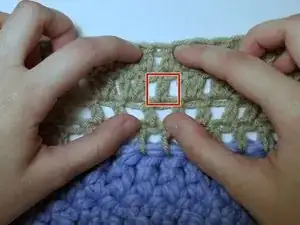
If your crochet piece is missing a stitch or a stitch was ripped out, use this repair guide to repair the missing crochet stitch. Crocheting requires consistency and continuity in a piece. Having a missing stitch can be bothersome and annoying. This repair guide will show you how to create a “fake stitch” to replace the one that is missing, to make your piece whole again.
Before using this guide it would be helpful to have some background knowledge on the basics of crocheting and sewing. Steps 7 through 9 of this repair guide contains the use of a large sewing needle, make sure to handle with care and be aware of potential hazards when sewing with the needle.
Tools
-
-
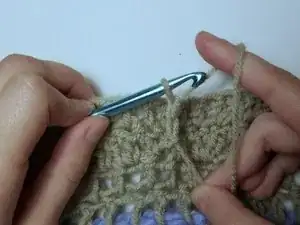
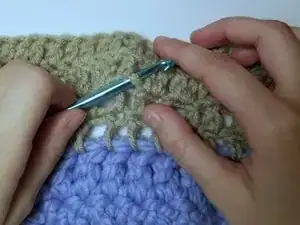
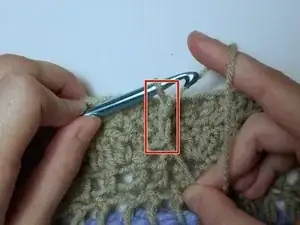
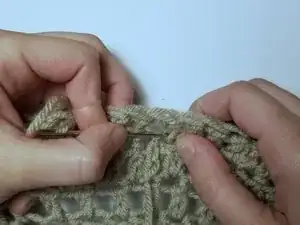
Use the crochet hook to hook through the base stitch, (where the missing stitch should have been located), from front to back.
-
-
-
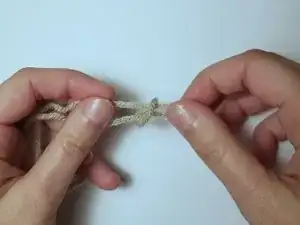
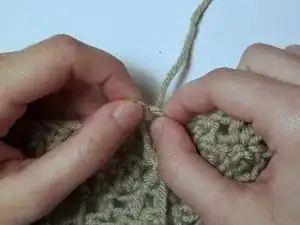
Remove the crochet hook and knot the remaining loop. Cut off the yarn leaving another 3 inch tail.
-
-
-
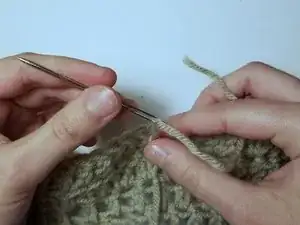
Thread the darning needle with one of the 3 inch tails. It does not matter which one you choose.
-
-
-
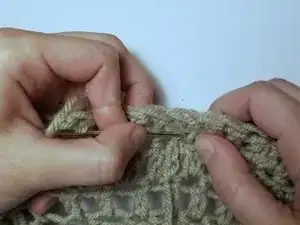
After fully weaving one tail, cut off any excess, and begin weaving the next. Repeating Step 7 through 8.
-

To reassemble your device, follow these instructions in reverse order.