Introduction
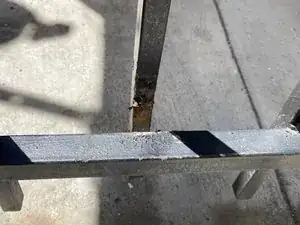
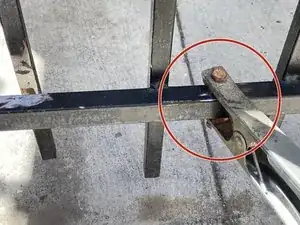
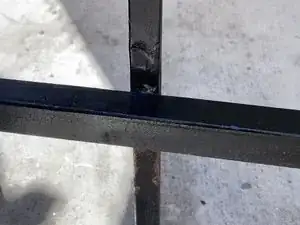
This fast fix is made for those who want to learn how to fix a metal fence by welding it together. This fix is helpful since rust and external forces (someone breaking it) might cause the bar to detach. If you learn to fix it, then you won't need to hire someone to fix it every time it breaks.
Always weld in an open area with nothing flammable around. Wear proper protection including a welding helmet, welding gloves, and safety glasses.
Not only must you weld in an open and clean space, but you must also do it while the sun is out so you can see through the welding helmet (since the visor is darkly tinted, you won't be able to see through it at night). The grinder disc size that I used in this fast fix was a size 4 1/2 inch. You can use any size because you are just using it to scrape off residue and paint.
Tools
Parts
-
-
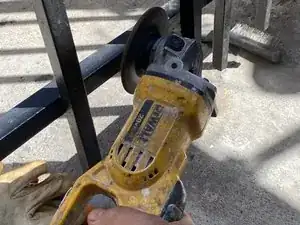
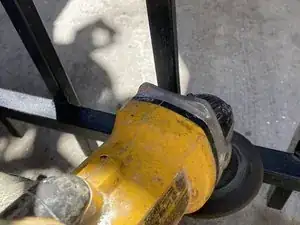
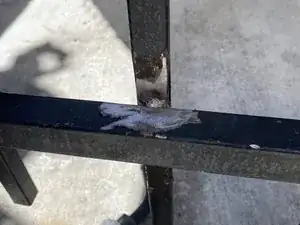
Use the grinder by doing a back and forth motion to sand down the post. This clears rust buildup and paint that is left on both metal bars.
-
-
-
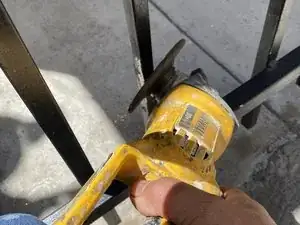
Use the grinder to sand down part of the metal fence so the ground clamp on the welding machine has ground to be on for the machine to work.
-
Put the welding ground clamp on the same piece of metal that has also gotten paint removed with the grinder.
-
-
-
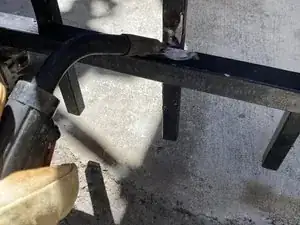
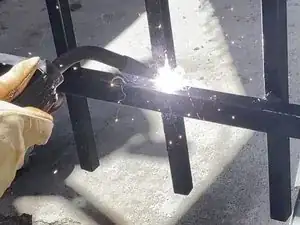
Hold both posts together, and use the weld gun by pressing on the trigger it has while moving the tip of the welding gun from one side to the other. Make slow passes of about 4 seconds between both metal posts since the posts are usually thin.
-
-
-
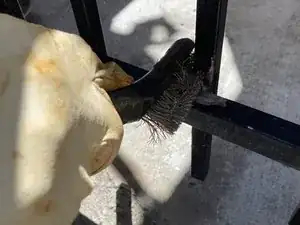
Use the wire brush to brush off the area welded and to brush off any paint that can be peeling around the area you welded. If you still need to weld repeat step 3 and after that repeat this step once more.
-
-
-
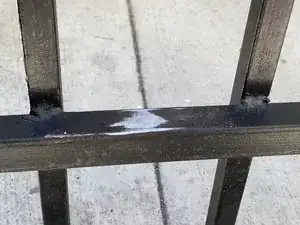
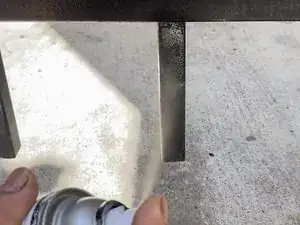
Use a spray paint can the color of your metal fence to paint the areas welded and the areas that were sanded down.
-
To spray paint shake the can a few times, then start off by spraying from a distance and then getting closer to cover the area more.
-
-
-
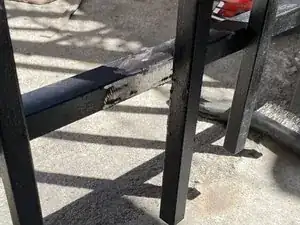
The fence should now be welded and painted. If more than one of the posts needs welding, repeat all steps.
-
To fix your metal fence, follow these instructions in order.
2 comments
Your information is very interesting. Thanks for posting. The benefits of ***Miller Welding Plant*** Machines are high technology and constant innovation.
You have provided very helpful information in this Content. An extensive catalog of Welding Machines, most importantly, It is an essential element for your protection when working.
