Introduction
Even the most mindful homeowner, or renter, can end up dinging a corner in their home. Vacuuming, or kids playing, and all of sudden there is chip in the the corner of the wall. Countless amounts of money go to repairs, or lost security deposits, that easily could have been averted if the person did the repair themselves. With a few items, that can be found at any big department store pretty cheap, a homeowner could save themselves a bunch of money. This guide will make the process effortless, and give a step by step process that will be easy to follow along. In the end, giving confidence to the user to maybe try other home repairs without a second thought.
Tools
Parts
-
-
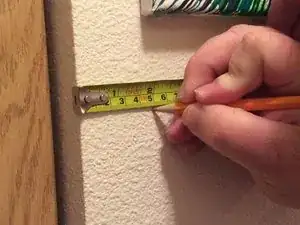
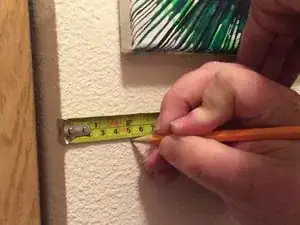
Measure top and bottom of damaged section.
-
Use a straight edge between the the top and bottom and draw a straight-line connecting the marking.
-
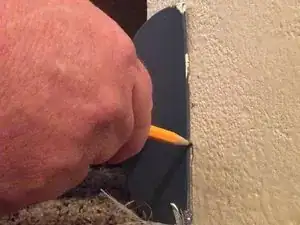
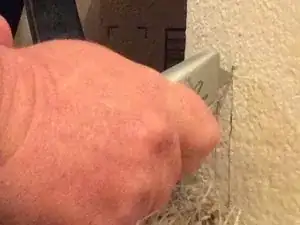
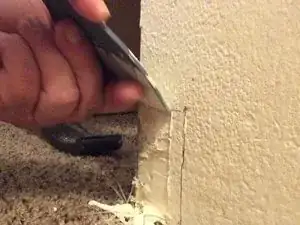
Mark with a pencil, or cut lightly with utility knife.
-
-
-
Unscrew screws in the section of bead that you are going to remove.
-
Cut the metal corner bead with tin snips.
-
Measure new corner bead and cut.
-
Place new corner bead on corner and fasten in place using screws or tape.
-
-
-
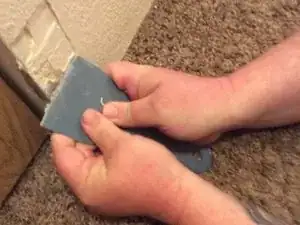
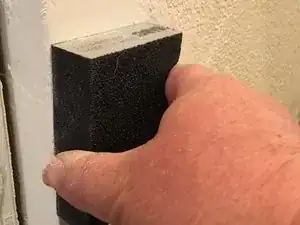
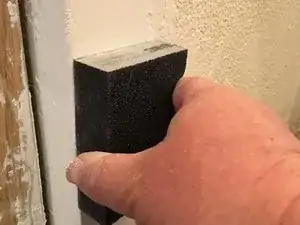
Sand area with 80 grit sandpaper.
-
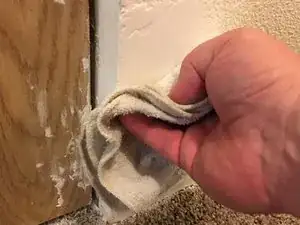
Wipe down with damp cloth, sponge, or paper towel.
-
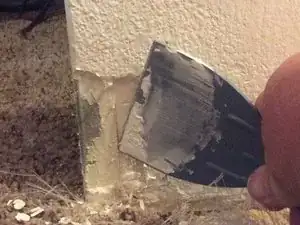
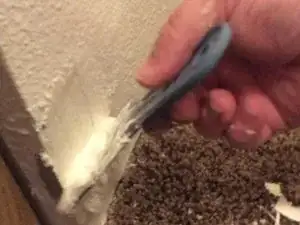
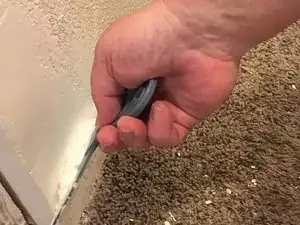
Apply thinner coat of joint compound with a 6, or 8 inch putty knife.
-
Let dry for 2 hours.
-
Now the corner drywall is ready to be painted and match the rest of the room.
