-
-
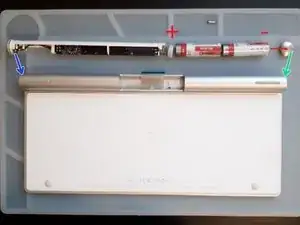
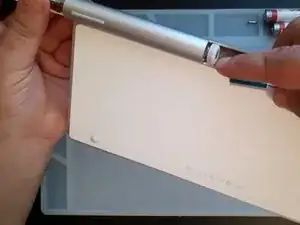
As you can see from the photo, the negative pole of the battery is connected to the main board through the aluminum body of the keyboard.
-
There are two contact areas:
-
Between the battery cover and the KB aluminum body
-
Between the power button assemble and the KB aluminum body
-
If the device has a power problem, we need to check and clean these two places
-
-
-
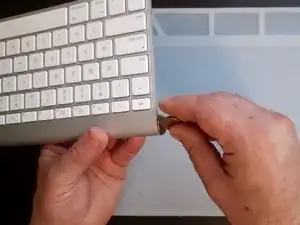
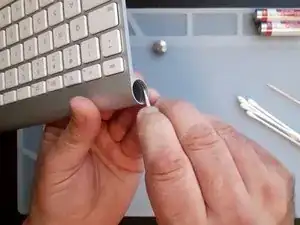
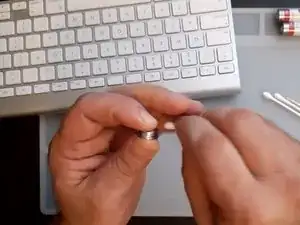
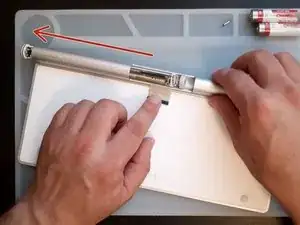
Use a Coin to remove the metal battery screw cover
-
Change the batteries (AA) and test the keyboard
-
If the keyboard does not work, go to the next step
-
-
-
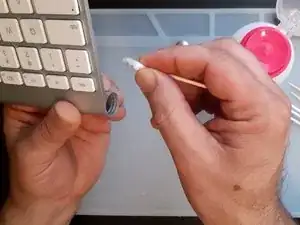
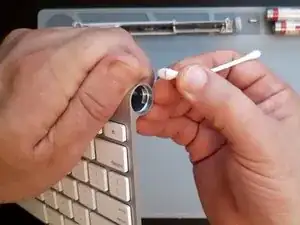
Use cotton buds, Toothpicks and Isopropyl Alcohol to clean the contact area and the battery cap.
-
Test the device and f the keyboard does not work, go to the next step
-
-
-
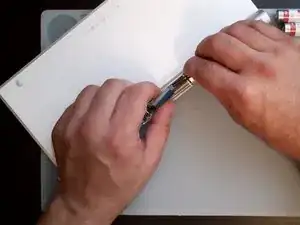
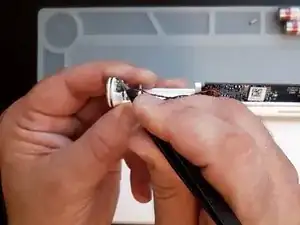
Remove the plastic cap from the middle on the tube and disconnect the KB flex cable
-
There are a screw secured the BT antenna, remove it
-
Slide the board out.
-
-
-
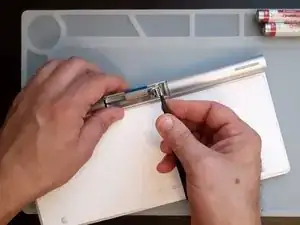
Use tweezers or a sharp metal tool and slightly bend the contact plate outwards
-
Clean the tube and the contact plate
-


To reassemble your device, follow these instructions in reverse order.

4 comments
Add a little dielectric grease to the battery end cap. Had considerable corrosion despite batteries not leaking. Strange design.
Wow! This fixed actually worked! I was about to thrown this A1314 keyboard out (2009 model)! You can remove the plastic "cap" with a precision flathead screwdriver. Also, be careful when disassembling the ribbon cable - there is a plastic retaining clip holding it in place. Use the precision screwdriver to carefully release the tabs on either side and then pop it out. The ribbon cable will then easily side out. By the way...I'm typing this comment on my newly fixed wireless keyboard! Thanks again!
Vic -
its great having this guide. I got the keyboard to work again.