Introduction
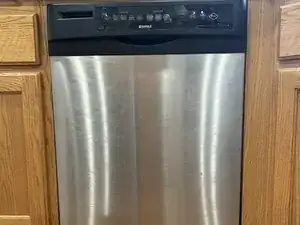
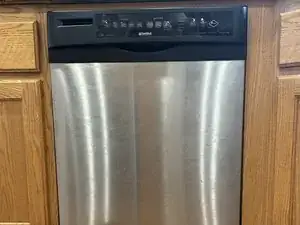
In this tutorial, we'll cover every step of how to take out and clean the float switch from your Kenmore 575-0 dishwasher. A malfunctioning float switch can lead to water-related problems, disrupting the dishwasher's function and potentially causing costly damage.
This manual is available to help if the float assembly on your Kenmore 575-0 dishwasher needs cleaning or maintenance. This guide focuses on simple methods for removing and cleaning your dishwasher's float assembly, in contrast to certain techniques that require complicated steps.
Tools
-
-
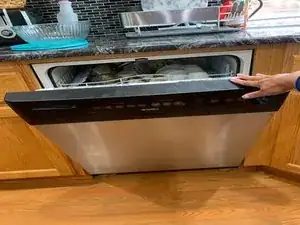
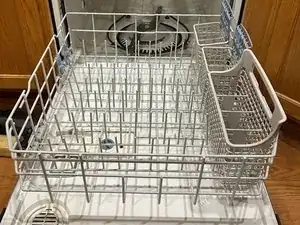
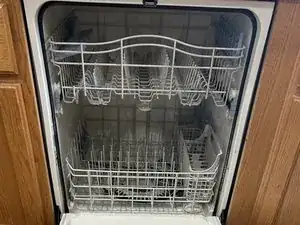
To easily access the float assembly, open the dishwasher and carefully slide out the lower rack.
-
-
-
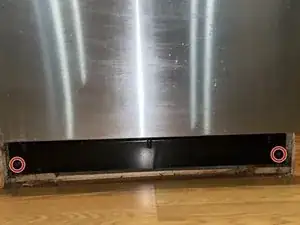
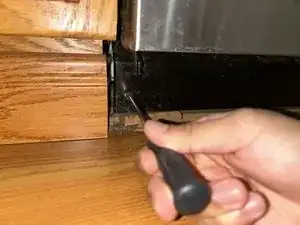
Use a Phillips #1 screwdriver to remove two 5 mm screws from the ends of the bottom cover of the dishwasher.
-
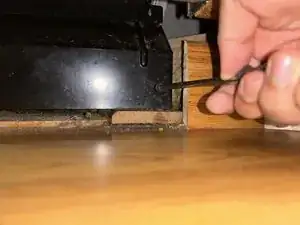
Remove the bottom cover.
-
-
-
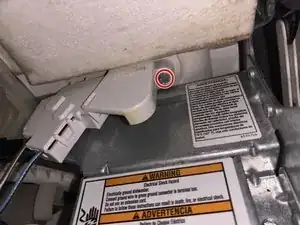
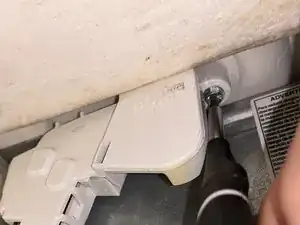
Loosen the single 5 mm screw at the base of the dishwasher that secures the float switch in place using a Phillips #1 screwdriver.
-
-
-
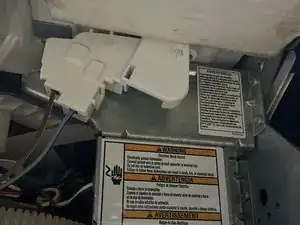
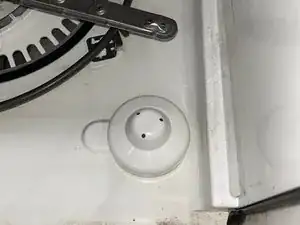
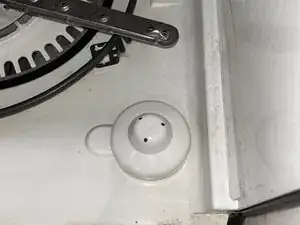
Find the float assembly positioned near the front, underneath the lower rack.
-
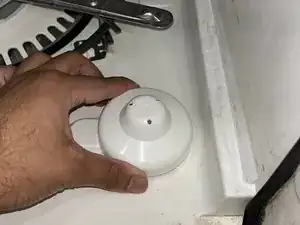
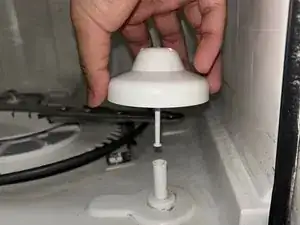
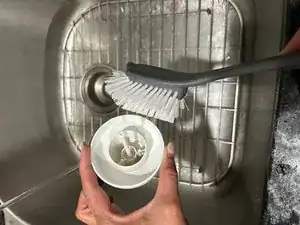
Carefully press on top of the float assembly and then release to elevate the float.
-
-
-
Reconnect the float assembly to its initial position and fasten it securely. Verify that it moves smoothly and without obstruction.
-
Now that the float switch is clean, reinsert the lower rack.
-
Reassemble the base of the dishwasher.
-
To reassemble your device, follow these instructions in reverse order.
