Introduction

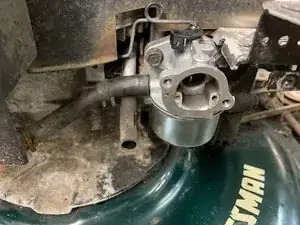
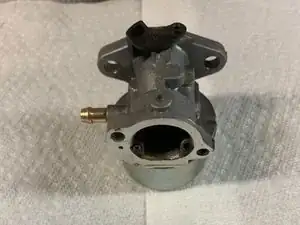
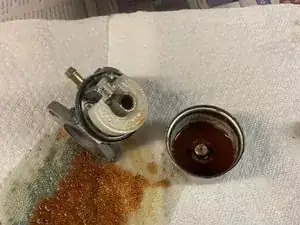
This guide shows how to rebuild a primer style carburetor on a Briggs and Stratton quantum engine. The guide is applicable to many different models and brands of mowers.

This engine can be found on push mowers, log splitters, tillers, leaf vacs, leaf blowers, tractors, and more. It is applicable to 4.5-8 horsepower engines. A carburetor rebuild is required after fuel is left in a mower over a long period of time or water has gotten into the fuel.

  1. KJeEmbHRDsxeupiK
    KJeEmbHRDsxeupiK
    xaDZQ35ekMkA3AoQ
    gpSFTehXSDyTrG1U
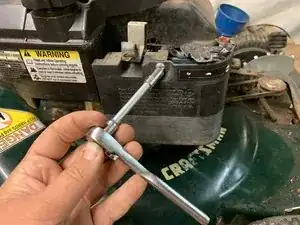
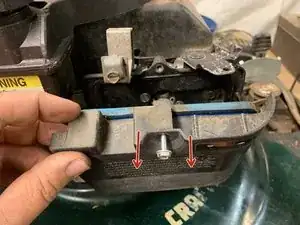
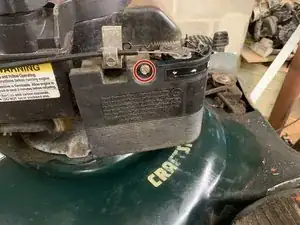
    • The air filter and its cover are located to the right of the yellow warning label under the throttle cable.

    • Remove the single screw attaching the cover and filter using a 5/16'' socket.

    • Pull straight outward until the filter assembly is detached.

    • The screw is a flat head as well as a 5/16'' socket.

  2. EgfxFIQDrvSQiAb4
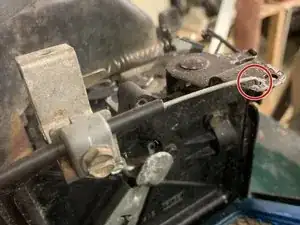
    • The throttle cable will be located above the air filter assembly.

    • Use a flathead screwdriver to remove the throttle cable.

    • If your engine is not equipped with a throttle, skip this step.

  3. GLGgJIYTLtlAYcO5
    GLGgJIYTLtlAYcO5
    kNy3kurghrOrXTJL
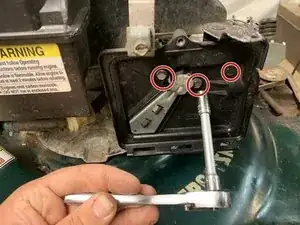
    • Remove the backplate of the air filter assembly to access the carburetor.

    • Using a 5/16" socket, remove the three screws inside of the assembly.

  4. QQagGYHVQnOb5wne
    QQagGYHVQnOb5wne
    mQO26yslOpwHCGqi
    uxxmPKk1sqRpxeIw
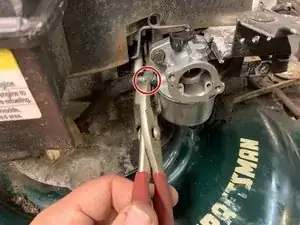
    • Remove the fuel line spring clamp with pliers.

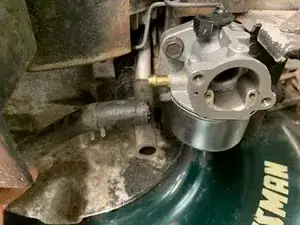
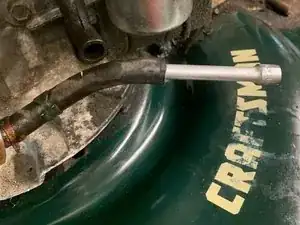
    • Remove the fuel line from the carburetor by pulling directly outward.

    • Crimp the line with locking pliers. Do this before removing the fuel line to mitigate fuel spillage.

    • Drain the fuel line into a container and dispose of it properly.

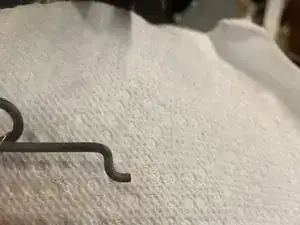
    I was told the wire with the loop in it went to a governor. It does not come forward anymore, so I think I might have lost a spring that held it back. It stays forward where before I could pull on it and would rev the engine. Mine is a walk behind weed trimmer. Is there a diagram somewhere that shows where springs belong? Thanks

    Danielle Mayer -

  5. YdEEP1IbWunfOAmu
    YdEEP1IbWunfOAmu
    WIIR2LNb3uIjwlMQ
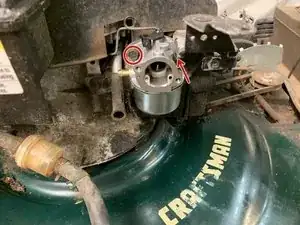
    • To remove the carburetor, use a 3/8" socket with an extension and ratchet to remove the two screws attached to the engine block.

    • Turn the carb 90 degrees, and pull off of the Z bend in the carb linkage.

  6. UXXZ1MJJtliA3daT
    UXXZ1MJJtliA3daT
    Us6BsPAODLHHGoRW
    SLKkj2fpcYotkqp2
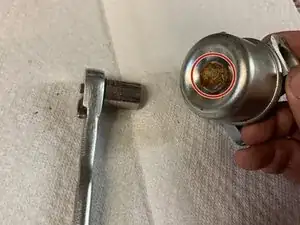
    • Remove the carburetor bowl screw with a 1/2" socket and ratchet.

    • Empty fuel from the carburetor bowl into a container for disposal.

  7. scEcvEWZOCwjY6P1
    scEcvEWZOCwjY6P1
    VMuBuFPAUKPklO4g
    TPvhFS6ipcFFIq2d
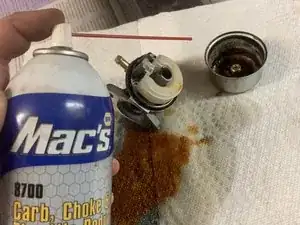
    • Spray the interior of the carburetor with carb cleaner.

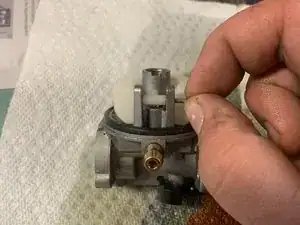
    • Remove the float pin.

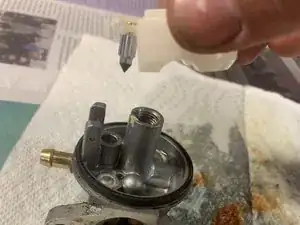
    • This will allow the float and needle to be removed as one piece.

    • This is not a full carburetor cleaning. This is just a rinse-off.

  8. FI1GMmXmHRGjbCBl
    FI1GMmXmHRGjbCBl
    xVDsxRFECKxHoaqv
    VppMmHnnpMviCEaB
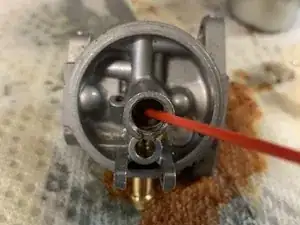
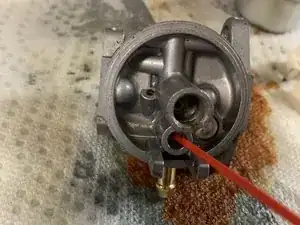
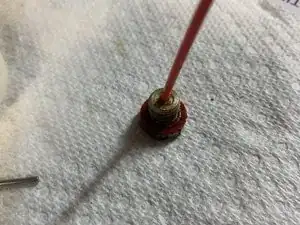
    • Spray out the three major spots in the following order: the main adjustment hole, the inlet needle hole, and the main jet.

    • If the carb cleaner does not pass through any component, use a small piece of wire to poke through the passage.

    • If using a needle to clear passages, spray the passages with carb cleaner after clearing.

  9. 4JhHClNWLYJHBTIW
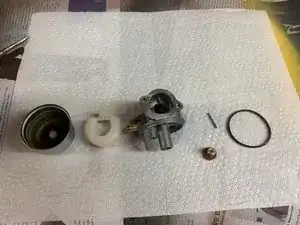
    • After all parts are clean, lay them out to prepare for reassembly.

Conclusion

To reassemble your device, follow these instructions in reverse order.
Matthew Dunham

Member since: 24/03/21

166 Reputation

0 comments