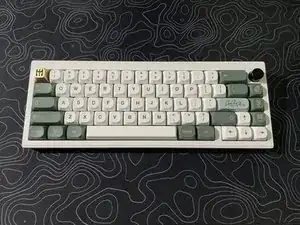
Introduction

If your Finalkey V65 keyboard stabilizers start sounding rattly, use this guide to learn how to lube them and remove the rattle.

The keyboard's stabilizers contain small plastic and metal parts, and a rattly stabilizer results from a bad lubing job, or the lube may have dried over time with use.

Before starting this guide, ensure that your keyboard is unplugged to avoid damaging the port and make it easier to disassemble.

  1. dxuxdbZuJFku3SdI
    dxuxdbZuJFku3SdI
    4QLQ3PEppPLPNqEn
    aWjOBralnywDYRLO
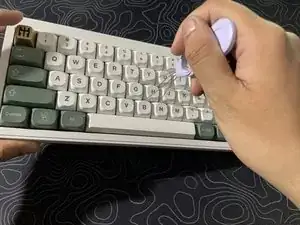
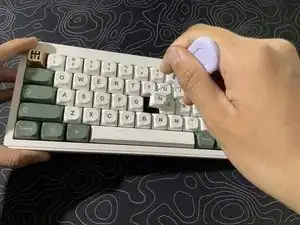
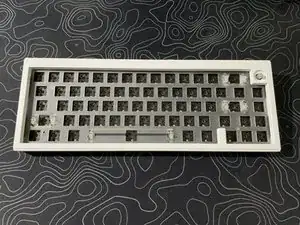
    • Start the disassembly process by removing all the keycaps on the keyboard.

    • To use a keycap puller, insert the tool's wires beneath the edges of the keycap you want to remove, ensure a secure grip, and gently lift to detach the keycap from the keyboard switch.

  2. aZkEgG1RkxTLtcOA
    aZkEgG1RkxTLtcOA
    mNTxSiAG62EQ41IF
    orbHKCXANORJecJK
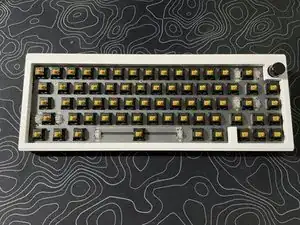
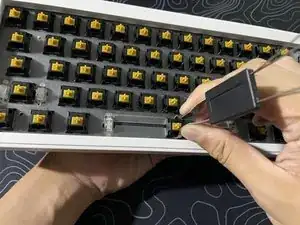
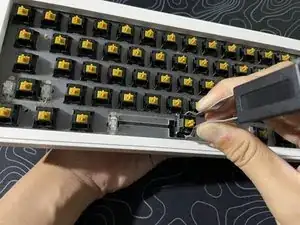
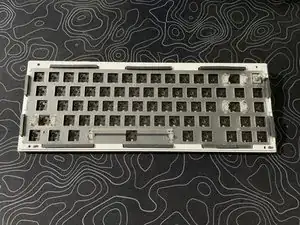
    • Remove all the switches on the keyboard.

    • Position the switch puller onto the switch, lining up the tips of the puller to the two clips on the switch. Apply gentle pressure, rocking it back and forth slightly while pulling upward to remove the switch from the board's plate.

  3. Lum1m5oiL2lFY5nM
    Lum1m5oiL2lFY5nM
    4BVqESiBQT1LHky4
    VGiefsMyTRy1tZBt
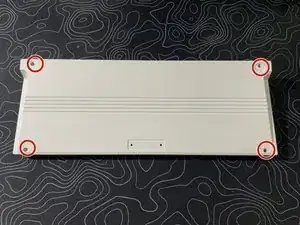
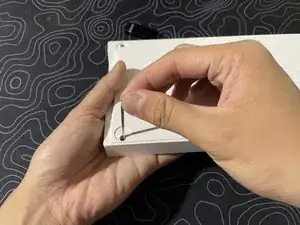
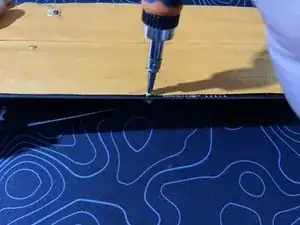
    • Next, open up the case by unscrewing the four screws on the back of the case, as labeled, using a hex key.

  4. 5WPTdSJGlCYNOVOT
    5WPTdSJGlCYNOVOT
    D5GkhkOGAYtIF3oV
    lTW1Q5WdLaMfIvQ5
    • After taking out the screws, flip the keyboard back up and take out the top frame and the plate out of the keyboard.

  5. u1AbrMFAAoxvTs5Y
    u1AbrMFAAoxvTs5Y
    xW1Y1PqlVeV5YJf5
    6pCYpyoCy5HOgVJa
    • From there, remove all the foam inside the case. Then, remove the board's PCB.

    • As pictured, two foam sheets are within the board: the plate foam and the PCB foam underneath the PCB.

    • Be careful not to damage the daughterboard and the battery wires underneath the PCB when lifting it up.

  6. jjPiljVtnFNLNcVu
    jjPiljVtnFNLNcVu
    kYEuZSk3JDYyfU14
    OWwkWG6NLXBff4cq
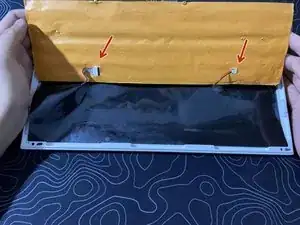
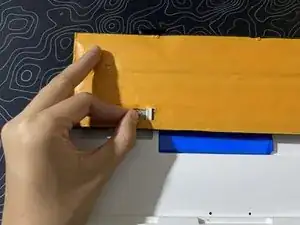
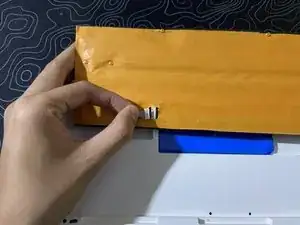
    • Unplug the two wires when possible; it makes handling the PCB easier and eliminates the risk of damaging the connectors or the cables.

    • Carefully unplug both wires before proceeding.

  7. KTfEYR3YtE5Ptnxf
    KTfEYR3YtE5Ptnxf
    Eu1tLPCUha2NcXvX
    • In the end, you have just the PCB.

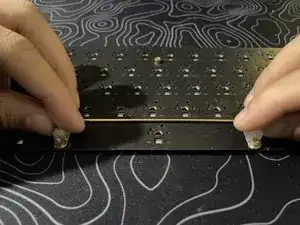
    • Flip the PCB upside down to reveal the screws that hold the stabilizers onto the PCB. Take a Phillips-head screwdriver and unscrew both screws to detach the stabilizer from the board.

    • The pictures show the PCB upside down.

  8. 13HSBORRCfCkBcAY
    13HSBORRCfCkBcAY
    HTDhZa4IVCg1qYFL
    krSAmIlM3G6jXYck
    • After unscrewing the stabilizers, you can unhook and lift them off.

  9. JtTvTSYbIlougoOq
    JtTvTSYbIlougoOq
    veuuuoB12W1wnfsc
    OL2PchL6AAyqLbWH
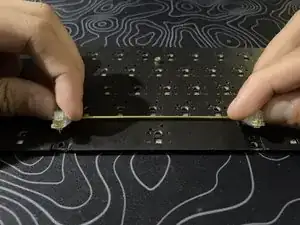
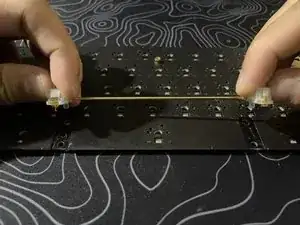
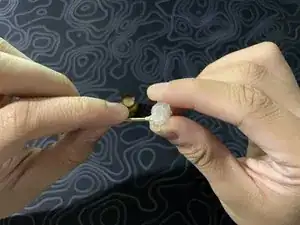
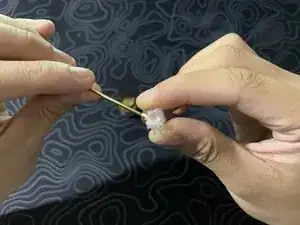
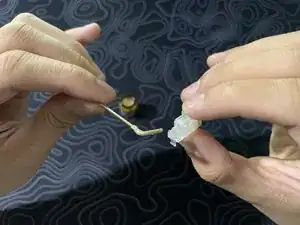
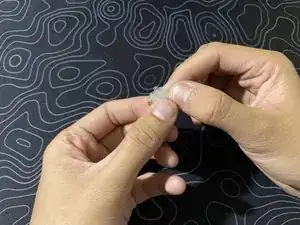
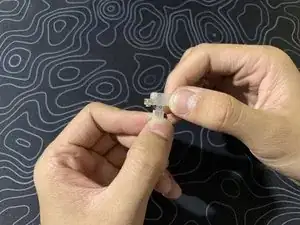
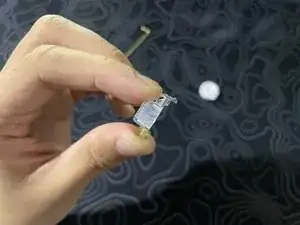
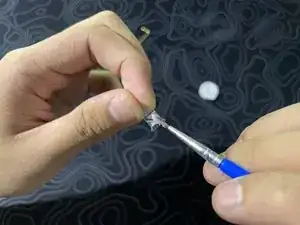
    • Next, we need to take apart the stabilizers.

    • To do this, we separate the wire from the stem by rotating the wire 90 degrees from the stem.

  10. gSm3irXh3shCFF1U
    gSm3irXh3shCFF1U
    QOpBJpQxEaRaPDHO
    5kOhEK3QNU5F5ChR
    • Then, separate the stem from its housing by sliding it down.

  11. yuU4HHBTJlMA2Pae
    • Using a small paintbrush, apply a thick layer of Krytox 205g0 to both ends of the wire.

    • It's important to lube the corner liberally, as this has constant contact with the stabilizer housing.

  12. dRkcWLJQ2wLIC3DW
    dRkcWLJQ2wLIC3DW
    iBCmP21dvvC4aCfW
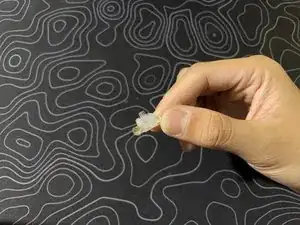
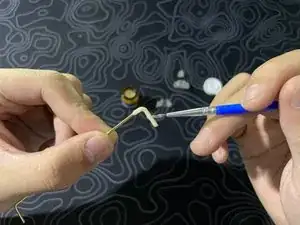
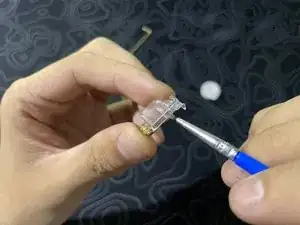
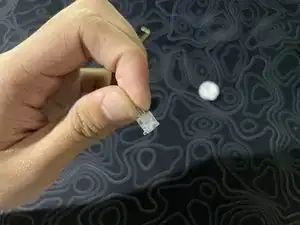
    • Lube the two long sides, as pictured, for the stabilizer housing.

    • Apply enough lube to coat the housing with a thin, even coat.

  13. xBDaFfP5F2AC4WqB
    xBDaFfP5F2AC4WqB
    3kvEQvMKP1NPLjbV
    • Lube the two long sides, as pictured, for the stem.

    • The same thing applies where you should end off with an even layer of lube.

  14. UEmgyXQIkqbW2APu
    • Reassemble the keyboard by reversing the steps in this guide regarding disassembly.

    • In short, this means putting the stabilizers back and screwing them on, plugging in the daughterboard and battery, inserting the foam, placing the plate and top case, screwing the board back together, and lastly, putting on the switches and keycaps.

Conclusion

To reassemble your device, follow these instructions in reverse order.

King Singson

Member since: 23/10/23

229 Reputation

0 comments