
Introduction
Use this guide to open a Logitech MX Ergo for cleaning or repair.
-
-
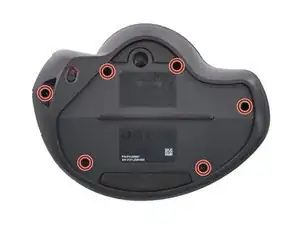
Use a Torx T6 screwdriver to remove the six 5.7 mm-long screws securing the two halves of the mouse together.
-
-
-
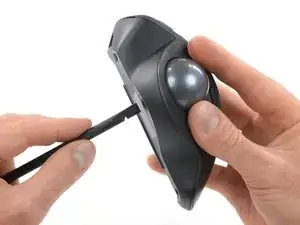
Insert a spudger into the hole on the bottom of the mouse, located under the trackball.
-
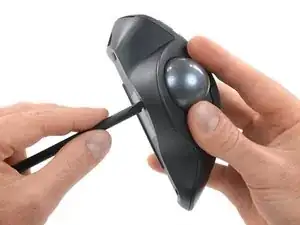
Use the spudger to push the trackball out of its recess.
-
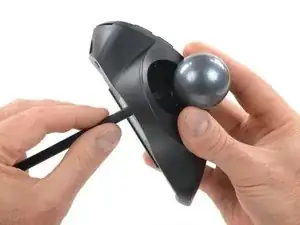
Remove the trackball.
-
-
-
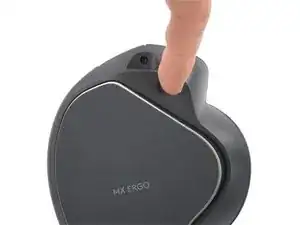
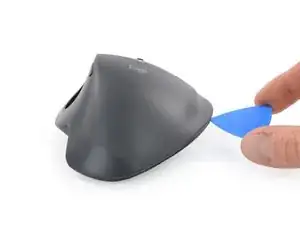
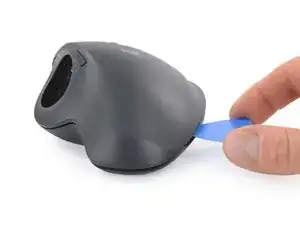
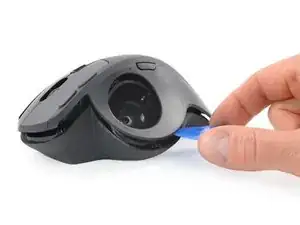
Insert an opening pick into the gap on the right side of the mouse.
-
Rotate the opening pick about 30 degrees to unhinge the plastic clip.
-
-
-
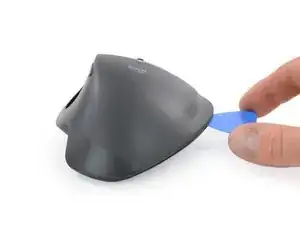
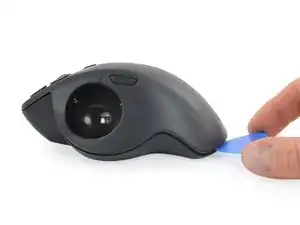
Slide the opening pick to the lower right side of the mouse.
-
Rotate the opening pick about 30 degrees to unhinge the plastic clip.
-
-
-
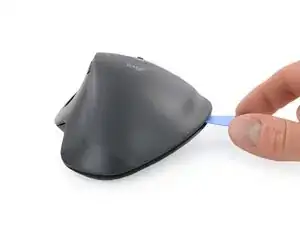
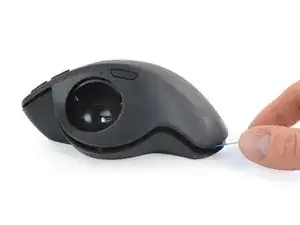
Slide the opening pick to the bottom side of the mouse.
-
Rotate the opening pick about 30 degrees to unhinge the plastic clip on the bottom end of the mouse.
-
-
-
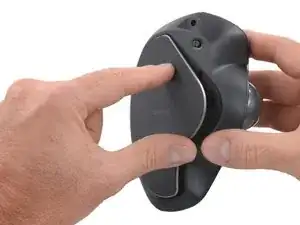
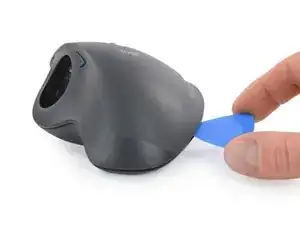
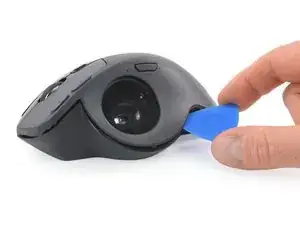
Slide the opening pick to the center of the left side next to the recess of the trackball.
-
Rotate the opening pick to unhinge the remaining plastic clip.
-
-
-
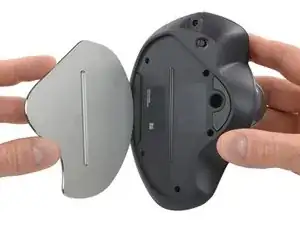
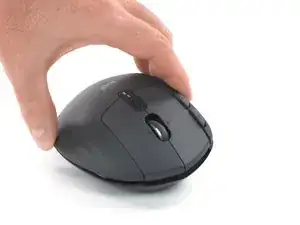
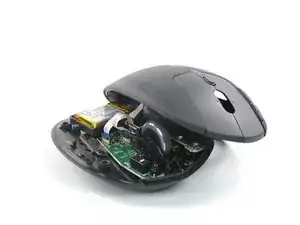
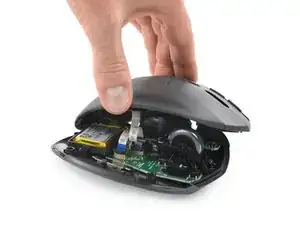
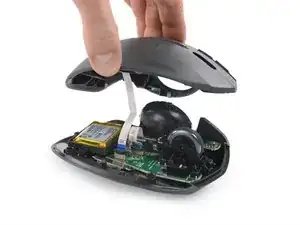
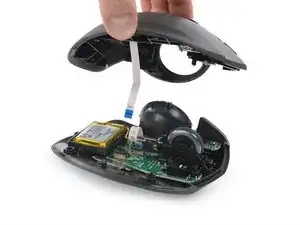
For better access, place the top half of the mouse to the left of the lower half of the mouse.
-
-
-
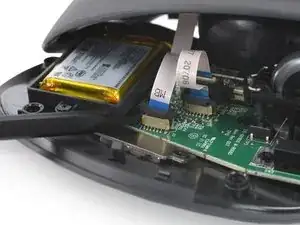
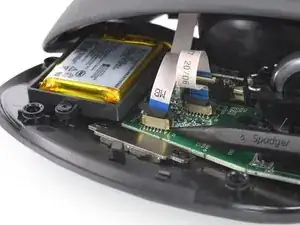
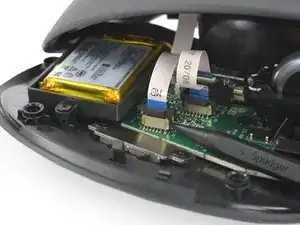
Use the pointed end of a spudger to gently lift the left side of the black sliding lock on the interconnect cable socket until it stops.
-
-
-
Use the pointed end of a spudger to gently lift the right side of the black sliding lock on the interconnect cable socket until it stops and the cable is no longer locked in.
-


Compare your new replacement part to the original part—you may need to transfer remaining components or remove adhesive backings from the new part before installing.
To reassemble your device, follow the above steps in reverse order.
Take your e-waste to an R2 or e-Stewards certified recycler.
Repair didn’t go as planned? Check out our Answers community for troubleshooting help.

3 comments
Thank you. It was quite a coincidence that I found this because I had just purchased that fix it repair tool kit. It was pretty handy that I had it all right here in front of me. Thanks again you made it easy.
Hi @martilynn, thank you for sharing your experience! We're glad that the guide was useful for your repair.
Very helpful guide! Managed to figure out how to clear some gunk off an end users mouse. Much appreciated!