Introduction

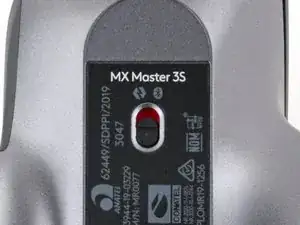
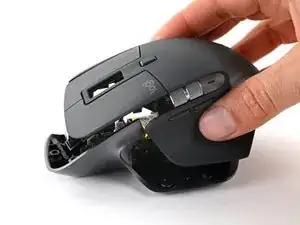
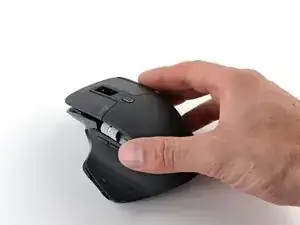
Use this guide to open your Logitech MX Master 3S mouse.

Open your mouse to clean its internals, troubleshoot mechanical problems, or replace a part.

  1. qiRvYtHjG2HjDoPT
    qiRvYtHjG2HjDoPT
    AF2uNp6RZmp3LGDm
    m2ZvHhq1NV63ri6T
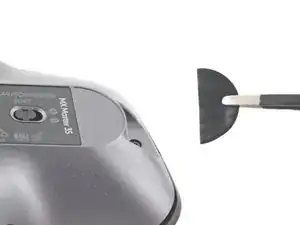
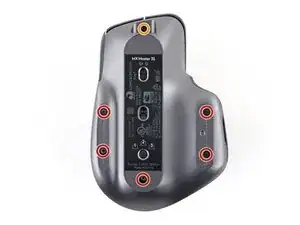
    • Flip the mouse's power switch into the OFF position, unplug any cables, and flip it over so the feet are facing up.

    • The unique shape of some mice can prevent them from laying flat. If you need to, lay your mouse on a soft towel to prevent wobble.

    • If you're planning to reuse your existing mouse feet, note that the adhesive needs to be thoroughly heated for them to be cleanly removed.

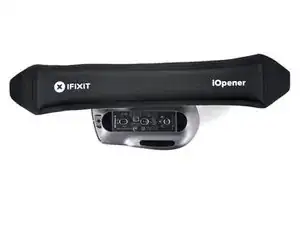
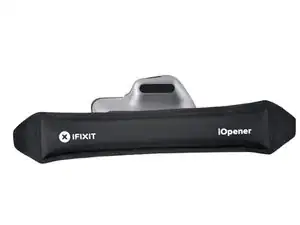
    • Heat an iOpener and apply it to each of the mouse feet for about one minute each.

    • Alternatively, you can use a hair dryer to soften the mouse feet adhesive.

    • When using a hair dryer, don't heat the feet for more than a couple seconds at a time—anything hotter than just warm to the touch risks melting or warping the plastic lower case.

    • The information sticker adhesive may soften during this step, but you don't need to remove it.

  2. eGkqhNgxWtWXWJXZ
    eGkqhNgxWtWXWJXZ
    PJIDmuaMREE2W5Kd
    klMXDhCBWI5DsYaO
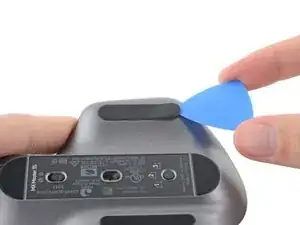
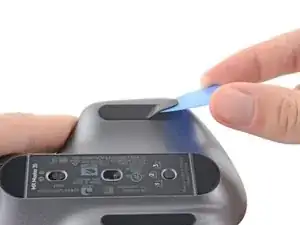
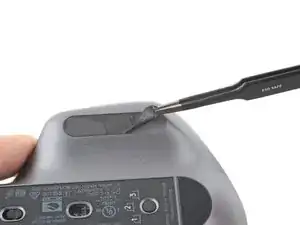
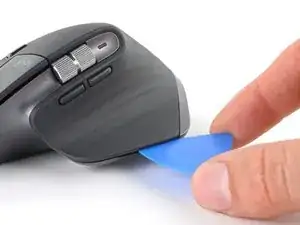
    • Slide an opening pick under an edge of the left mouse foot.

    • Go slowly, and make sure the pick slides underneath both the foot and its adhesive pad. These layers separate easily.

    • If you plan on reusing your mouse feet, be careful not to crease them or separate them from their adhesive pads.

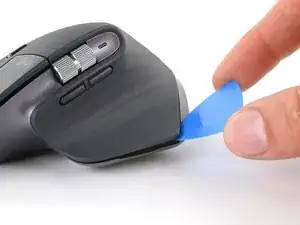
    • If the foot feels stuck, apply more heat before continuing.

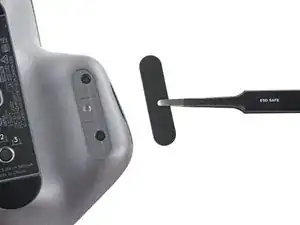
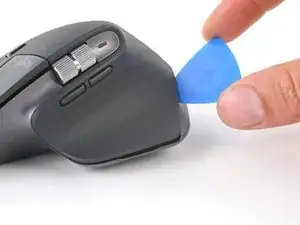
    • Slide your pick under the foot to separate its adhesive until you can grab it with your fingers.

    • Peel up and remove the left mouse foot.

  3. eKE1XtZmqisyZGun
    eKE1XtZmqisyZGun
    jMFCfncssstegKjl
    32NRfiEDBjZIGnNs
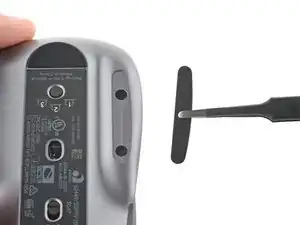
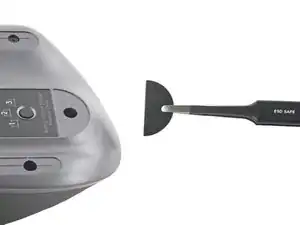
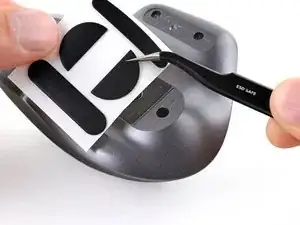
    • Repeat the previous two steps for the three remaining feet.

    • The front foot doesn't cover any screws—if you're only removing the mouse feet to open up the mouse, you don't need to remove this foot.

  4. oWXG2CsTDINFSF63
    oWXG2CsTDINFSF63
    ndCu6ruFeeaC1OyD
    AUbpMaLD6kZQxWWU
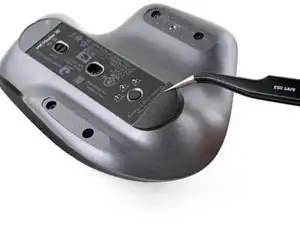
    • If the adhesive separated from the foot:

    • Slide the flat end of a spudger under an edge of the adhesive. If the adhesive seems stuck, you may need to heat the adhesive further.

    • Use a pair of tweezers or a spudger to remove any large chunks of leftover adhesive.

    • For installing new mouse feet or reusing your old ones:

    • Thoroughly clean the bottom of the mouse with isopropyl alcohol and a lint-free of microfiber cloth. Allow the surface to dry completely.

    • Peel your new mouse feet away from their adhesive liners and press them firmly into place.

    Why are we removing leftover adhesive if we went to the trouble of heating for full removal (and reuse)?

    This makes no sense. Might as well just rip em off!

    craigalanelliott -

  5. YqdybUP5WO1ZBNXV
    • Use a Phillips screwdriver to remove the five 4.3 mm‑long screws securing the bottom half of the lower case.

    • Use a T5 Torx driver to remove the one 4.2 mm‑long screw securing the top half of the lower case.

  6. QQmRTuGgvByAKoYD
    QQmRTuGgvByAKoYD
    cLjZsAri6FWhjuWO
    E4Jo5uGGUNbXaHtG
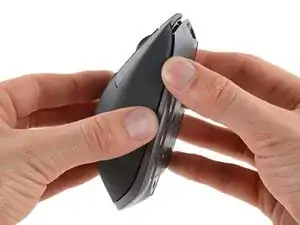
    • Insert your opening pick into the seam between the thumb rest and the lower case.

    • Slide your pick right, towards the rear of the upper shell and pry upward to release the left clips.

  7. JlSUBXoLiVcsVvBP
    JlSUBXoLiVcsVvBP
    jAI3IsJRAMrF5wrO
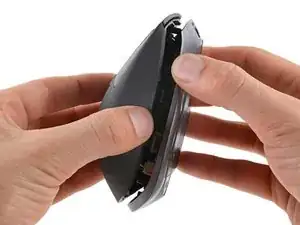
    • Gently pry the upper shell and lower case apart to release the clips on the right side of the mouse.

    • Don't try to fully remove the top shell just yet—another clip and a delicate cable connect the upper shell to the lower case.

  8. wTh5HNHWUnUf6SKI
    wTh5HNHWUnUf6SKI
    OUMjfF2qQxnyVMEN
    nVB3KRhRjva1wKQT
    • Lay your mouse down onto your work surface, making sure none of the clips re-engage.

    • Grasp the upper shell and partially lift up the right edge.

    • Pull the upper shell up and back to release the final clip and separate the upper shell from the lower case.

    • Still keep the two halves close together—a cable is still tethered to the upper shell.

    • To reinstall the upper shell, slide the front edge into place first, then press down around the perimeter of the upper shell to engage the remaining clips.

  9. JRWYhj4eKnZjeIsv
    JRWYhj4eKnZjeIsv
    1AZuudhJMVpR6Zba
    y3VlGXDQbrxOyXZC
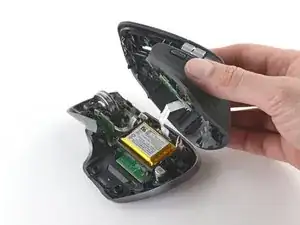
    • Be careful not to strain the cable connecting the upper shell to the lower case.

    • Lift the upper shell away from the lower case and lay it to the right of the mouse.

  10. yLfaeMRqkTBhZ6TM
    yLfaeMRqkTBhZ6TM
    TrkKtwUQbTicYXAl
    CIVgyUUQgowanPZZ
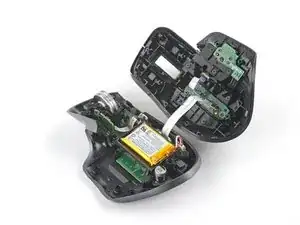
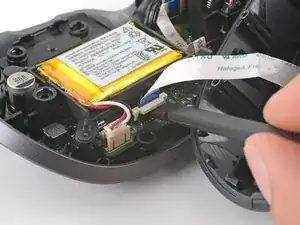
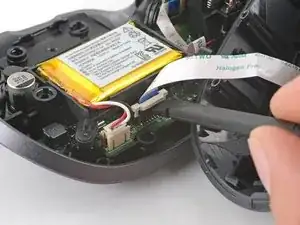
    • Use the flat end of a spudger to gently lift up the sliding lock on the interconnect cable socket.

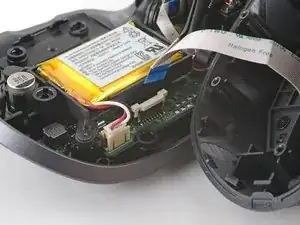
    • Slide the cable straight out of its socket on the motherboard.

    • During reassembly, insert the cable into the socket with its blue tab facing out, then push down the sliding lock to secure the cable.

  11. r1DmeNKu3f5Wf6CJ
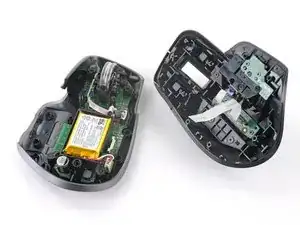
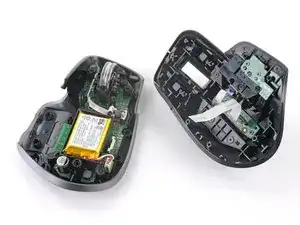
    • Remove the upper shell from the lower case.

    Dear Logitech, please support the upper Shell as replacement Part (without doughter-boards)

    FusterCluck -

Conclusion

To reassemble your device, follow these instructions in reverse order.

Repair didn’t go as planned? Check out our Answers community for help.

Clay Eickemeyer

Member since: 19/09/22

65190 Reputation

One comment

Is the upper shell the MX Master 3s same as the upper shell of the MX Master 3?
Ralph Espinosa -