Introduction
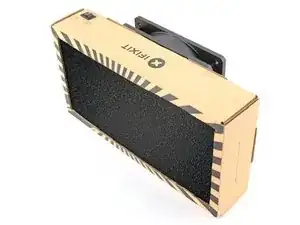
Soldering creates fumes that are better left un-inhaled. If you're tired of holding your breath or "playing dodge the fumes" then this affordable and simple fume extractor is for you.
Best of all, it's made from parts you probably have laying around. The only specialty part that you may need to order is the activated carbon filter. This guide uses Hakko A1001 filters.
Tools
Parts
-
-
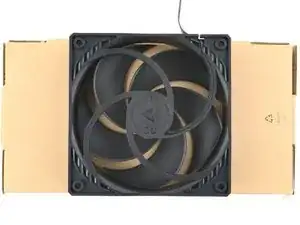
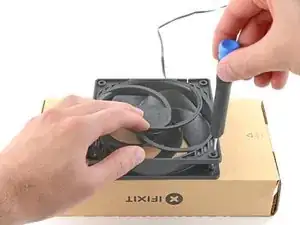
Thread the zip ties through the fan's mounting holes.
-
Secure the fan to the exhaust port by tightening the zip ties.
-
Clip the excess zip tie strap.
-
-
-
Note and remember the power and ground pins on the fan connector.
-
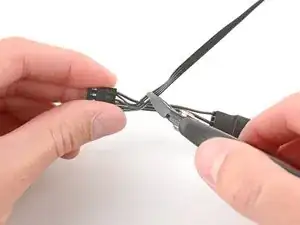
Cut off the fan connector.
-
-
-
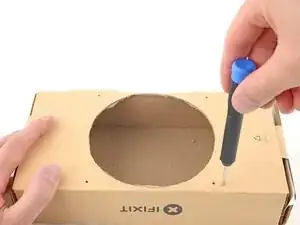
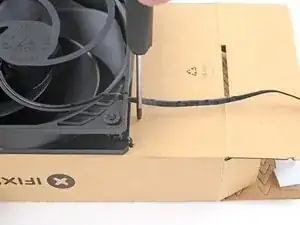
Use a pointy object like a screwdriver to poke a hole in the box for the fan cable.
-
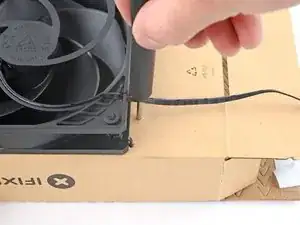
Thread the fan cable into the box.
-
-
-
Use a pen or pencil to mark the outline of the switch.
-
Cut out a hole for the switch.
-
Pull the fan cable through the switch hole.
-
-
-
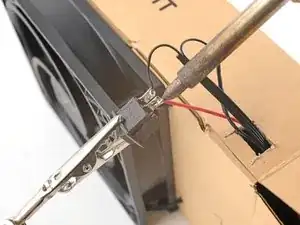
Solder the switch between the fan's positive wire and the battery's positive wire.
-
Solder the negative fan wire to the negative battery wire.
-
Pull the excess cable back through and mount the switch to the box.
-
-
-
Place the loose wires in the box.
-
Secure the 9V battery to the interior of the box using double sided tape.
-
Now that you've created a fume extractor, check out some of our soldering guides or stop by our store for supplies you might need on your soldering journey.
One comment
Nice job. As for those 9 volt batteries, you will find that when your smoke alarm starts beeping, the batteries still have plenty of life left for running the fan. No need to buy a new battery.
Phil -
